That Sugar Sweet

     I still have all this cooking lavender from France, and have been reading about lavender sugar for a while, so I finally tried it. You should too. You don’t need to go to France to find lavender, though it helps. But so does Amazon. Why not go for some lemon sugar while we’re at it? YUM HERE WE GO.

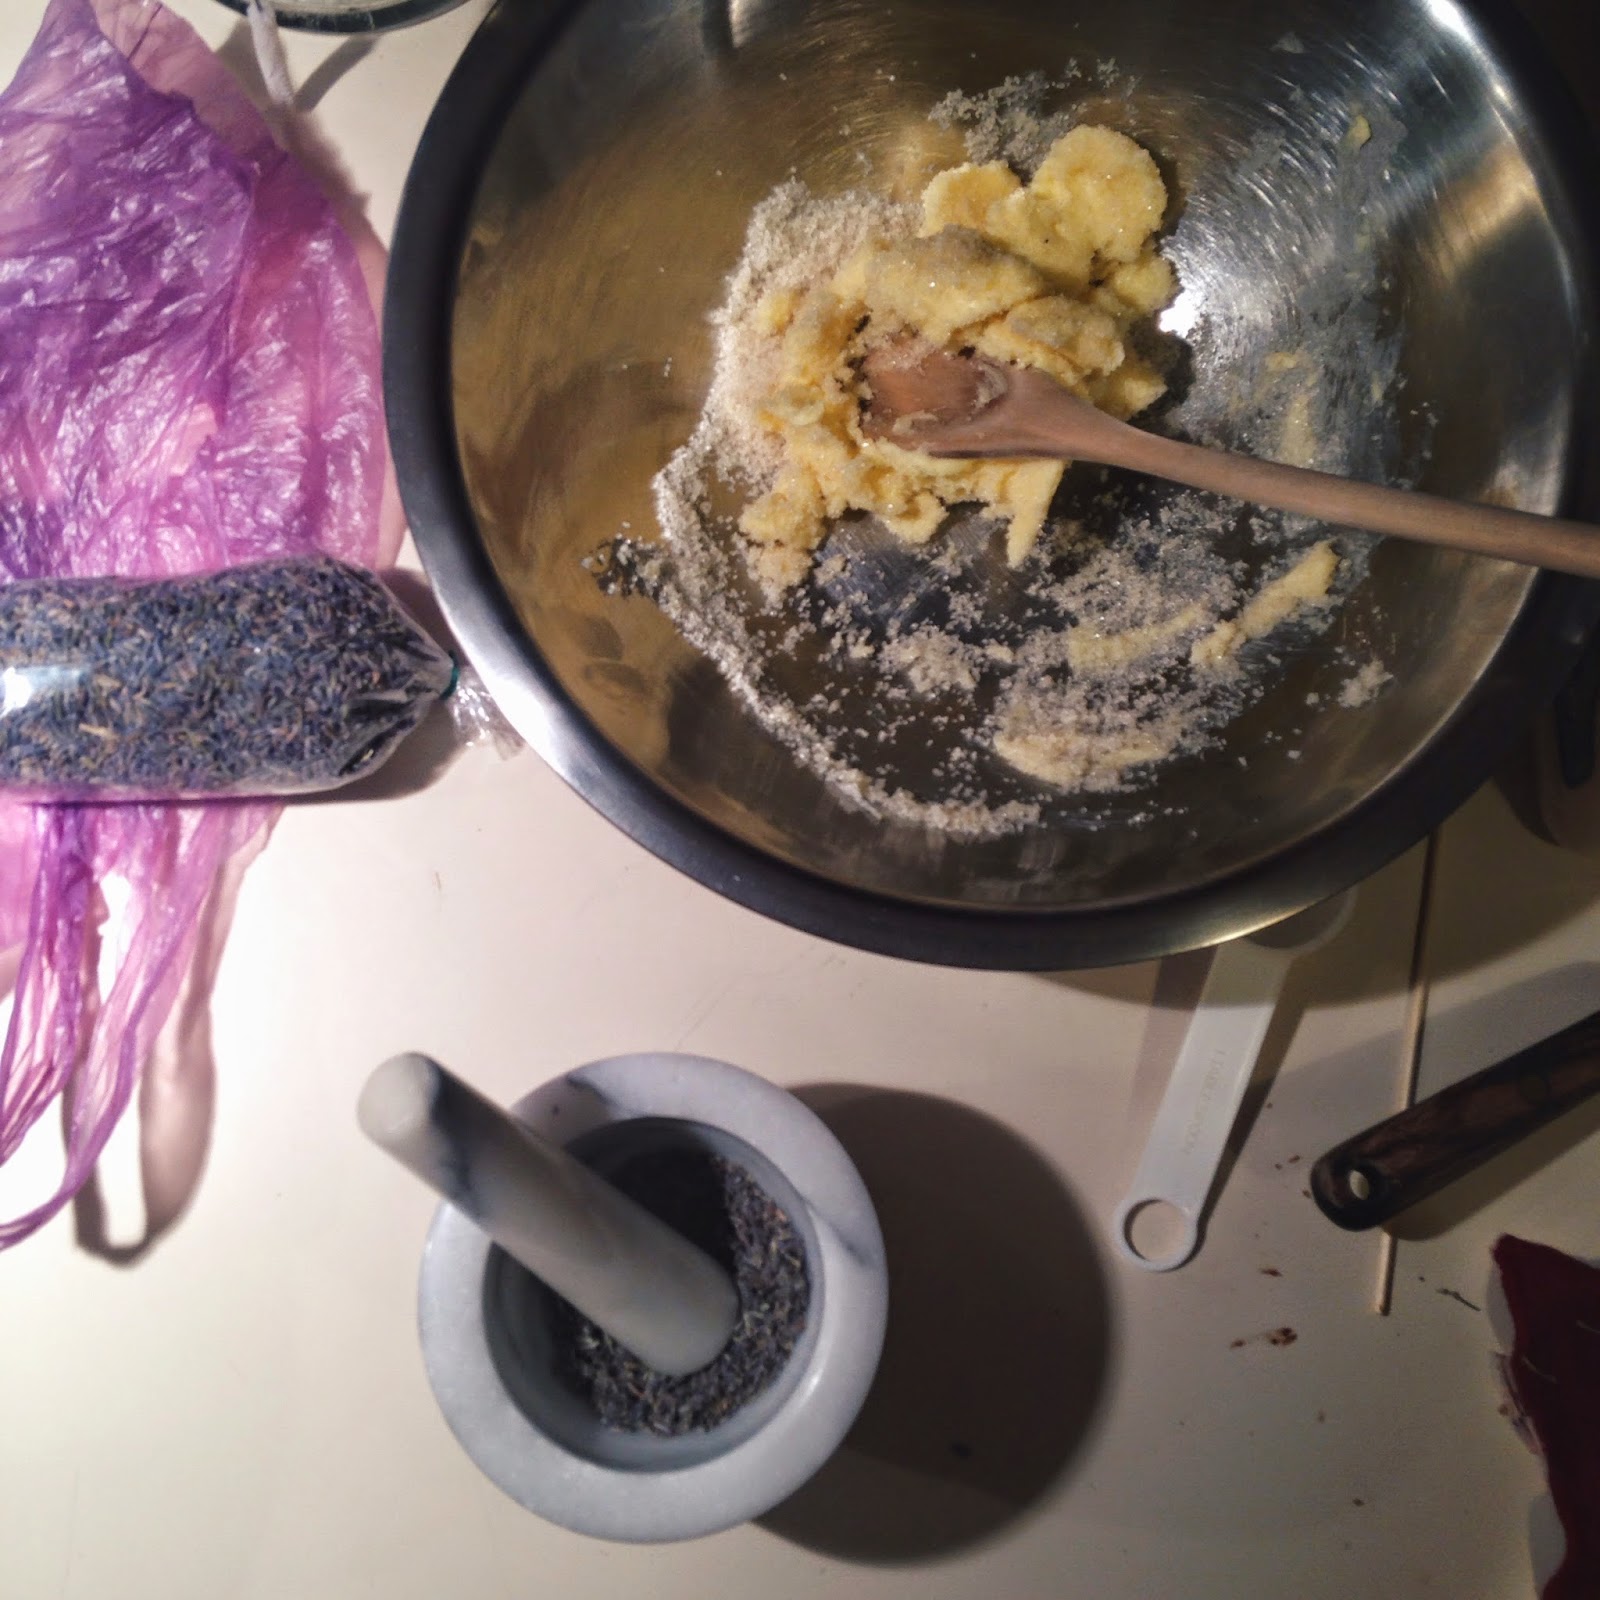
 I started with a tablespoon of dried lavender for about three quarters of a cup of sugar, and quickly realized that would be too much. If you have a food processor, you can take some sugar and pulverize the lavender with it so it can mix better with the rest of the sugar. Or else, put your back into it with a mortar & pestle. I ended up with about a teaspoon of lavender for 3/4 cup of sugar, and it came out pretty strong, so adjust to your preferences!
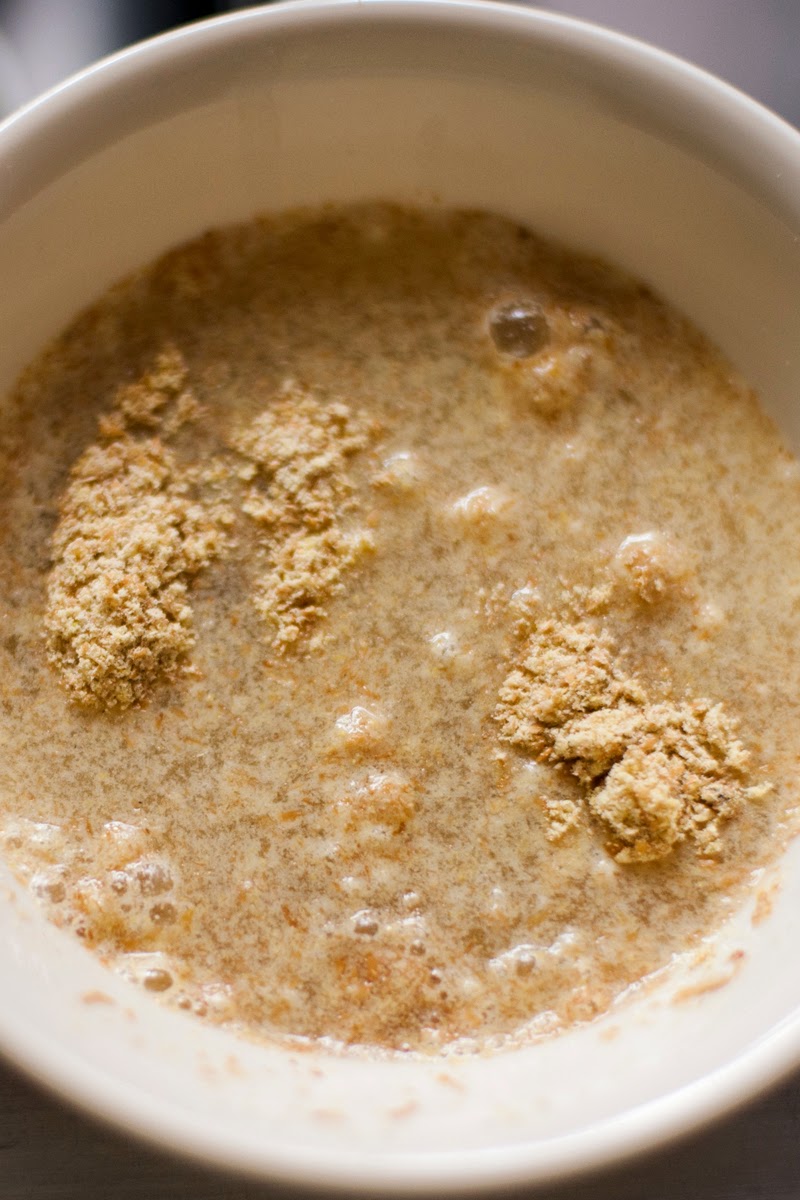
I’ll agree that this unattractive pile of mashed lavender looks more like some herb (“herb”). But fret not! I promise it will do nothing but good and well fragranced things for you and your kitchen.

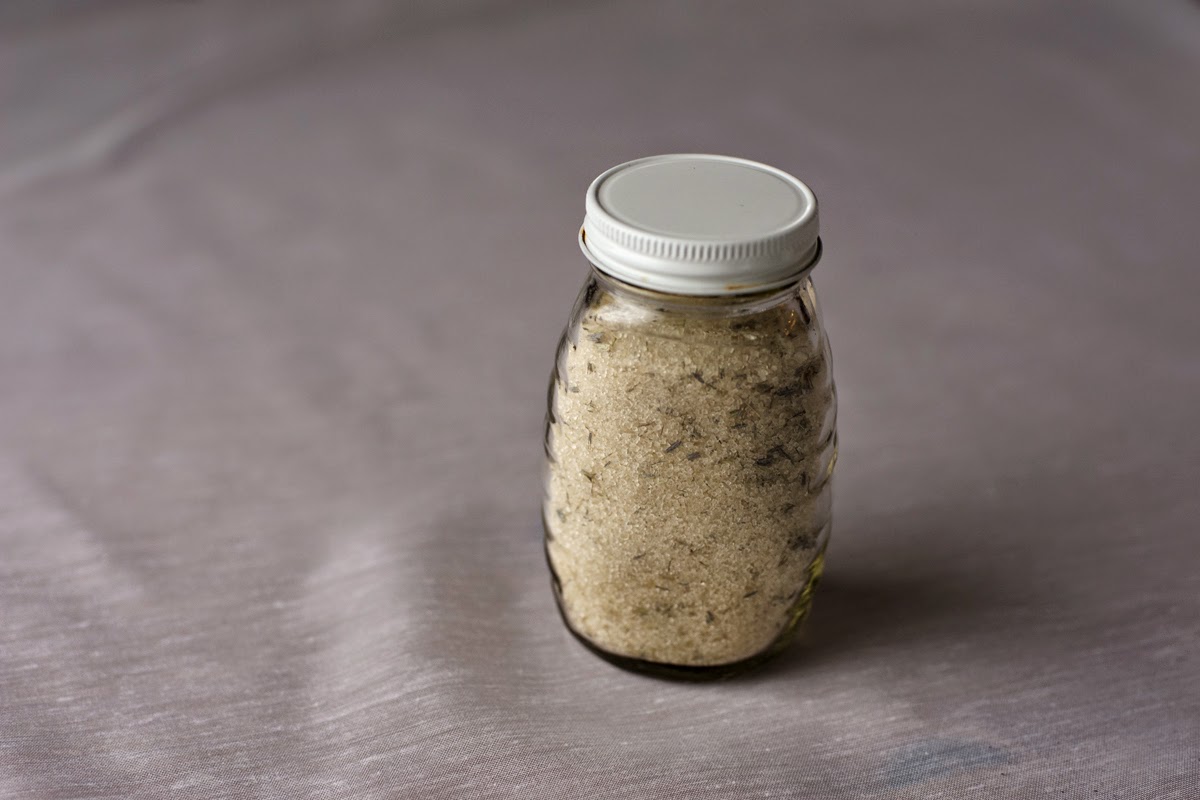
If you didn’t use a processor, it might look like you have ants in your sugar. If you did, I’m guessing your sugar may look different. If you want, you can sieve out the lavender when you’re satisfied with infusion, but you can also leave it. I think it looks kinda cool…#rustic. Not actually like ants.

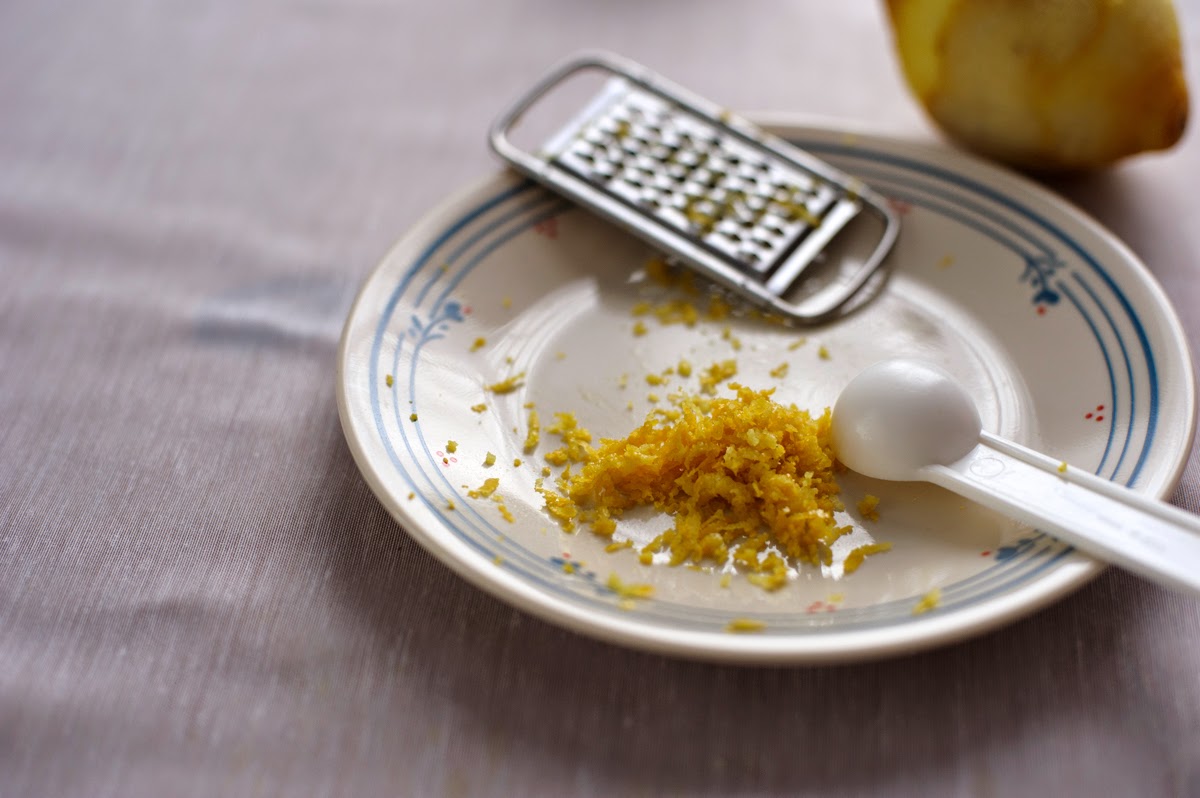
I laaahve all things lemon, short of eating a slice of lemon. It has such a bright, strong flavor and it makes most every baked good better. Baked betters! Now it can make so much more, so much better. I put a teaspoon of lemon zest in a cup of sugar. Don’t worry when it gets chunky and moist – eventually the zest will dry out. Feel free to sieve the zest out too. 
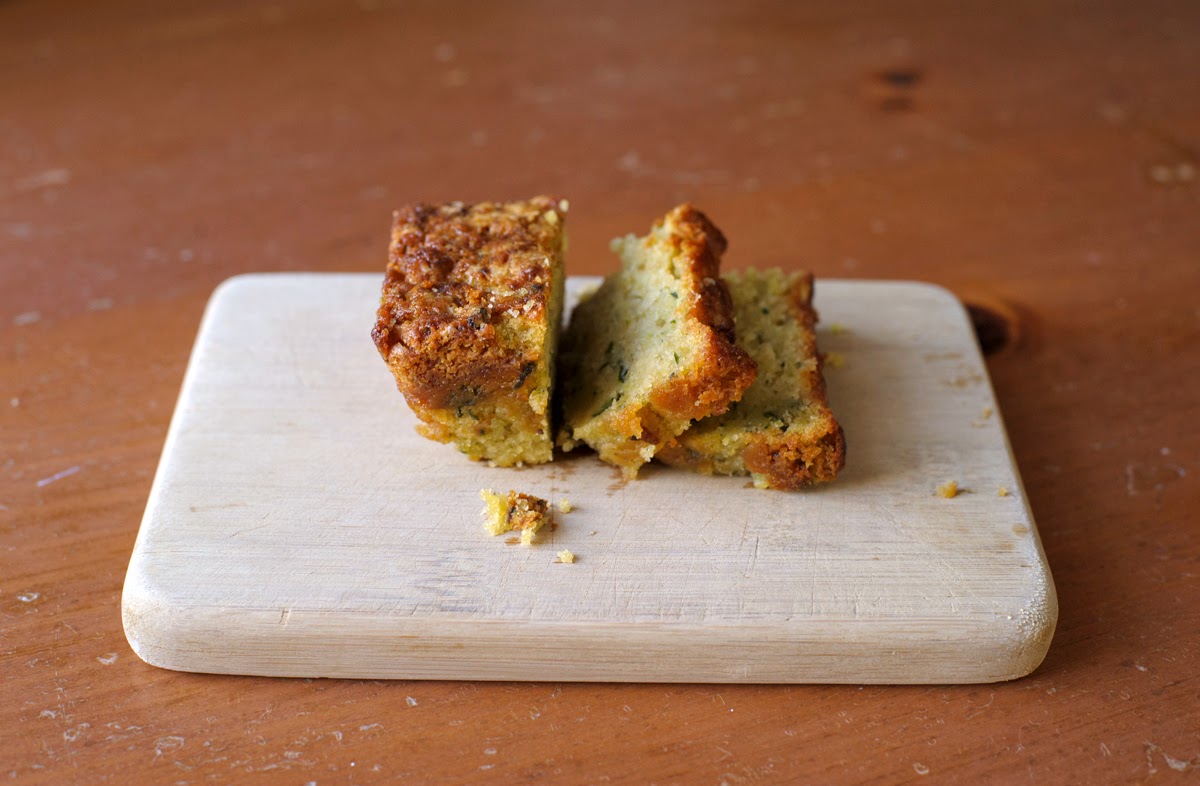
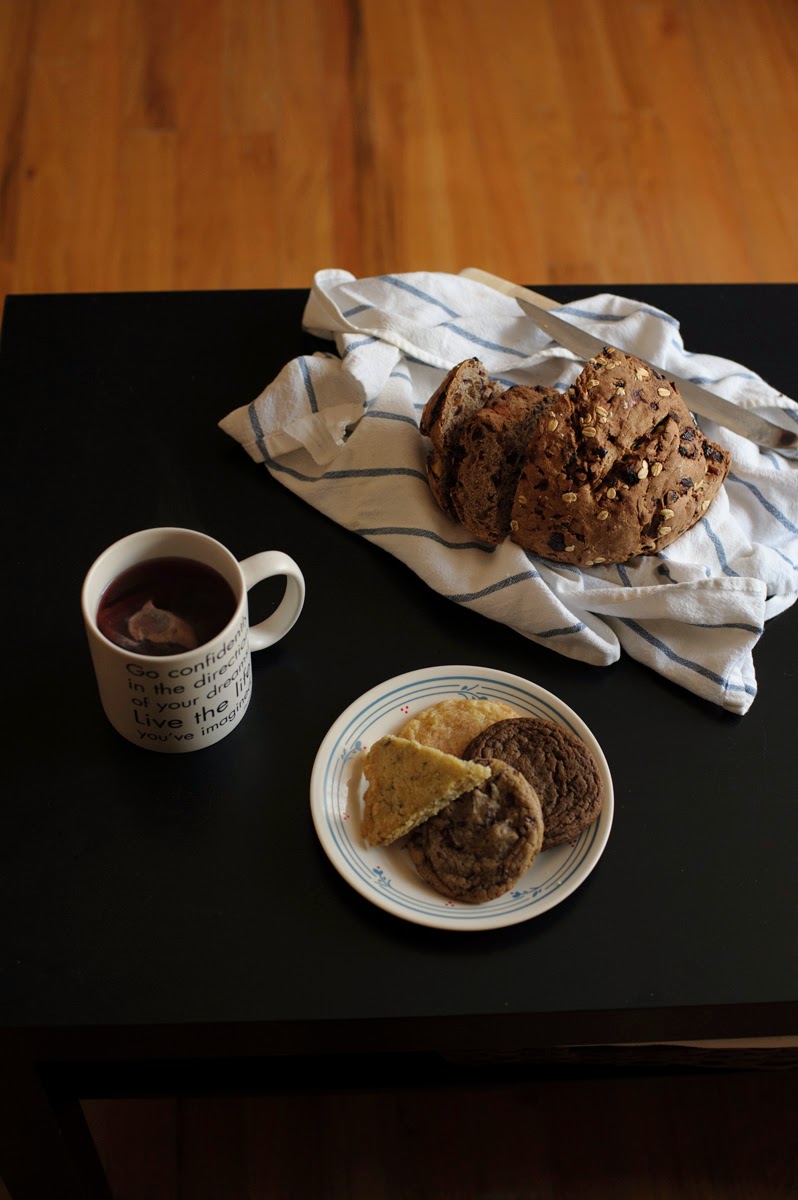
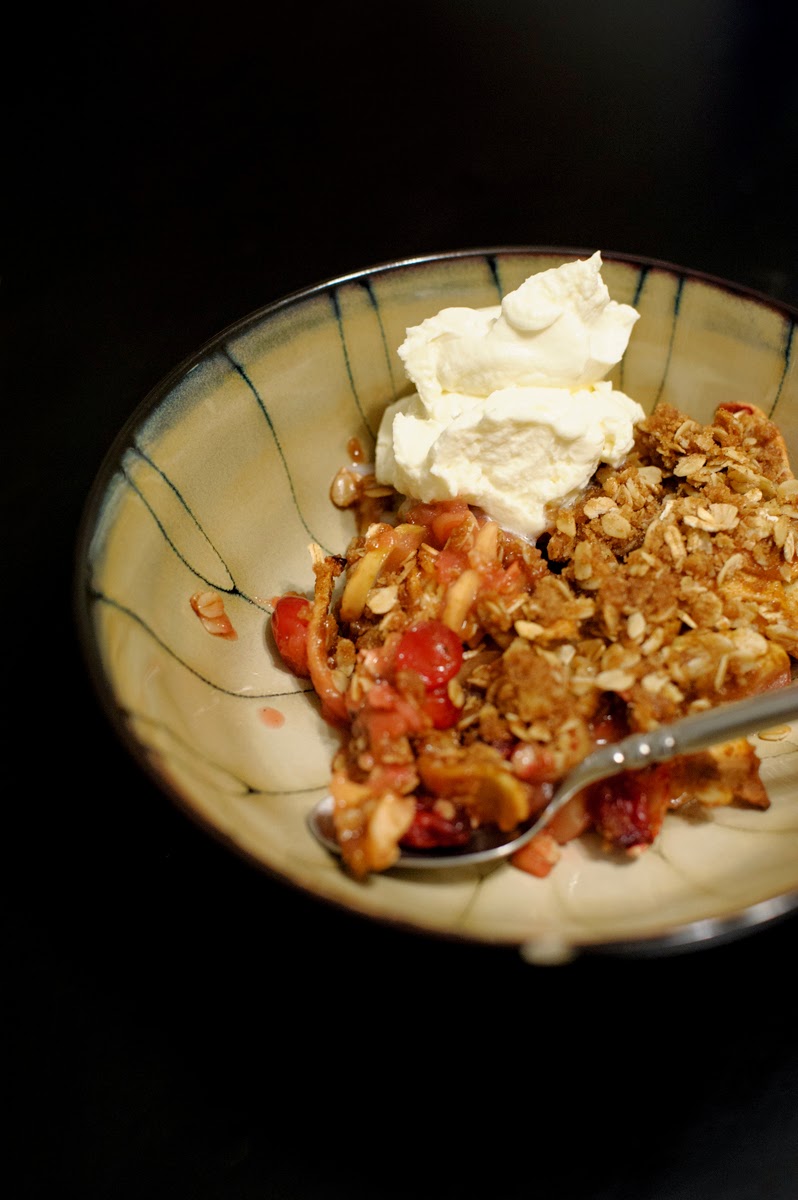
     Now you have this weird spiced sugar. What the heck now? Goodness, the possibilities are endless! What do you usually use sugar for? Oatmeal (oatmeal forever <3), hot bevs, cold bevs, toast (lavender sugar is the new cinnamon sugar tbh), decoration. Just look at it, so pretty! And this works for refined sugar as well as raw cane sugar, which is what I used. It's better for you, by the way. Don't limit yourself to lemon and lavender – you can make other citrus sugars, spent vanilla bean pods, ginger…even more endless possibilities! Get creative and have fun with it.

ps – have you seen the video for “Sugar” by Maroon 5? I approve #onlyinLA

Pop Quiz


     I think we all have some room to improve our popcorn consumption. When eaten responsibly, it has many health benefits: a surprisingly high concentration of antioxidants, fiber, whole grain heartiness, plus it’s low in calories. But if you go for the microwaveable movie popcorn, or sticky kettle corn, you’re filling your body with things less than good for you: trans fats, high fructose corn syrup, artificial flavors, funny chemicals from the microwave bag, and coloring. Coloring? It’s so much better for your body and taste buds to make your own popcorn. It’s not as hard as it sounds! I took some time to answer my own questions about the easiest ways to make popcorn, and what to do with it after. Here’s some inspiration for popping, seasoning, and snacking your way through your Netflix queue.


Can you really use a brown paper bag to make popcorn?

Short answer: Yes!
Long answer: You sure could, but I don’t think it’s the easiest way. It’s definitely not the neatest! Here’s a recipe from Serious Eats

1/2 cup popcorn kernels
1/2 teaspoon oil
Pinch of salt

Put everything in a small bowl to get all the kernels covered in oil. Place in a brown paper bag, then fold over well enough so it doesn’t open in the microwave. Place in microwave on high for 2 minutes, or until there are two seconds between pops.

I folded the bag like this, and it stayed very sealed in the microwave. Now you’ve got your popcorn in a bag. Hopefully the bottom didn’t burn like mine did. You can probably practice this method until you’ve got it down to no burning and minimal unpopped kernels, but there’s also another way, which we’ll get to.


What is nutritional yeast, and why should I put it on my popcorn?


Short answer: A cheesy topping to liven up the party.
Long answer: Technically, yes, nutritional yeast is a yeast of sorts, except it won’t make your bread rise. It’s full of amino acids and potassium, and has something of a cheesy taste to it. My friends introduced this combination to me, and a lot of people do it, but it’s a taste I’m still acquiring. Try it as a cheese substitute and see what you think. I’m pretty sure you can find it by the spices in your grocery store.


Can I make dessert popcorn myself, too?


Short answer: Yes, and it tastes darn good.
Long answer: Just microwave some dark chocolate, throw in a touch of butter if you want, drizzle it over your bowl of popcorn, toss that bowl of popcorn, lay the popcorn out flat onto parchment paper, and throw in the fridge for a bit so the chocolate can harden up. If you want, you can wait for it to get to room temperature when you take it out, or you can eat up! Try drizzling some peanut butter in there if you want. Dessert-y, but not overwhelmingly sweet or messy! Still airy and awesome.


What’s the best way to make popcorn?

Short answer: Over the stove.
Long answer: Grab a pot, cover the bottom with oil (vegetable oil, olive oil, even coconut oil). Let that heat up a bit. Add some salt – and some sugar if you want to go the kettle route – and the popcorn kernels; just enough to cover the bottom of the pot, or less (or more if you trust your popcorning instincts). Set the heat to high, and wait for the kernels to pop, constantly moving the pot over the heat to avoid burning, and allow the unpopped kernels to fall to the bottom. Remove from heat when two seconds separate the popping. There will probably be some stray pops anyway. Once you’ve transferred the popcorn to a bowl, you can add more salt, sugar, butter, or any other seasoning you want. Get creative! If you want to add butter, just melt some in the pot you just finished using.
This method yields as much as you want, and has a great crisp texture/fresh taste. In my opinion, better than the microwave method.


Making your own popcorn is really not as scary as it might seem. And if that’s not reason enough, buying popcorn kernels instead of the microwaveable stuff is WAY cheaper. Impress your friends at your next party with your own snack creation. They will probably be inspired to make their own.
Happy popping!


Bonus:
What do I do with leftover popcorn?
Answer: Fold them into your cookies!

Lemon Zucchini Bread

     On Tuesday, I made some zucchini bread, and there’s half a slice left on the kitchen counter.

     I know zucchinis are not in season, but I really wanted to try out a classic recipe on my own and see what happened. The first time I heard about zucchini bread, I was very skeptical. VERY skeptical. I was unaware of the concept of a vegetable being used to make a sweet bread. But boy, am I glad I gave it a try! If you’re having your doubts about such a beast because of your past dread of sliced squishy, oily zucchini on your dinner plate, prepare to have your mind blown with this incredible loaf of dense, flavorful, and extremely moist quick bread! Plain old zucchini bread would have been great, but there’s nothing like a good old kick of lemon to make your life a little happier. Trust me – you’ll want to stay with the portion size on this one (two loaves!).

It’s such an easy thing to make! Wet ingredients, sugar, dry ingredients, zucchini, oven.

See for yourself when the first turns to the second in an hour.


Lemon Zucchini Bread
Adapted from Sunset Breads
Makes two loaves
Ingredients
3 cups flour
1 tablespoon baking powder
Pinch of salt
2 cups sugar
1 cup vegetable oil or melted butter
2 eggs
Zest of one lemon
Two large zucchinis (about 1 pound)

Directions
Preheat the oven to 350 degrees.
Mix together sugar, oil, eggs, and lemon zest in a large bowl until combined. Gradually add the flour, salt, and baking powder. When well incorporated, grate the zucchinis into the bowl and mix occasionally until all the zucchini has been added.

Pour the batter into two greased and floured 4×8 inch loaf pans. Bake loaves for about an hour, or until a skewer comes out clean. Let cool in pans, then carefully flip onto cooling racks to let cool completely.
Look at that texture.
The zucchini just does something wonderful where it distributes all
of its magical zu-juice throughout the bread to make it superbly moist.
No chocolate necessary for this thing!

Black Bean Brownies

     If you know me, you know that I’ll eat close to anything that you put in front of me: meat, gluten, cream, sugar. This means that I steer clear of recipes that have anything to do with gluten-free, vegan, or dairy-free diets. But when my friend told me about a nice black bean brownie another friend made, I wanted to attempt the impossible: use a vegan or gluten-free recipe that does not fall apart, and tastes GOOD. Not okay, not acceptable, not sufficient-for-the-top-of-my-cereal, but genuinely enjoyable. Well, friends, I think I did it. I made (almost) vegan AND (actually) gluten-free brownies, that mostly stayed together, and that I was pretty impressed with. Do they taste like regular brownies? No. But they are still nice and fudgy and very filling. Even if you’re on a see-food diet, I dare you to take a crack at these healthy baked goods and restore your faith in the edible options within dietary restrictions.

A cup of beans is about 2/3 of a normal sized, 15 oz can. Drain and rinse!
New to vegan? You may be new to flax eggs…just a tablespoon of flaxseed meal and 2.5 tablespoons of water. Mix, and let sit.
So I don’t have a food processor, but that’s okay! Blend/purée the beans to the best of your ability. Mine came out like this and were totally cool.

The final batter looks somewhat like this. Not at all runny, but not wet cement, either. Chunky is also okay.
The recipe should get you through a whole tin of muffins, if you fill each spot about halfway.

Friendly reminder to reacquaint yourself with your handy-dandy scraper!

Black Bean Brownies
Can be made vegan and are naturally gluten-free
Makes 12 brownies

Ingredients
1 cup black beans, drained and rinsed
2 tbsp flaxseed meal and 1/4 cup + 1 tbsp water, for two “flax eggs”
2 tbsp melted butter (or coconut oil for vegan variation)
1 tsp vanilla extract
1/2 cup cocoa powder
1/2 cup sugar
1/2 tsp salt
1 tsp baking powder
1/4 cup milk (or water for vegan variation)
Crushed walnuts for topping

Directions
-Oven temp will be 350 degrees F. Preheat accordingly.

Drain out the black beans from the can, and rinse. Measure out a cup, and place in a food processor. Before you process the beans, combine the flaxseed meal and water for the equivalent of two “flax eggs”. Set aside.

No food processor? No problem. Try a combination of blending, and manual power. Get creative with some microwaving if it helps. Once the flax mixture has been sitting for a few minutes, add it to the black beans with the butter or other oil, and vanilla extract.

Add the dry ingredients gradually, while alternating with the milk or water, so the batter ends up at a good consistency – not as thin as regular brownie batter, but not wet cement. If you have a food processor, you can do it all in there. If not, a wooden spoon does just fine.

Put the batter in a greased muffin tin, then sprinkle with walnuts. Place in the oven for around 25 minutes. The center will no longer be wet and runny. Let cool in the pan, then carefully remove the brownies with a fork and/or small spatula, and transfer to a wire rack or plate. Warning: this will likely prove difficult, so be careful and have patience. They might fall apart anyway.

They remind me of those brownie snacks you buy that come in the small packets for your lunchbox.
Enjoy! Shout-out to Iris and Cameron for the recipe.
Adapted from Minimalist Baker

The Best Chocolate Chip Cookie, pt. II


      Here it is; I promised the next installation of The Best Chocolate Chip Cookie, according to, well, me. Part of the problem here is that cookie eaters have different preferences in a cookie, so it’s hard to say there’s one “best” cookie. But I am close to the best one, for the typical food appreciator’s palate. There are so many things that can be done differently in a CC cookie, so I plan to slowly break down the options and results. The first thing I wrote about was the chocolate in a cookie. I should also be referring to these cookies as chocolate chunk cookies. I have since read somewhere that chunks are better anyway, especially since a lot of chocolate chips have things other than chocolate/milk/sugar. BOO! So take it from the professionals: chunks > chips. A lot of other chocolate-related things were discussed in the first part of this post, check it out here. Otherwise, prepare for some technique talk.

     Today is about butter. If you’ve ever browned butter before, you’re familiar with the aroma and taste that comes with it: caramely, butterscotchy, awesome. It can be tricky at first to not burn it, but once you get the hang of it, it doesn’t take too long, and it’s worth the elevated flavor that comes with it.

     Today is also about time. Time is of the essence as much as that vanilla extract is.

     A friend in San Francisco showed me a chocolate chip cookie recipe from a well-known baker in the city, Josey Baker (yeah, his last name is Baker). He’s famous for his breads and $4 toasts in the hip SF cafés, but his chocolate chip cookie recipe also knows what’s up. His calls for all the butter to be browned. This gives the whole cookie a new web of flavor. At first, it hits you in the face. But once you’re used to it, you only notice when the brown butter is missing. This is how cookies should be: brown-buttery to perfection.

     If your butter looks like this on the stove, you’re close, but not quite to browning. Make sure you keep stirring. Melt the butter on medium heat, and this bright yellow color will come after much foaming has subsided. Not long after, the color will begin to change and the little bits of milk solids that have appeared will go from white to brown. As soon as this happens, move the butter to a new vessel so it stops cooking. There you go, brown butter. I’ve read some recipes that say to discard the milk solids – don’t do it!! That’s where all the caramely goodness is. It won’t poison you!

Once all is done, it should look something like this.

     When I say time, I’m talking about baking time. Josey Baker said something pretty interesting:
     “You should probably take the cookies out before you think they’re done.”
He was on to something. Read on.
     “You’ll know they’re done when they’re a beautiful light brown; the middles will still look a little gooey, but the outsides will push back ever so slightly when you poke them with your finger.”
     Now, I’ve found that this is kinda dependent on when you plan on eating the cookies. If you’re curing a cookie fix and are planning to finish half the batch right away, you can probably keep the cookies in the oven a little longer. When you use Josey’s technique, the cookies take a long time to properly set; i.e be able to pick up without the whole cookie falling apart onto the counter. On the other hand, if you have time, the “undercooking” is great for assuring chewy cookies in days to come. I put “undercooking” in quotes because the cookies aren’t really undercooked. Once you take them out of the oven to cool, they’re still cooking slightly from the hot baking sheets, anyway. Moral of the paragraph: take the cookies out about 2 minutes before you normally would. If you’re squirming in your apron, go ahead and put them back in for a minute.

     Okay enough science, here’s an updated chocolate chunk cookie recipe for you! I’ve been making small batches recently so that 1. We don’t eat as many in the same amount of time, and 2. I have more opportunities to play around with different versions. So feel free to double this recipe.


Chocolate Chunk Cookies
Makes about 25 cookies

1/2 cup (1 stick) unsalted butter, browned
1/4 cup white/cane sugar
1/4 cup brown sugar
1/2 teaspoon vanilla extract
     ~combine these ingredients after the butter has cooled slightly.
1 egg
     ~mix into above ingredients

1 cup flour
1/2 teaspoon baking soda
1/2 teaspoon salt
     ~gradually sift these into the wet mixture, mixing until smooth

1 cup semi-sweet chocolate chunks
1/2 cup milk chocolate
2 tablespoons cocoa nibs (optional)
     ~incorporate into dough

Chill for at least two hours in the fridge. Then place teaspoonfulls on baking sheets and place in an oven at 375 degrees for 6-7 minutes, or longer for larger cookies. When the edges have rounded out but the centers still look shiny, take the cookies out and breathe. Wait for some time for the cookies to set. This won’t be when the cookies have cooled, but after. Feel free to transfer to a different flat surface. Enjoy!

Christmas Cookies: Insta-dition

     Happy New Year! I hope dieting was not on your list of resolutions this year, because there are cookies coming your way. Many cookies! They’re all excellent. Since I was running around with flour hands for two days, I thought it best to stick to my phone for the majority of Christmas’s photo-documentation. As a result, I have created a fun photo/recipe link post à la Instagram. Though none of these photos has seen Instagram as of this moment, I edited these 12 photos on my phone as if they were going to be grammed. With minimal staging, and no further ado, I present the 2k14 Christmas cookies, in square format.

      First up: ginger molasses cookies! Or molasses spice, or gingersnaps. I go with the first because I make sure these come out nice and soft so they fall apart in your mouth/hand if you’re not careful. These are particularly great in the getting cold/freezing seasons, but make what you want, when you want. Recipe from Smitten Kitchen here.

      Round two: chocolate chunk cookies! Folks, I’ve been working hard at the next best recipe for these things. So many variables, so many tests, so many possibilities! I’ll give you a hint while I finalize the next post: brown butter, light folding. Vanilla beans don’t hurt, either. In the meantime, find out about all things chocolate in your chocolate chunk cookie here.

     This year’s MVC: the Citrus Snickerdoodle. Introduced to me by my friend Adriel, these cookies throw you for a loop, then make you question your relationship with snickerdoodles altogether. I asked for the recipe he used, but he geniusly made it himself – here’s what he wrote out for me:

Faux Citrus Snickerdoodles
1 1/2 c. sugar
1 c. butter, softened
2 eggs, room temperature
2 3/4 c. all-purpose flour
1 T. baking powder
1/4 t. salt
zest of 1 lemon
zest of 1 orange
1 T. freshly squeezed lemon juice (optional)
1 T. freshly squeezed orange juice (optional)

1/4 c. sugar, set aside
approx. 1 T. ground cinnamon, set aside

1) Preheat oven to 400°F.
2) Cream sugar, butter, eggs, & juices if using. Add flour, baking powder, salt, & zests.
3) Shape dough by scant tablespoonfuls into balls; roll in cinnamon-sugar mixture.
4) Place 2 in. apart on ungreased (dark) cookie sheet.
5) Bake until set, golden & slightly crisp, about 8 minutes. Cool cookies immediately on wire rack.

Yield: 3-4 dozen cookies

Do make sure to chill this dough for a bit; it will make it a lot easier to work with.

     Winner of best wrap-up to 2014 goes to the lavender shortbread. You see, I brought back the lavender from my stay in France for the first half of the year (memories/mishaps found here), and tried my first lavender shortbread in San Francisco, where I spent the middle of the year. But I still have a whole bag of the stuff (taking suggestions now). Here’s the recipe that I doubled, with too much butter here. Will most likely have an updated recipe later because these were frachement excellents.

     No I did not arrange the sink like this, nor did I plan on taking a photo of it, but I thought it looked kinda cool so, here you go. Dishes.

Here’s to finding the mathematical equation for eating many baked goods while staying extremely fit, right? Happy New Year!

Christmas Bread

Happy holidays! We’re reaching the end of the year already? I’ve finished school, which hopefully means I will be living in the kitchen, learning all sorts of exciting things, and documenting them. Stay tuned for new developments with this new time on my hands. In the meantime, enjoy the first steps: my first EVER solo bread loaf! It came out pretty great! Just in time for New Years; dig out your scale and flour and try your hand at some yourself.
Randomly selected ingredients/add-ins from the local co-op:
Dried apricots, dried cranberries, golden raisins and walnuts!
This picture was an accident, but I thought it looked better than what I was going for.

Essentials: Water & yeast, flour, and Ratio by Michael Ruhlman:
how to make anything from bread to sausage to soup with a simple ratio for each,
just add nuts/pepper/cheese etc.

No dough hooks or paddles necessary! Just add the water, 
grab a wooden spoon and mix until you’ve got a dough.
Heyy check out my mom’s photography skills! Apparently you’re supposed to knead for 10 minutes; you can add your particulars halfway through this. I’m still working on the kneading thing…my
dough was kinda dense but that also may have been the pastry flour I was using…oops.

  Woot feast your eyes on the jam-packed super-bread. Only four ingredients,
apart from the fruit and nuts. If you think you’ve added too much and bits
are falling out, fret not! It will all be okay.
Voilà! Despite the different lighting, it did not take too long to make this bread,
just some waiting. All worth it! Now we have a yummy bread chock-full of
nutritious things! It still looked kinda foldy before I threw it in the oven so it was dense but
IT’S COOL, still tasted great.

This is what the dining room table looked like by Christmas morning. Turkey? Nah,
cookies. And bread. Stay tuned for cookie recipes shortly! In the meantime, enjoy the leftovers of the holidays before your resolutions kick in.

Dried Fruit and Nut Bread
Adapted from Ratio by Michael Ruhlman
20 oz bread flour
12 oz warm water
1 packet or teaspoon active yeast
2 teaspoons salt
2 cups of your choice of dried fruit and nuts
1 cup water and cast-iron skillet for steam

Put your mixing bowl on the scale, zero it out, and measure out the flour. If you have a stand mixer, you add the rest of the ingredients, zeroing as necessary. With no mixer, get a second bowl and measure out the water using the same process, and add the yeast and salt. Add this to the flour and combine with a wooden spoon.

Once you get a homogenous mixture, take out the dough and knead it on a floured surface for 10 minutes, or until the dough is smooth and elastic. Halfway through, gradually fold in your fruit and nuts. After kneading, place the dough back in the bowl, greased and/or floured, and let sit until double in size (an hourish).

Take the dough out and knead again to get rid of excess gas, or punch it down, then let it sit again for 10-15 minutes. You can then shape the dough into a boule by rolling it on the counter until it is a round ball. Place it on a ceramic surface or pan and let sit one more time for an hour. You can also refrigerate the dough at this time for up to a day, allowing it to come to room temperature for 2 hours before baking. Preheat the oven to 450 degrees, and put a cast-iron skillet on a rack to heat up for steam during baking.

Take the boule and cute an x, pound sign or any other pattern you want at the top to allow the dough to expand in the oven. Pour the cup of water into the skillet to create steam in the oven. This process helps to create a thick, crisp bread crust. Do it: it’s important and impressive! Bake the dough at 450 degrees for 10 minutes, and then at 375 degrees for another 45 minutes or so. When the bread is done, it will sound hollow when you tap the bottom. Cut and enjoy naked or with anything on top!

Shout out to my mom for helping with the lighting 😀

Peach Crisp

     Hey, y’all; just a quick update and well-wishing for your holiday festivities, or lack of. However you’re spending this week, here’s a super easy recipe for some peach cobblery awesomeness for my mom from a friend’s recipe.

Peach Crisp!
Ingredients

6 cups peaches, frozen or fresh
¼ cup sugar
2 tbsp lemon juice
¾ cup brown sugar
½ cup flour
½ cup uncooked quick cooking oats
1 tsp cinnamon
¼ cup butter
Directions
Use a 9×9 pan, add peaches and sprinkle with sugar and lemon juice
Mix brown sugar, flour, oats, cinnamon
With two knives “cut in” the butter until the dry mixture is crumbled
Sprinkle over peaches
Bake at 350 degrees for 45 min, or until browned and bubbling.
      Enjoy some time away from work! Stay tuned for an updated C.C cookie recipe, and some phonomenal Ithaca dining. In the meantime, stay safe and eat well.

Ithaca Dining Installment #5: Maxie’s

     I’ve been curious about Maxie’s Supper Club and Oyster Bar since sophomore year, when a friend told me about their New Orleans-inspired menu. I hadn’t heard much about it since, so I made an effort to ask around and see what people thought. What I gathered from the two others I heard from was that 1. the food was overpriced for the quality you’re getting and 2. the seafood may not seem great to a New Englander. This is particularly unfavorable as I indeed grew up in New England, and additionally love seafood. So, my expectations were lowered going into the experience with Wei En, Rebecca, and Shyla. On the other hand, I was still looking forward to new cuisine exposure.

     First stop: cornbread with honey butter. Now THIS did not disappoint. I wanted to spread the butter like frosting on a cake. We may have had three helpings of pre-dinner baskets…
Also, if you can tell, Maxie’s is dark at night. Very, very dark. I say at night because the whole north side of the building is windows and glass doors. I assume that during the now-dwindling daylight hours, it’s full of glorious rays from the sun. Challenging for evening photos. Additionally also, the set up of the restaurant is like nothing I’ve seen before. There were three separate dining rooms, and they were all connected via doorways. Very interesting.

     Wei En ordered the Damn-Good Fish Fry, with rough-cut fries and creamy slaw. Apparently the batter for the fish was good, but “nothing out of the ordinary”. It also could have used more fish, or less fry.

     Rebecca went for the Chicken-Fried Chicken, with mashed potatoes and Brussels sprouts. I believe it was generally satisfying.

      Shyla and I both decided on shrimp and fried oyster po’boys, with Cajun waffle fries. Classic and simple. I would say the oysters were fine, though I couldn’t really tell since they were covered in batter. The baguette was nice, but I have become a spoiled bread brat thanks to France, so I felt it could have been crunchier.

     For dessert, we split a slice of key lime pie. Maybe it wasn’t the prettiest or tangiest, but it hit the spot appropriately after our consumption of fried foods.

     All in all, a good time with adequate food, for a fine(r) dining price. I can now say I have experienced Maxie’s, though next time I may take advantage of their oyster bar.

Easy Apple-Cran Crisp

     It is now clear to me that Fall is here to stay. Prepare for scarves, hoodies, and beanies on campus/elsewhere. I wanted to quickly share a really easy recipe for those still with some apples hanging around the kitchen from that one time you went apple picking. We have to make room in the fridge for pumpkin everything anyway. While you wait for an updated cookie recipe, here’s some soft-yet-crunchy apple-cranberry crisp! Really, the hardest part is cutting the apples.

Apple Cranberry Crisp, from Better Homes and Gardens
Here’s to recipes turning out the same as their picture!


Ingredients

5 cups thinly-sliced peeled apples
1 cup cranberries(frozen or fresh)
2 tablespoons granulated sugar
1/2 cup quick-cooking rolled oats
1/3 cup packed brown sugar
3 tablespoons all-purpose flour
1/2 teaspoon ground cinnamon
2 tablespoons butter

Directions

  1. In a large mixing bowl combine apples, cranberries, and granulated sugar. Transfer to a 2-quart square baking dish or a 9-inch pie plate.
  2. In a small bowl combine oats, brown sugar, flour, and cinnamon. Cut in butter until crumbly. Sprinkle oat mixture evenly over apple mixture.
  3. Bake in a 375 degree F oven for 30 to 35 minutes or until apples are tender. Serve warm with a dollop of ice cream or whipped cream. Makes 6 servings.

     In other news, the (no longer) new school year has brought a new food blog! I’ve come together with other college bakers/cooks to bring you varying recipes and kitchen adventures. We call it College Bakers’ Collective, and you can find it right here. It’s been really cool getting to see what other college kids, who are just as busy as the next kid, are up to in their kitchens. Come say hi; if you’re waiting for something new from me, there’s a good chance something has already been posted @ CBC. Stay warm, kids!