Dad’s Mango Bread

mangobreadgifMango bread…does that sound strange and exotic to you? I was pondering it while sharing mine with friends and I heard them say it. For my own family, mango bread was a standard, normal thing to have in the house, though I do realize that this may not be the case in most American households. For a time we always had a loaf on hand, and three in the freezer. My dad would make big batches of the stuff to make breakfast during the week a little better. I never made it myself, but got to experience the different adjustments with every few rounds of baking. In honor of Father’s Day, and mostly because I was reminded of this bread when prompted at work to share our fathers’ recipes, I decided to have a go myself. Disclaimer: neither name spelling nor ingredients are 100% accurate in that article. In any case, it was a great opportunity for me to buy some mangoes and fire up the oven for a better-than-banana quick bread of champions.

rubber-scraper-movement-mango-bread

Fresh mangoes are the best mangoes! Also ripe, but sometimes you just can’t wait.

rubber-scraper-movement-mango-bread

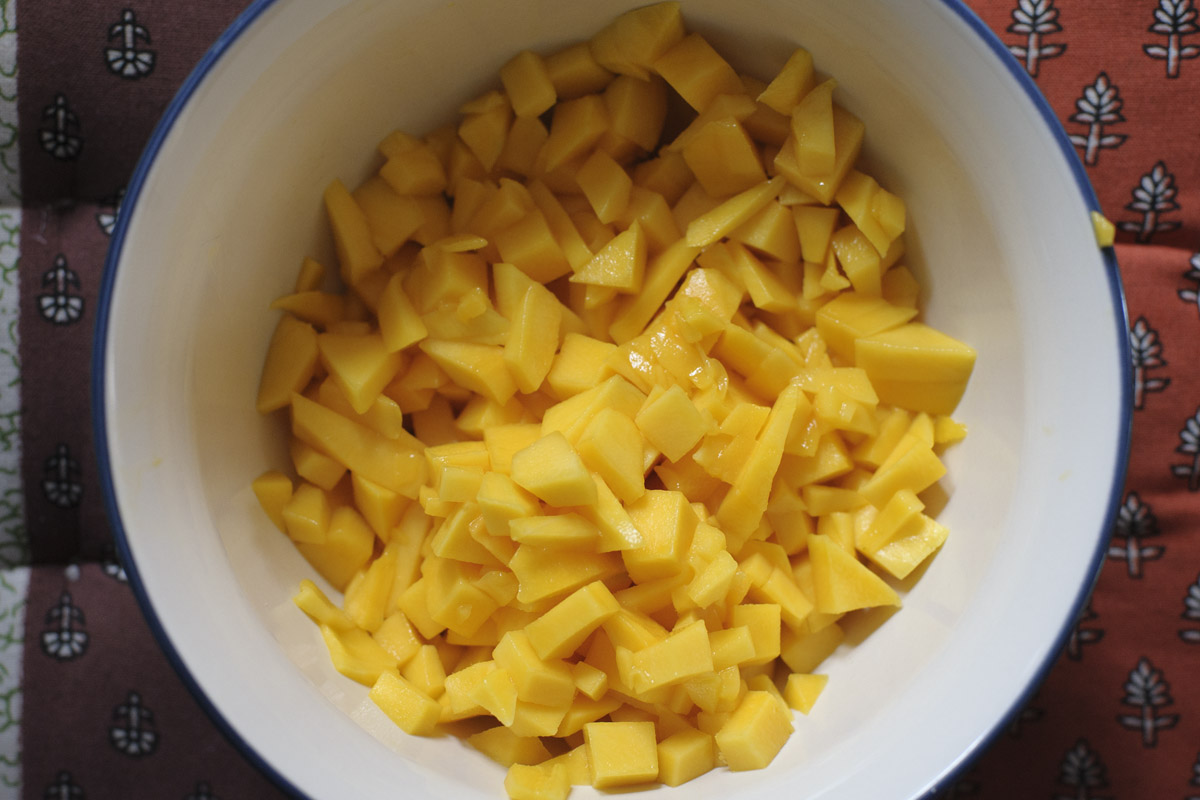
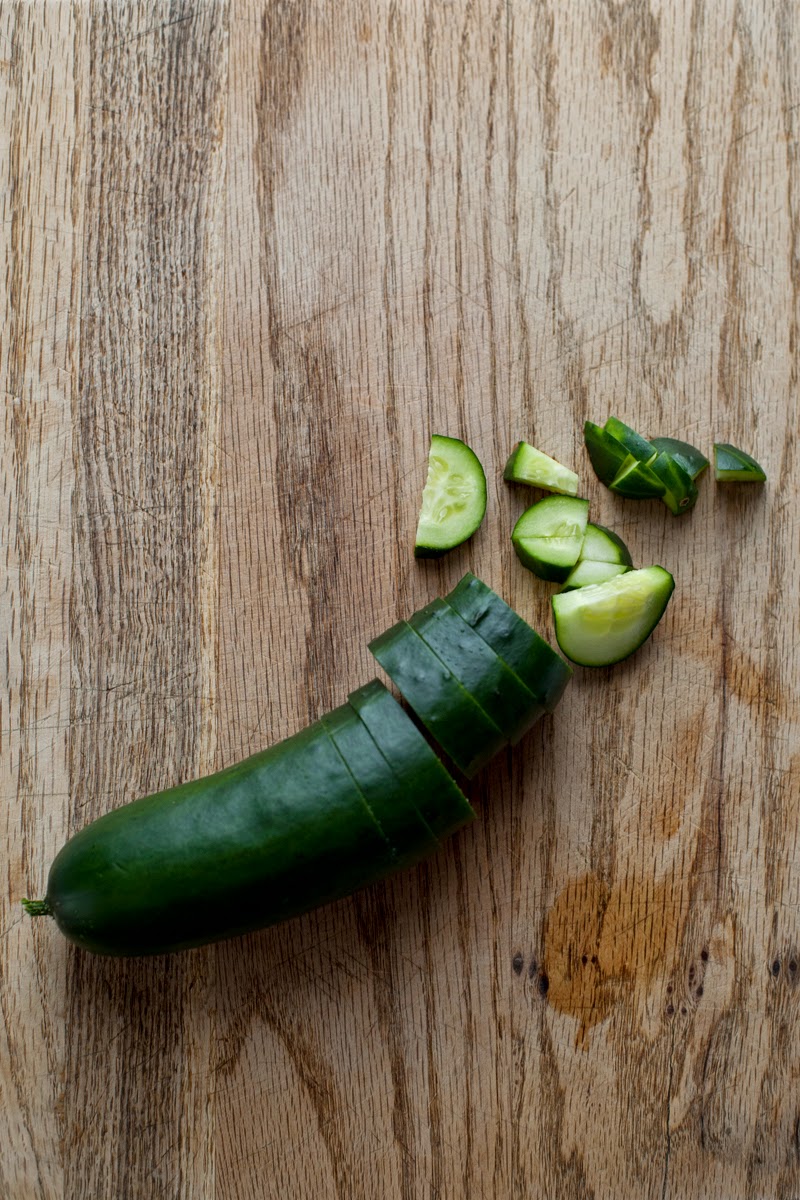
You’ll need some for puréeing and some for chunking.

rubber-scraper-movement-mango-bread

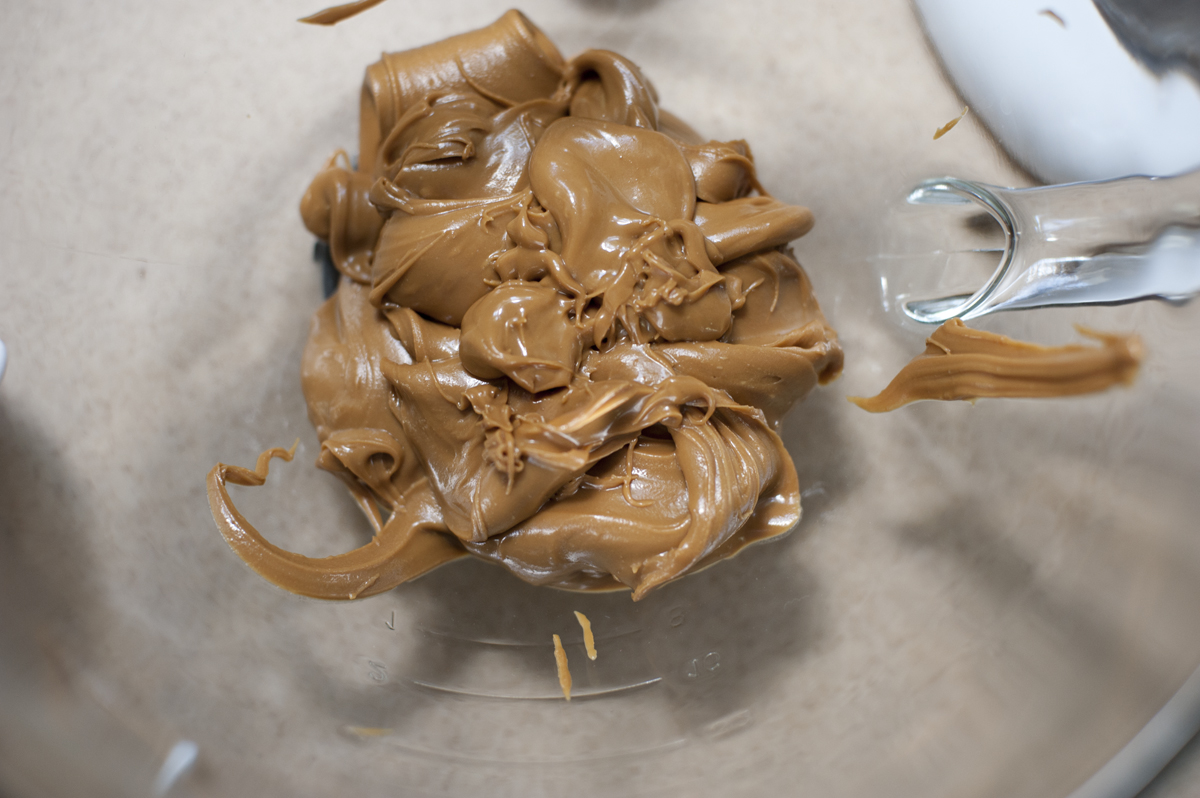
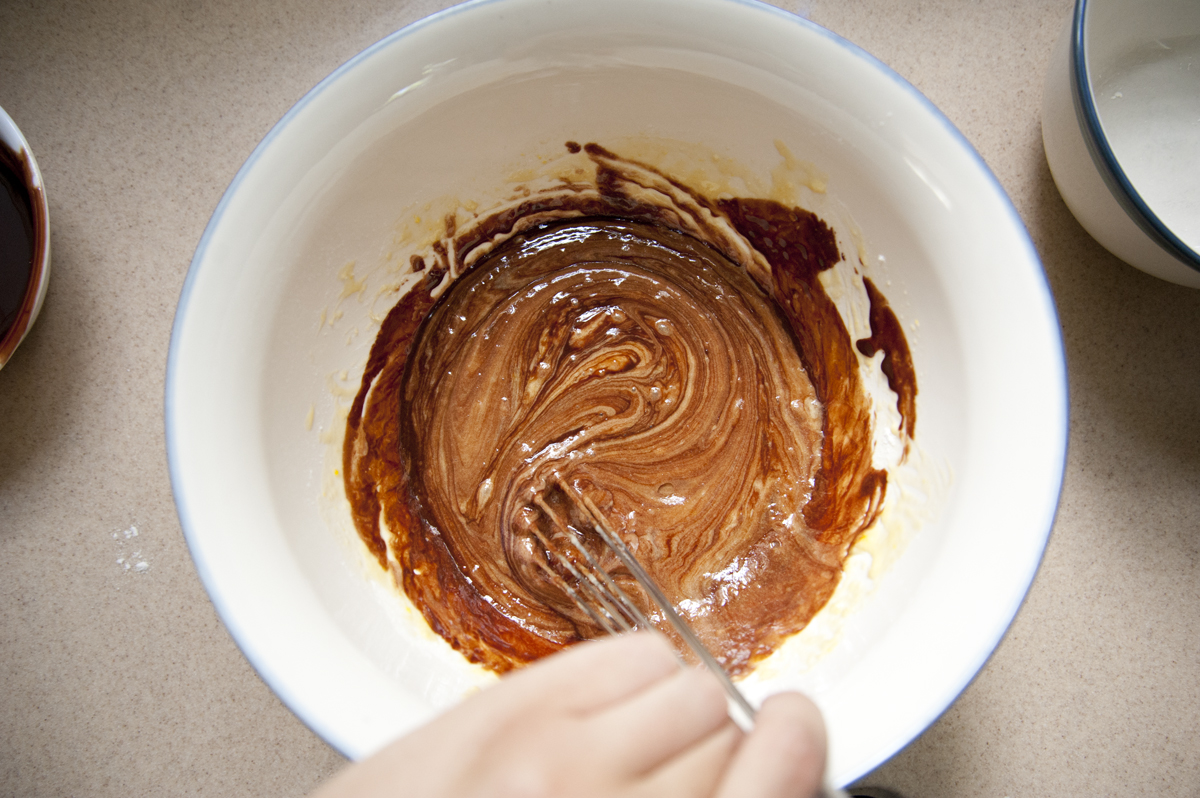
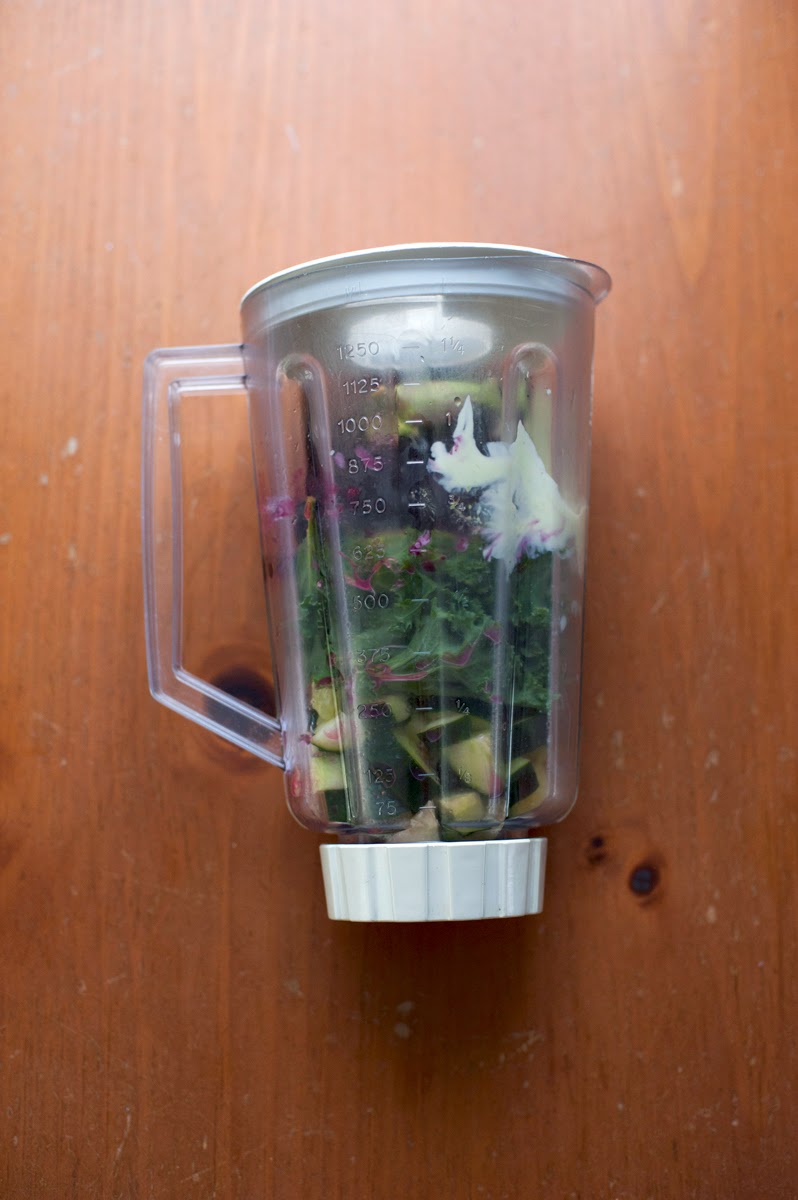
Immersion blenders are fun, but occasionally messy. If you have the right bowl, you’ll be in good shape.

rubber-scraper-movement-mango-bread

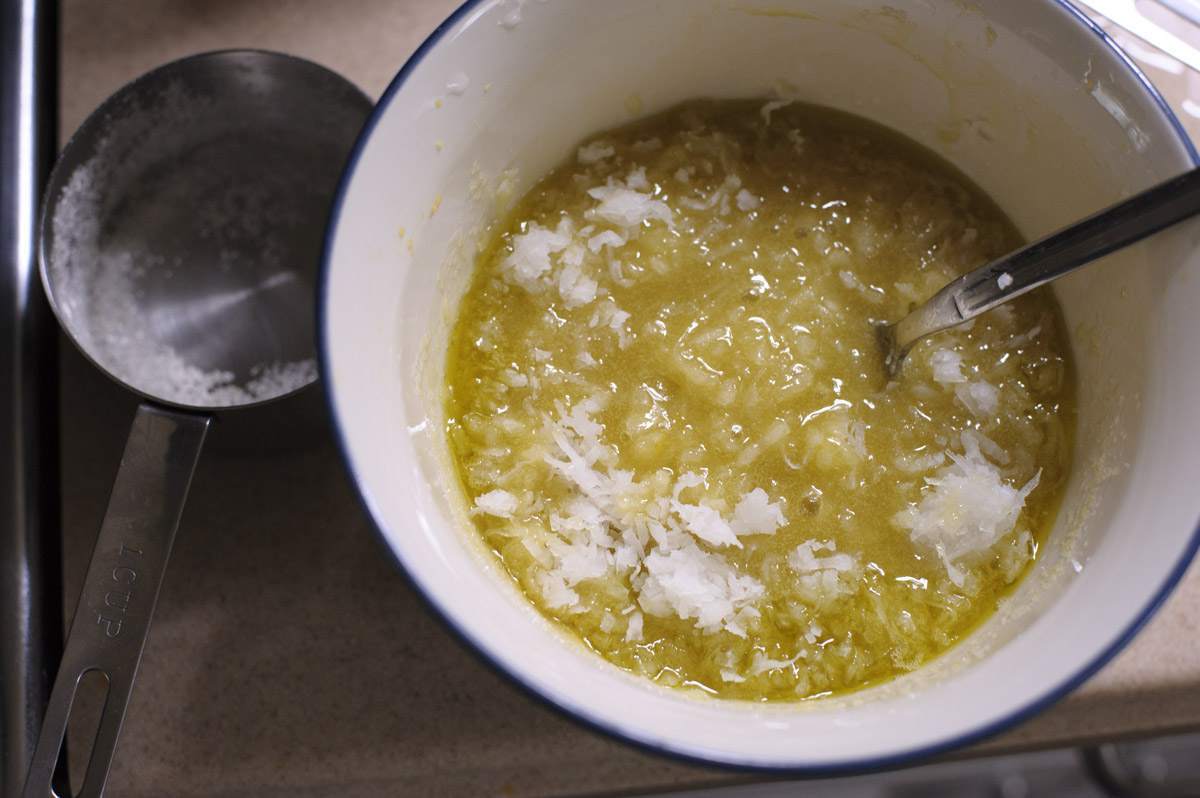
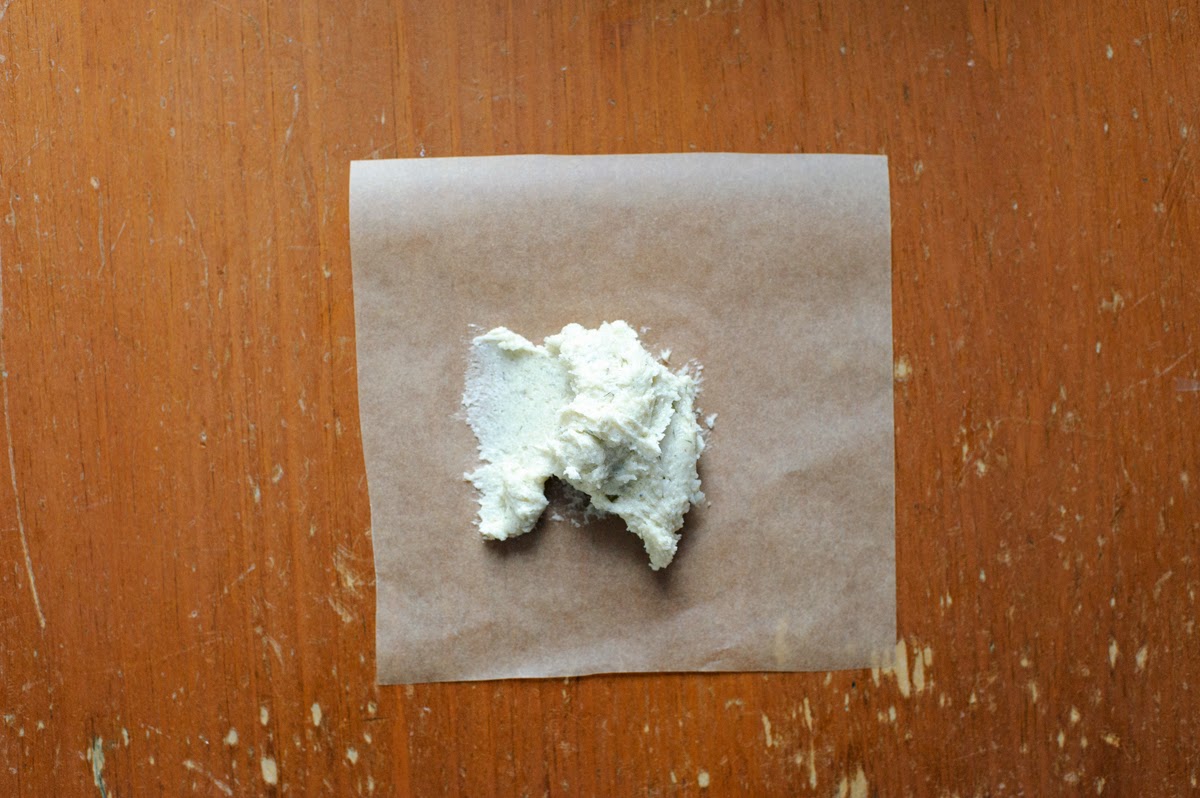
Not-so-secret ingredient:coconut

rubber-scraper-movement-mango-bread

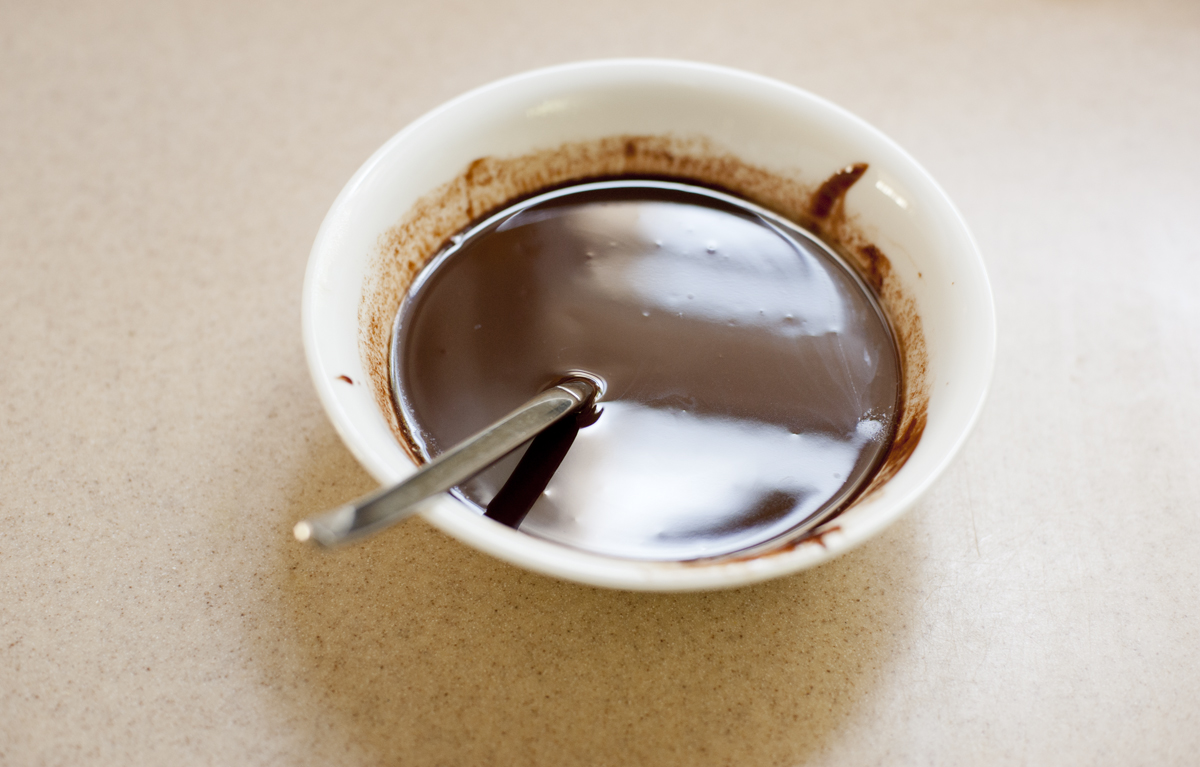
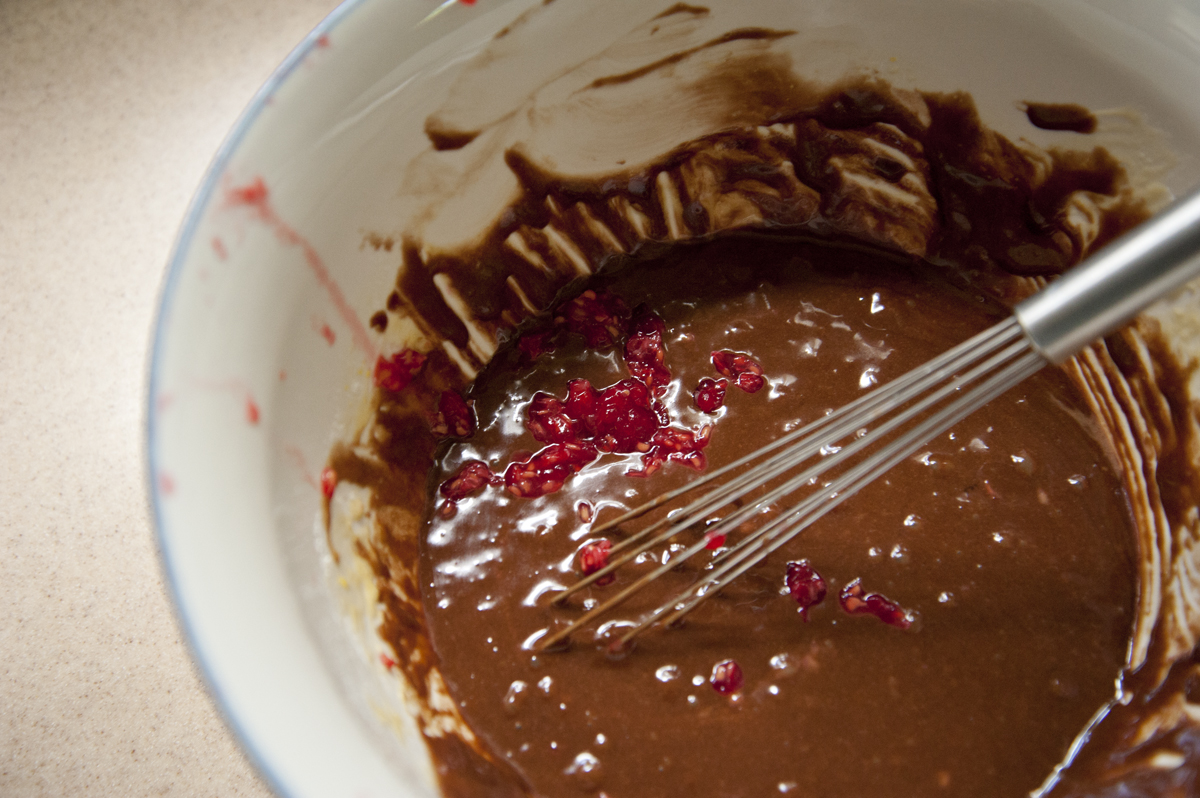
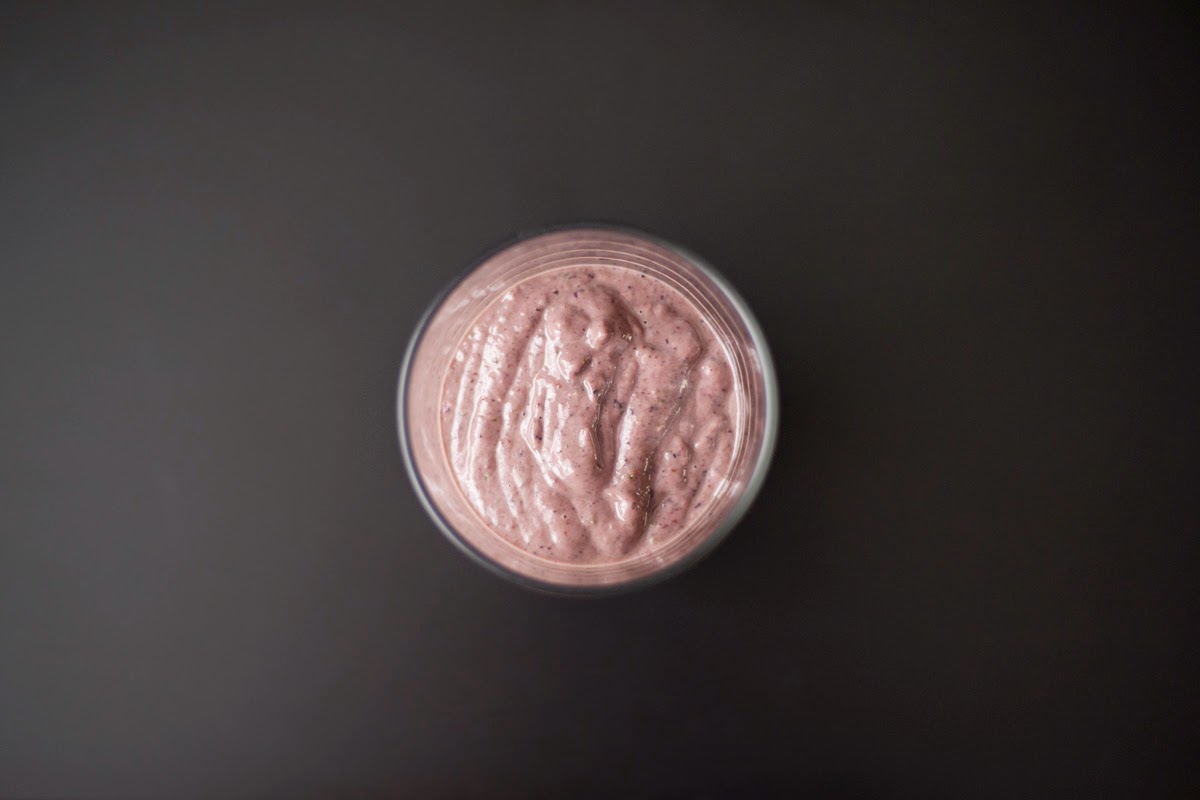
An important step here is combining the baking soda with the mango purée. Read below for more info…

rubber-scraper-movement-mango-bread

Dad’s Mango Bread
Makes one large loaf

1 large mango, puréed (about 1 1/4 cup purée)
3/4 teaspoon baking soda
2 teaspoons water1 cup sugar
2 eggs
1/4 cup olive oil
1/2 sweetened shredded coconut
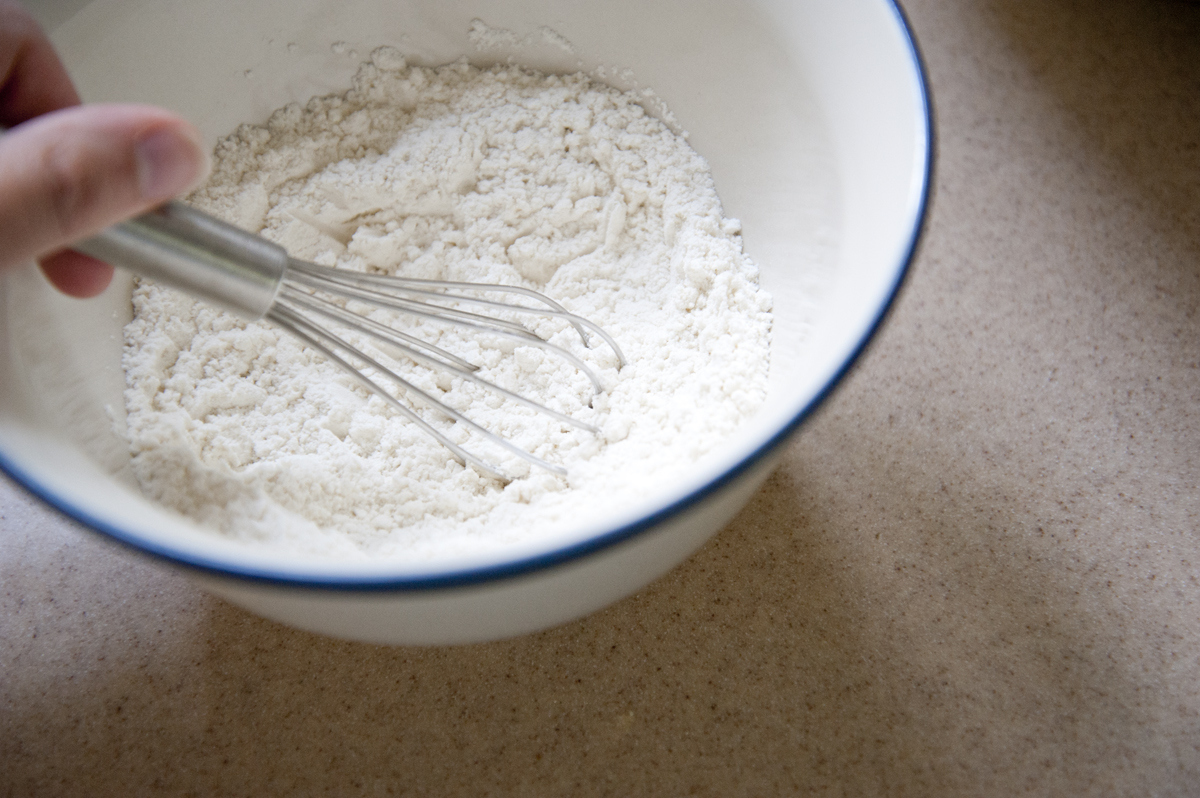
2 1/2 cups flour
1 1/2 teaspoons baking powder
1/2 cup chopped mango
1/2 cup yogurt
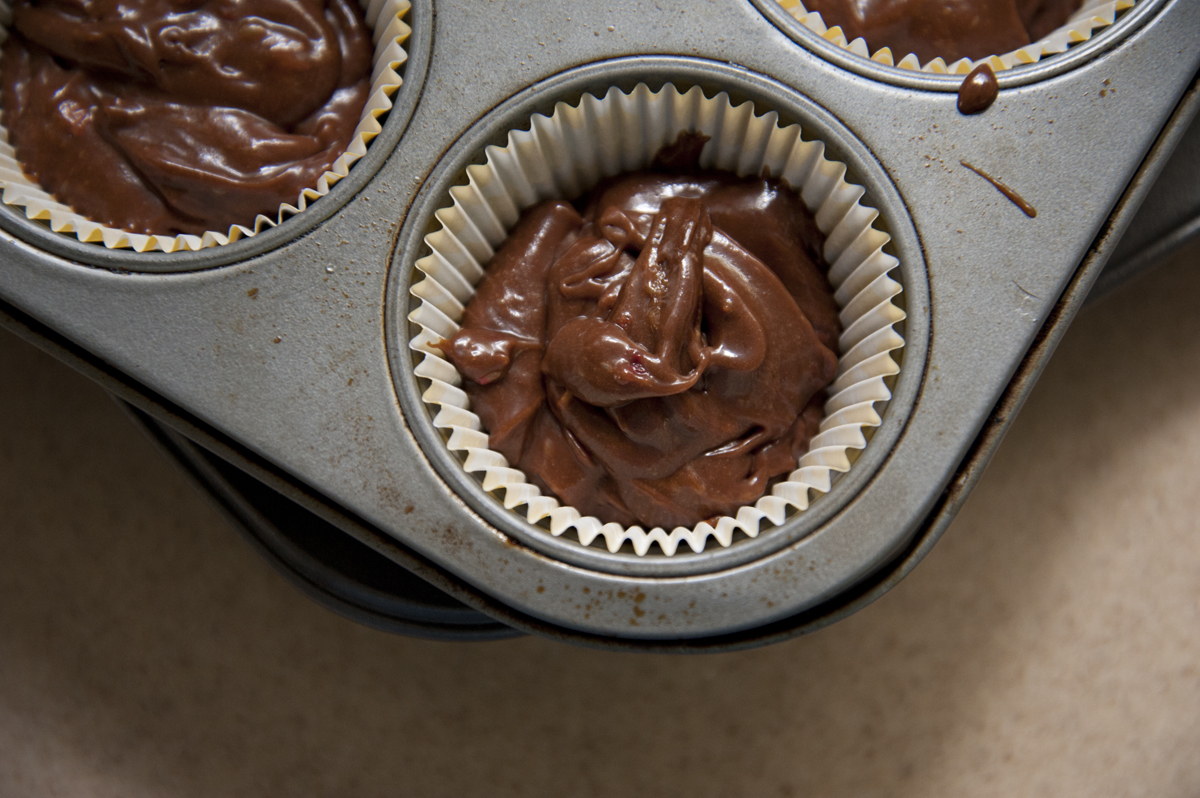
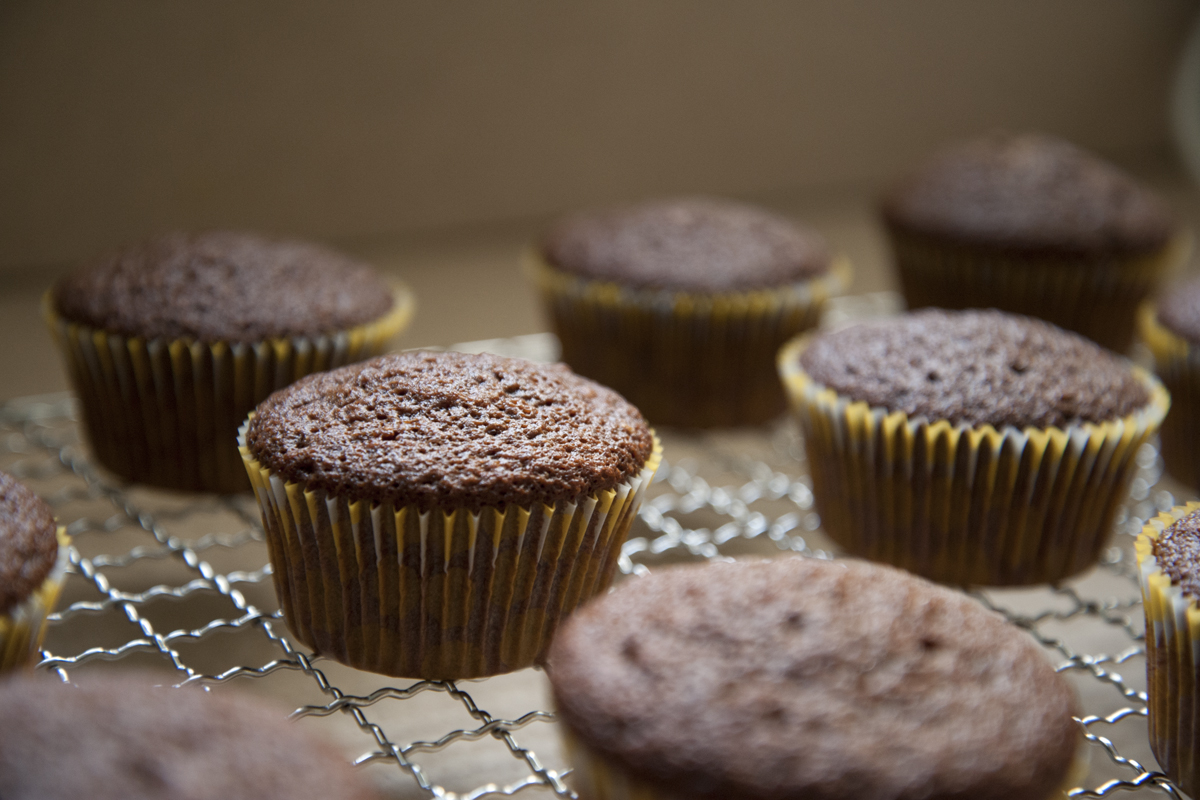
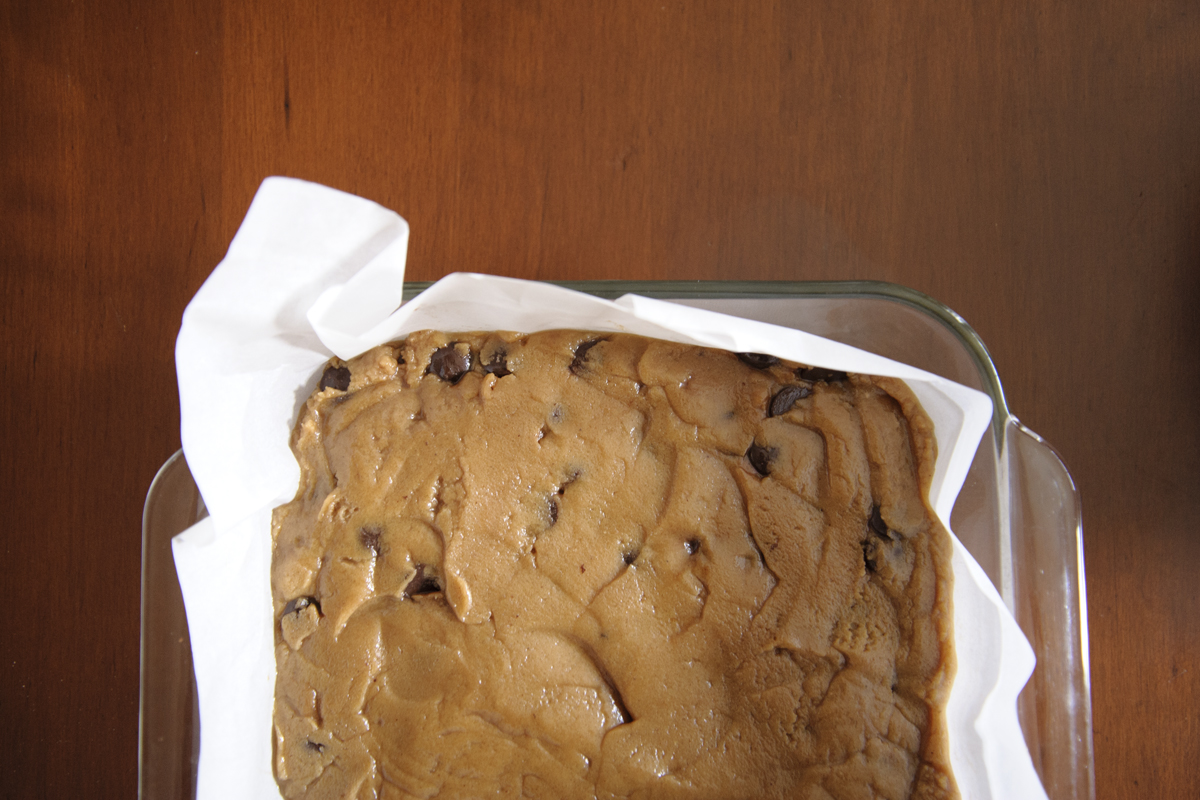
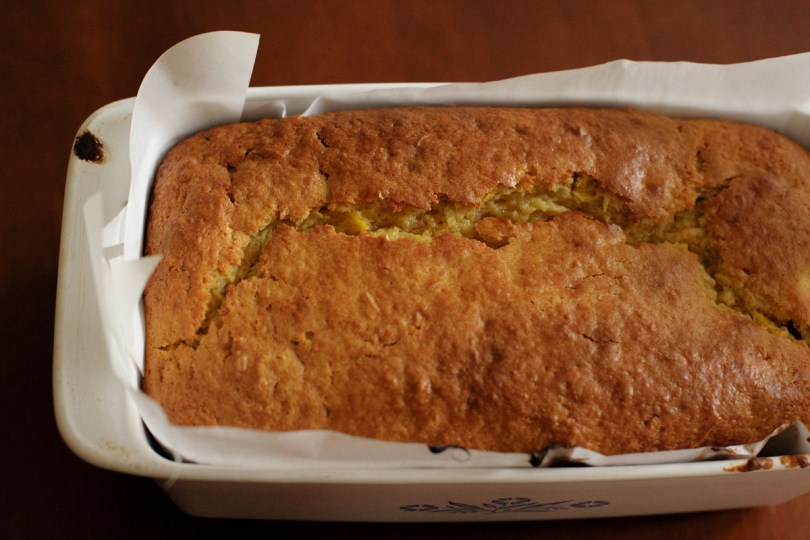
Place the mango purée in a large bowl. Separately, combine the baking soda and water, then mix into the mango purée. Let sit for 5 minutes*. In the meantime, combine the sugar, eggs, oil, and coconut in a new bowl until well incorporated. Mix this into the mango purée. Stir in the flour and baking powder, one third at a time. Add in the chopped mango and yogurt last, then place in a bread pan lined with parchment paper. Bake in the oven at 350° for 60-70 minutes, until the top is plenty browned and looks like it might burn (ie – more brown than mine, so the top doesn’t collapse). Take out and let cool. Best served slightly warm!

*u wot? You want me to add the baking soda to the mango? This is so that the mango acidity slows its roll so your bread doesn’t come out too strong or sour, but instead mellow and rich 😀

rubber-scraper-movement-mango-bread

rubber-scraper-movement-mango-bread

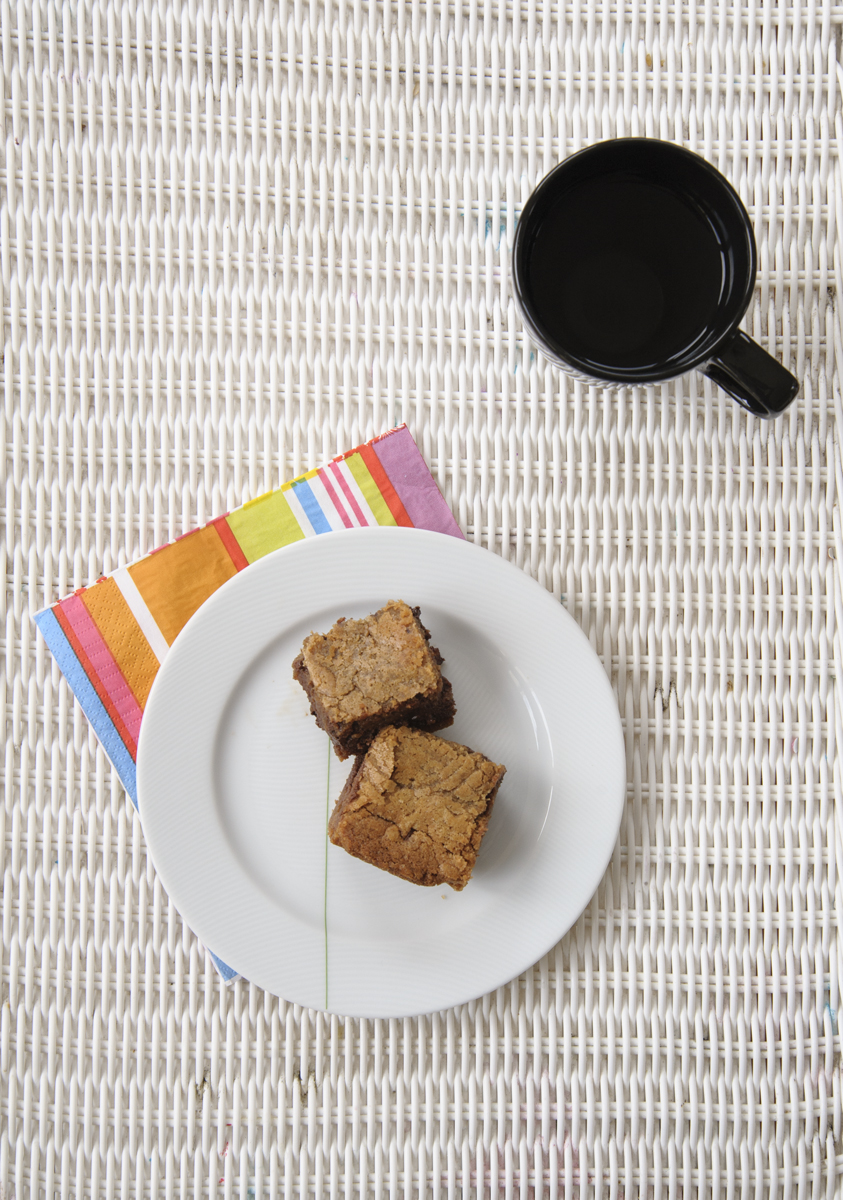
Enjoy, and happy Father’s Day!

Chocolate Raspberry Cupcakes with Speculoos Frosting

This weekend I wanted to see how to make a filling or frosting out of speculoos that was less intense than the spread itself. The only way to do this more or less was with cupcakes…challenge accepted. Chocolate seemed most appropriate, and I had some chocolate chips from a photo shoot at work to use up (pics to come). I discovered that your typical frosting additions do not particularly help the spec-situation, and ended up with acceptably tasting, yet strangely textured speculoos “frosting”. I feel a civic duty as a self-proclaimed food blogger to share my culinary efforts, both successful and otherwise, to illustrate precisely what and what not to do in abnormal baking practices. So learn from my mistakes so you don’t have to make them yourself 😀

DSC_3041  First up: get your jar of speculoos into the bowl. This was almost the whole jar, but I used 1 cup. You’ll need an electric mixer or kitchen stand to get the spread whipped.

DSC_3042DSC_3054

See the color change? Good! I should have stopped there and forgotten the rest but….NAH

 Check out this gif! Gonna try to make this a thing, hopefully better. Not bad for a last-minute decision, though.

carmen-ladipo-rubber-scraper-movement-cupcakes

Cue heavy cream. Except don’t, because this will happen. As they say, don’t fix it if it ain’t broke! I think with just some powdered sugar and more mixing it would have been 👌. So don’t add heavy cream. Maybe don’t add sugar either because it’s all so sweet to begin with.

carmen-ladipo-rubber-scraper-movement-cupcakes

K moving right along…the cupcakes themselves were really great so we’ll get right to it. There was no cocoa powder in this recipe and just a half cup of chocolate chips. Melt with butter and you’re good to go.

DSC_3073

Time for whisking! With a fancy pointy whisk that is much easier to wash than the normal round ones.

carmen-ladipo-rubber-scraper-movement-cupcakes

More whisking with the cute should-have-sifted-these-together-but-didn’t mini whisk

carmen-ladipo-rubber-scraper-movement-cupcakes

Mix it up

carmen-ladipo-rubber-scraper-movement-cupcakes

Add crushed raspberries

carmen-ladipo-rubber-scraper-movement-cupcakes carmen-ladipo-rubber-scraper-movement-cupcakes

Check it out – before rubber scraper, after rubber scraper!

carmen-ladipo-rubber-scraper-movement-cupcakes

How cute. So moist and dark.

Chocolate Raspberry Cupcakes with Speculoos Frosting
This is what I would recommend you to do. Everything described is how it went down, except for the frosting. If you have better luck with yours, leave a comment below and tell me about it!Makes 12 cupcakes

Cupcakes
1/2 cup unsalted butter
3 oz bittersweet chocolate (~1/2 cup chips)
2 eggs
1/2 cup sugar
1 teaspoon vanilla extract
1/2 teaspoon salt
3/4 cup flour
3/4 teaspoon baking powder
1/2 teaspoon baking soda
1 handful raspberries

Frosting
1 cup speculoos, or cookie butter from TJ’s

Directions
Melt the butter and chocolate together with a double boiler. You can also microwave them. Make sure you mix well if you do this. In a large bowl, whisk the eggs, sugar, vanilla and salt together. In a separate bowl, whisk the flour, baking powder, and baking soda together. Add these dry ingredients in increments to the egg mixture. Add the chocolate and butter in two rounds, still using a whisk. Mash up the raspberries; you can use a potato masher, a fork, or your hands. Just make sure to get all the juice.
Pour the batter into a muffin tin lined with paper, two thirds to three quarters of the way up. Place in the oven at 350° for 18 minutes.

For the frosting, put the speculoos in a stand mixer with the paddle attachment, or large bowl, using an electric mixer. Mix on medium speed until the color has gotten much lighter and the speculoos is less dense. Add some powdered sugar if you dare. Once the cupcakes have cooled down, spread the frosting on the cupcakes and enjoy!

carmen-ladipo-rubber-scraper-movement-cupcakes

Grab some milk. You’ll need it.

Brown Butter Blondies (w/ friends)

To the best of my knowledge, blondies are just brownies without the chocolate. So wouldn’t that make them cookie bars, especially if you add chocolate chips? I vote yes. There’s nothing wrong with a nice dense cookie square. And like most things in life, these are much improved with brown butter! Always a good life choice. This week I had some little helpers, one of whose fingers you can see going for the goods. Needless to say I had lots of help mostly eating these blondies (which passed with flying colors). DSC_3002Brown Butter Blondies Adapted from Phyllis Grant Makes 12 blondies Ingredients 1 cup unsalted butter 1 1/2 cups brown sugar 3 teaspoons vanilla extract 2 eggs 2 cups flour 1 teaspoon salt 1 1/2 cups chocolate chips Melt the butter on the stove in a light colored saucepan. Keep stirring until the spitting has stopped and the little bits floating about go brown. Transfer the now brown butter to a bowl and let cool completely. Once the brown butter has cooled, move it to a large mixing bowl and combine with the brown sugar. Add the vanilla and eggs until well incorporated. Add half the flour and the salt, mixing until just combined. To avoid over mixing, add the chocolate chips next. Lastly mix in the rest of the flour. Put the batter into an 8×8 pan lined with parchment paper or aluminum foil, and smooth out with a wooden spoon or spatula. Place in the oven at 350° F for 30-35 minutes, or until there’s no jiggling when you move the pan die to side. The time it’s in should vary depending on your preference of done-ness. I went with 40 minutes and it was done, but not burnt. Just remember to let it cool completely! Yes, this may take over an hour!

DSC_2985 DSC_2986 DSC_2987 DSC_2994 DSC_3000

Confession: I didn’t wait an hour to cut out the blondies. But I think it made it easier to pull them apart later. They’ll get a lot harder once they’ve cooled. If after a couple of days they’re too hard, throw one in the microwave for 30 seconds at half power. Even better with ice cream!

carmen-ladipo_rubber-scraper-movement_brown-butter-blondies

Don’t worry, they’re worth the wait.

New York / New Blog

Subpar iPhotog on train ride home

Hey friends! It’s been two and a half years since I started my food blog Food on Food on Photos, and I thought it would be appropriate/necessary to update the digs of these food rants a bit. This is as good a time as any, since this week marked my first day at my first-ever job-job! If you’re not familiar with the site Food52, you should definitely check it out! It’s cool, and I thought that before I applied there (proof). Their Our HQ is in Chelsea/Manhattan, surrounded by all sorts of noms and New Yorkness. Real life; excellent.       A word about this new blog – as you can see from the home page, all of my posts from my previous blog are here for your viewing convenience. This means that I’ll likely be removing the old blog some time soon. I’m definitely looking forward to the blogging/formatting perks of this new one but bear with me while I find the perfect theme. As far as names go, I decided on “The Rubber Scraper Movement” because I truly believe in my heart that the world would be a better place if we all used rubber scrapers before washing our large mixing bowls. As I’ve said before and before, you can get whole muffins/cupcakes/cookies out of a couple scrapes of the bowl. So you could say the title is an homage to my favorite kitchen utensil, a call to action for all bakers, and/or a friendly reminder to use your rubber scraper! With baking OR cooking! But mostly baking. Stay tuned for more posts in the coming weeks as I settle in and trump new culinary shenanigans. In the meantime, stay cool, add me on Food52, and keep an eye out for my photo on the Team page. 😀

The Dish on Toast

This time last year, I was opting out of $4 toast from The Mill in San Francisco. Since then, the toast craze has exploded nationwide, and people are making ridiculous, delicious, or both, pieces of art on a slice of bread. Granted, the toast at the Mill is mostly $4 for the bread itself (Josey Baker), as the toppings consisted of Nutella and cinnamon sugar. But Bon Appétit made the toast trend their cover story in January. Truly, what’s better than adding a fun combo of foods you’d eat alone onto a crispy slice of toast? Especially when you’ve made the bread yourself! If you didn’t though, that’s cool. Read on for party-starting, trendingly on fleek toast.

Little spin on what seems to be a classic: ricotta and honey, plus some lemon zest for fun.
Everything is better with lemon zest.
Another classic: lox/smoked salmon and cream cheese.
Sprinkle some form of dill for a good time.
Inspired by Bon Appétit: smushed avocado, thinly sliced cucumber (peeler!)
with lemon zest, and red pepper flake. And salt, somewhere!

White (Chocolate) Drizzled Lavender Shortbread


My friend Rebecca requested a baked good for her recital reception that included lavender and white chocolate. Apparently, this is a fairly common combination. I still have a large amount of lavender from France in the pantry, so I was eager to find a winning recipe. But after much searching, I concluded that the best/least messy/most portable way to go was with shortbread. I made lavender shortbread before, for Christmas, but I wasn’t perfectly satisfied with the recipe…well there’s no time like the present for fixing!


Butter + sugar

+ lavender + salt

+flour


+ heat


I made them very cute-sized so many people could try at the reception, and drizzled Ghirardelli “Classic White Chips” over them. Nope, no chocolate! Don’t get it twisted though: to be classified as white chocolate, a confection must contain at least 20% cocoa butter. I guess Ghirardelli didn’t even bother with that, just sugar, oil, milk, soy, and vanilla. Interesting…enjoy to your liking!


White Chocolate Drizzled Lavender Shortbread
Makes 30 medium cookies

1 cup butter
3/4 cup sugar
1 teaspoon salt
1 tablespoon cooking lavender, ground
2 cups flour
1 cup white chocolate chips

Combine butter and sugar with an electric mixer and set aside. Use a mortar and pestle or food processor to grind up the dried lavender. Add this with the salt to the butter and sugar. Gradually mix in the flour.

On a floured surface, roll out the dough to around 1/4 inch in thickness and press out cookies with a cookie/biscuit cutter of your preferred size. Roll up leftover dough and repeat. Place on baking sheets and bake at 350° for 15-20 minutes, or until edges are slightly browned.

At half power, microwave the chips in a bowl in 30 second intervals. When fully melted, place in a sandwich bag with a corner cut out. Drizzle quickly over lined-up shortbread ~ this may take a few tries but you’ll get the hang of it! The chocolate (or white) will make it on somehow.


Spotted Dick

     Dear Britain,

             Thank you for very many of your sweet delicacies: Swiss rolls, Cadbury Flake, mince pie to name a few. And I’m sure this “spotted dick” of yours may be passable as a homemade dessert, but I’m wondering who told you it would be wise to put this pudding/bread/cake/raisins in a can to boil or microwave? Looking forward to hearing back on this.
Best,
Carmen

If you’ve ever seen this, it may have been from Chopped. My grandma would boil this right in the can (as you’re instructed), and serve to my mom. I guess we thought we would try it out…bring back some memories, appreciate another British classic. Well, now we know what I was missing: not much.

Again, I can see how this may be an enjoyable homemade cake, or pudding. Still not sure about what exactly this is. Anyway, we opted for microwaving on a covered plate.
Finished product. It tasted like raisins, that’s pretty much it. So in case anyone was wondering about spotted dick, here you have it.

Molten Chocolate Cake: Recipe Video!


     Hey all! My friend Iris and I made our first recipe video on Molten Chocolate Cake, and it’s pretty fun! Go check it out! Hopefully this is the first of many, but we’re still learning so feel free to leave a comment here or Vimeo with feedback! Here’s the recipe from Food and Wine


Molten Chocolate Cake
Makes 4 6-ounce cakes

Ingredients
1 stick (4 ounces) unsalted butter
6 ounces bittersweet chocolate, preferably Valrhona
2 eggs
2 egg yolks
1/4 cup sugar
Pinch of salt
2 tablespoons all-purpose flour


Preheat the oven to 450°. Butter and lightly flour four 6-ounce ramekins. Tap out the excess flour. Set the ramekins on a baking sheet.

In a double boiler, over simmering water, melt the butter with the chocolate. In a medium bowl, beat the eggs with the egg yolks, sugar and salt at high speed until thickened and pale.

Whisk the chocolate until smooth. Quickly fold it into the egg mixture along with the flour. Spoon the batter into the prepared ramekins and bake for 12 minutes, or until the sides of the cakes are firm but the centers are soft. Let the cakes cool in the ramekins for 1 minute, then cover each with an inverted dessert plate. Carefully turn each one over, let stand for 10 seconds and then unmold. Serve immediately.

Flourless Peanut Butter Cookies


     Let’s get right to it: these things are gluten-free AND vegan! But these cookies aren’t GF and V to be accommodating; they’re really just good cookies disguised as healthy. Who said you need anything more than peanut butter and sugar in a good cookie, anyway?


      I was watching Unique Sweets (explanation of the show here) and they were showing the process for a bakery’s flourless peanut butter cookies, so naturally I tried to make some myself. They came out pretty great.


     There are only four things in these cookies, if you count water: peanut butter, powdered sugar, and a flax egg, made from flaxseed meal and water. Make sure you sift the sugar so you don’t have to deal with squashing tiny lumps later.


Flourless Peanut Butter Cookies
Makes 12 3-inch cookies

1 cup peanut butter
1 cup confectioner’s sugar, sifted
1 flax egg (1 tablespoon + 3 tablespoons water)
Optional: coarse sea salt for sprinkling

Combine the peanut butter and sugar in a bowl. Add the flax egg and mix until smooth. To make the dough easier to handle, you can chill it in the fridge for 30 minutes. Scoop out dough to form balls of desired size and flatten with hands. Use a large fork to make cool patterns, so people know they’re peanut butter cookies. Bake at 350° for 9 minutes, or until edges look crispy.

     Evidently, you don’t have a real peanut butter cookie in your hands unless it has those fork marks. And if there’s a cookie with fork marks in your hands, it must be a peanut butter cookie.
     Potential variations include covering the dough in granulated sugar before baking, and using brown sugar in the dough. Hooray for peanut butter!


Green Juice, AKA Purple Smoothie


      I’m not gonna lie, the idea of a juice cleanse has crossed my mind a few times. But in recent past I’ve lacked patience, funds, and willingness to not eat food for more than two days. I still know very little about these juice cleanses, and that may or may not change. I do know that I could probably make my own nutritious, vitamin-filled…beverages. And the results could be similar. I took on the challenge of making a green juice smoothie not taste like you’re drinking vegetables, even though you are. My sweet tooth simply would not have this. The result was half decent, for extreme improvisation and no prior research. Here is your start-to-the-week energizer.


For two-ish servings in a blender:

Cucumber: not a particularly gnarly green veggie (it’s a fruit anyway but shh).
I sliced about half and threw it in.

Kale! The super green super food. I could maybe eat this stuff raw in a hurry. In it goes!
It, referring to two leaves stripped from the thick bottom part of the stem.

Half an avocado for a creamy texture. Probably not included in your juice cleanse.
Disclaimer: putting avocado in your smoothie will cause browning
and impulses to throw out smoothie (don’t do it).

Juice from half a lemon for a good kick (won’t prevent browning).

Not pictured: half a cup of blueberries – THIS tricks your brain into thinking you’re
having a fruit smoothie. Also some yogurt, maybe 2/3 cup or your choice, and honey, to taste.
Blend it up, good to go. Make sure you store in a container that you can shake.

And it doesn’t taste like salad! It totally pulls off summer fruit beverage.
This smoothie makes for a good snack if you’re feeling “hungry”, or morning breakfast.
p.s – that’s about twice what I’ll drink in a sitting.

Happy healthing!