Apple Fest 2k14

     Here’s 25% of the reason I studied abroad in the spring instead of the fall: Ithaca Apple Harvest Festival. Here are all things fall and festive, appl-y, pumpkin-y, yummy, and generally happy.

     On my usual list of things to find are maple cotton candy, kettle corn, a baked good from the Mennonite community, lunch, an apple ice cream sundae from Purity Ice Cream, and, of course, an apple cider doughnut or two. Unfortunately, this year was a bit of a disappointment. First off, Purity Ice Cream wasn’t there this year 😦 I was very upset by this. And maybe the rest of my disappointment came from being at Apple Fest for the fourth year in a row, as well as the construction in the Commons, where the vendors usually stay. But it was a lovely day out of an awfully wet and cold week. I started off with lunch from Star Truck, celebrating their grand opening as Ithaca’s first vegan food truck.

     If you were wondering, I did not in fact know “Star Truck” had an all-vegan menu until I ordered the Mac n’ Chili with cornbread. All things that should have some animal product in it, right? Well I was pleasantly surprised by the mac and “cheese” and the soy proteined chili. The cornbread could definitely have been less dry. But this is saying a lot coming from the last person to sacrifice her meats for beans, and dairy for…other.

     They could do with some remodeling of the truck, but vegan joints beware! There’s a new truck in town and they’re coming to ball.

It may look kinda green, but it filled me right up, and I’m sure it was way healthier for me. And not bad at all.

     Though I went with some hearty food for lunch, I didn’t pass on the opportunity to chat with the server behind “Collegetown Crêpes”. This is another new cart in Ithaca that hangs out by Cornell during the second half of the week for lunch. I think there’s been a law passed recently in town allowing food trucks to slowly come back to the streets. They had been previously prohibited, because politics. Will keep you posted on that one.

     Little Tree Orchard’s good ol’ stand with their good ol’ cider doughnuts. You can’t leave without getting at least one.

     Never forget them. Always worth it. Unless there’s a 30 minute wait, in which case just find them next week at the farmer’s market.

     For the last couple years, I had heard about this one thing that everyone was trying and loving. So I added to my list one more treat. The new go-to apple fest carnival food: pumpkin funnel cake. Consensus: a most poor life choice. I split this with Danielle, and I felt quite awful very soon after. I should have known it was a bad idea when I noted the powdered sugar discolored by the grease seeping through. Not worth it, ya’ll. Sorry.

Pictured: Two pairs of earrings from a couple of the many crafts and artisan booths, kettle corn from a new place because my usual place wasn’t there, some pumpkin whoopie pies.
Not pictured: cold cider.

 Maybe once the Commons is back in action, I will return for round five.

Conquering Yeast with Nutella Buns

     It was my friend Elliot’s birthday, so I went big with some Nutella Buns from Saveur, that I found on a Buzzfeed article about Nutella. Excellent. For some reason I’ve tended to avoid using yeast as much as possible. I think it’s because the first and last time I used it involved doughnuts, a mishap in measuring, and general bad experiences involving deep frying. So I took this opportunity to try again. I think it worked out pretty well! Kicked yeast in the butt, and now there are so many more things that I can take a crack at.

I bought a set of Pyrex dishes for this. I was extremely excited; one step closer to adulthood.

For others intimidated by yeast and all things rising: here’s a photo story on the how-tos of yeast, and what your situation should be looking like. Here is the first step: empty packet contents into bowl.

Step two: add warm water to bowl.

Step three: mix yeast and water together some.

Step four: wait ten minutes (5 minutes in).

     It may not look like anything has happened from this photo, but there should be a foam that forms over the top.

It’s a little easier to see in this photo. Shiny! If you stick a spoon in and see that it’s not all foam, that’s okay! About halfway down it got watery. At least, for me it seemed fine. Still plenty of rising to happen.
 Ingredient essentials.
Combine it up.
     (Sometimes, the wooden spoon doesn’t cut it) Look that’s my hand. I took this. I’d like to take a moment to help you visualize the difficulty of taking this photo that I am so proud of. First off, I’m right-handed, so my non-dominant hand is wielding the instrument here. Second, I’ve only ever seen cameras with the shutter release on the top right (or bottom). My camera has no release on the bottom. So I somehow managed to take hold of my camera with my left hand, snap the shutter, and keep it steady enough to have the photo come out sharp. Okay end boast.
All doughed up

Knead it up and let it sit.

      So the recipe says let sit for two hours, but I went for 24. I definitely say go for longer than two, so the yeast has time to ferment and flavorfy, and you can throw it in the fridge overnight. But wait at least 30 minutes for the dough to warm up before you work with it again.

 15 by 20 inches may be larger than you think, so make sure you have plenty of space for rolling out.

It may look like you have lots of extra dough…but you probably don’t.
 Under non-blogging circumstances, I wouldn’t really measure out the cup and a half of Nutella, but I wanted to see what kind of Nutella overdose we were talking about. At this point in time, I think I had spread a cup of Nutella onto the dough.  It seemed like enough, but I went ahead with that extra half cup anyway.

 Good thing, too. It’s good to get all the way to three edges of the dough so you don’t have to trim them off/chuck them later. You’ll want to leave that last edge free for sealing, though. 

Make sure you flour your surface well before/after rolling out dough.

I was close in my guesstimate for twelve rolls – try the scoring trick before you commit to cutting (does this count as scoring?)

Line that dish. Brown butter-sugary carameliness.

 Also pecans. I hope you like pecans.

Classic before…

…and after. Ok yeah maybe I burned the corner a touch. Keep an eye on the oven, maybe set the timer a couple minutes early.
Y’all will have to tell me how these come out! I did hear “pretty good” things, though.
Nutella Buns, from these two brothers’ cookbook, posted by Saveur, seen on Buzzfeed
MAKES 12 BUNS
INGREDIENTS
1 (¼-oz.) package active dry yeast
¼ cup, plus 1 tsp. sugar
½ cup milk
9 tbsp. unsalted butter, softened, plus more for greasing
1 tsp. salt
1 tsp. vanilla extract
3 eggs
4 cups flour, plus more for dusting
¾ cup brown sugar
⅔ cup coarsely chopped pecans
1½ cups Nutella
1 tsp. ground cinnamon

INSTRUCTIONS
1. Combine yeast, 1 tsp. sugar and ½ cup warm water in a bowl until foamy, about 10 minutes. Meanwhile, bring milk to a simmer in a 1-qt saucepan over medium heat; set aside for 5 minutes. Stir in remaining sugar, 4 tbsp. butter, and salt and stir to yeast mixture with vanilla, 2 eggs, and flour just until combined. Transfer dough to a floured surface and knead until smooth and elastic, about 3 minutes. Place in a greased bowl, cover with plastic wrap; let sit until dough doubles in size, about 1½ hours.

2. Heat oven to 375°. Melt remaining butter in a 1-qt. saucepan over medium heat. Add brown sugar, stir until smooth, and pour into a 9″ x 13″ baking dish; sprinkle with pecans.

3. Transfer dough to a floured surface and roll dough into a 15″ x 20″ rectangle. Spread Nutella evenly over dough, leaving a ½” border on one long side. Beat remaining egg in a bowl and brush the clean border of the dough. Roll dough into a log towards the end brushed with egg; trim ends and cut log into 12 rounds. Transfer rounds cut side up to the  baking dish, sprinkle with cinnamon and bake until golden brown, about 30 minutes. Let cool slightly before serving. Serve inverted onto plates and drizzle with syrup and nuts from the bottom of the baking dish.

Ithaca Farmer’s Market

      It may not be at a large ferry plaza, but Ithaca’s weekly farmer’s market at the steamboat landing (always water vessels) has everything you need and most things you don’t, but want to put in your house anyway. I have vivid memories of this farmer’s market from when I was wee Laddette visiting my grandma. She, my parents, uncle and I would walk around and look at the photographs and paintings from the local artists. I’m sure we looked at the food too, but somehow I really remember the artists. Maybe it’s because there was a stand with and old man who did Chinese calligraphy and painting. At the time, I was enrolled in martial arts etc. classes, the “etc.” including Japanese calligraphy, and I couldn’t have been older than seven. My dad was showing some interest in one of his scrolls with a painting of a cliff with a plum tree, and a poem in Japanese. He read us the text from a different scroll and seven year-old me applauded when he was finished. He told my dad that if he bought the plum tree-cliff scroll, he’d add my new favorite artwork for free. And we did walk away with both scrolls.
     Needless to say, this farmer’s market is no new development. In fact, I’ve seen the same man with the scrolls since starting at Ithaca College. But now, my eyes are just as focused on apple cider doughnuts, crêpes, and Cambodian food. For what’s seeming to be the last nice weekend of the year, I went to the farmer’s market, grabbed lunch, and had a good gander.

Much to feast on for breakfast/lunch/both.
Pretty cupcakes
Carriage House Wood Crafters

Always the heirloom tomatoes

     These apple cider doughnuts are the best doughnuts I’ve ever had, easily. Better than Krispy Kreme. That may be partially because I know they’re so much…less…unhealthy. These are so popular at the Apple Harvest Festival every year, and at certain points throughout that weekend, there will be hour long lines for these doughnuts. These doughnuts, which you can purchase at the same price of 75 cents at the farmer’s market on any given weekend around Apple Fest, or at the orchard. If you go to the orchard early enough, you can get them right out of the oil, too hot to eat for a minute or two.

     My French friend Ben who studies at IC told me that the crêpes at the farmer’s market are truly excellent, so I had to try one for lunch. I tried the “strawberry sweet cheese vanilla” crêpe with some cream cheesey substance on top, and the same of the strawberry variety on the inside. It was almost too sweet for me (which is VERY sweet), but I was satisfied with my choice. I took a picture of Shyla’s Cambodian lunch, which sounds really good. If I defeat my sweet tooth, I’ll try for that next time.

     A recent development at the farmer’s market is this popsicle stand, which is quite reminiscent of San Francisco in that the flavors of popsicle are unconventional and awesome.

Xine got a spicy Mexican chocolate popsicle
Shyla got a strawberry lemonade popsicle
And Liz got a blueberry lavender popsicle.
I heard they were all good.
We met someone who bought these cool looking artichoke flowers. She
wasn’t sure what she was going to do with them (cook or decorate).

     The farmer’s market is a lovely place to go on a weekend morning before you start further work procrastination, to listen to live music, grab a bite to eat, run into friends, and pick up some kale.

The Best Chocolate Chip Cookie, pt. I

     My culinary quest for the best chocolate chip cookie recipe started long ago, when my chocolate chip cookies started coming out differently. So I sought after the reasons that different things were happening. I started softening butter instead of microwaving it, intentionally melting butter, substituting baking soda for baking powder, and many other things. Since eating my way around San Francisco, the quest has got real: More to experiment with, more frequent testing, more tweaking. Thanks to Goody Goodie and Megan, I am now experimenting with cocoa nibs! What an excellent idea. Cocoa nibs and two other general concepts, all relating the the chocolate of the cookie, will be presented hither. Prepare for casual serious food talk.

     So cocoa nibs are chocolate before the chocolate gets processed with cocoa butter, milk and sugar into a bar. At nib form, the chocolate process has reached fermentation and drying. You can get them in their husks, which are technically edible but not tasty, or you can get them already shelled. To be honest, I wouldn’t say the nib itself is all that tasty itself either, but it sure does a great thing for cookies. The nibs are nutty, fruity, and quite bitter. You may not decide to pop a whole nib in your mouth like a cashew or raisin. BUT, the floral taste that sticks around in your mouth (not as well after further processing), does a big thing to a cookie. Too big, however, if you decide to omit any other chocolate-ness. Even so, both the flavor and texture are improved with the cocoa nibs. The crunch definitely confuses people when they can’t see or taste a walnut, and it makes things a little more exciting for your mouth.

      I’ve also sworn off and abandoned chocolate chips. Strange, seeing as I’m trying to make cookies of the chocolate chip variety. So when I say chocolate chips, think more chips in the sense of fragments, bits, chipped. I’ve found chocolate chunks to be so much more appealing. I think it’s a combination of size and psychology. Chocolate chunks are usually big, so you’re sure to get a mouthful of melty chocolate always. You may be wondering if the chunks above are indeed bigger than chocolate chips, and the answer is generally yes – but variety is also good: Some small, some big.
     I also suddenly think chocolate chips are child’s play: How many single chocolate chips have you purchased with chocolate chips and not chunks? Not many, in San Francisco at least. They remind me of 5th grade life skills class in the kitchen at ELMS. But we’re in the big leagues, which calls for big chocolate. Plus, I feel way more credentialed when I’m crushing bars of chocolate. “There are chocolate bars in the cookies”. Don’t tell me that doesn’t sound special.

     Did anyone ask himself/herself why we’re always using semi-sweet chocolate instead of milk chocolate in their cookies? Probably not, since the answer sounds something like “too sweet/mild”. Well, to that I say, everything in moderation. Why not throw all different percentages of chocolate in a batter? This idea I also took from Goody Goodie. If you have milk and dark chocolate in a cookie, you’re pretty much pleasing all chocolate lovers! More for your mouth to do. So now you’ve got cocoa nibs, dark chocolate, and milk chocolate in your cookie. Isn’t that a ton of chocolate?

      YES!! Yes it is a ton of chocolate, and that’s definitely the (last) idea here. This picture is actually a representation of what cookie batter would usually look like, so if your batter looks like this, add more chocolate! You should be questioning the integrity of the final cookie with the amount of batter that seems to be missing. But trust me – there’s enough of everything. If you do nothing else from this post, add twice as much chocolate into your cookie batter and watch the magic unfold…melt.

So to summarize, improve your chocolate “chip” cookies with
1. Cocoa nibs (found at your local co-op, or, uh, on the interwebs? Still investigating Wegs)
2. Chocolate chunks
3. Milk chocolate
4. MUCH chocolate. Wow-worthy.

     Thank you Megan for the cocoa beans (nibs inside) from Dandelion Chocolate, also in fact featured on Unique Sweets.

(Click on photos for a better look)

     Nibs, shelled and broken up. They kind of look like brains from the fold-like cracks that make the nibs come apart easily. I would, however, recommend chopping a little after that to make the bits even smaller. Some of my bites were a little too nibby.

     These make up for less than half the total chocolate going into the cookies. But they pack a big punch.

…not to mention the pretty colors! That batter though.
Cutting up chocolate also makes for cool-looking brown flakes in the cookies.
Next experiments are including but not limited to the shape of dough before hitting the oven, oven temperatures, butter beating techniques, chilling variations, and finding out what parchment paper actually does.
Chocolate Chunk Cookies (by me!)
Makes 45 small cookies
Ingredients
1 cup unsalted butter
1/2 cup brown sugar
1/2 natural/evaporated cane sugar
~Cream these ingredients together until smooth.
 
2 eggs, at room temperature
1 tsp vanilla extract
~Cream with butter and sugar
2 cups flour
1 tsp baking soda
1/2 tsp salt

~Sift these together in a separate bowl, then gradually add by hand to butter, sugar, eggs, and vanilla.

16 oz semi-sweet chocolate chunks
3 oz milk chocolate chunks
1/2 cup chopped cocoa nibs
~Fold this into dough. Don’t panic.

Let chill in the fridge for a few hours, or in the freezer for fewer. Drop tablespoonfulls of dough onto a baking sheet with parchment paper, if you don’t want to wash your sheet later. Place in the oven at 325 degrees for about 12 minutes, or until the middle doesn’t look like a puddle of melted batter. Cool slightly before eating.

How’s that recipe layout? Seems a little more efficient…feel free to comment if you think otherwise. Look out for updated recipes soonish! Happy tweaking!

Ina Garten’s Coconut Cupcakes

     Way back when I was in San Francisco, I made some cute coconut cupcakes and made a semi-real shoot out of it. I had apparently started an entry for them a week after I made them, so I guess I’ll humor you with the original post…here ya go! In the meantime I will be buying groceries and re-acquainting myself with this apartment’s cozy kitchen. Yes, I’m back in Ithaca for the home stretch!

     This could be considered another rendition/episode of “What’s in the Pantry?”, because for the last month we’ve had so much coconut in the house, and I wanted to do something about it. While searching for vegetable recipes in the Barefoot Contessa cookbook, I stumbled across the recipe for Ina’s famous coconut cupcakes with cream cheese frosting. If you’re also wondering “cream cheese frosting? With coconut?”, we were on the same wavelength. Until it actually happened.

Stand mixers are still very exciting. Coconutty awesomeness.
#artsyoverheads

Making frosting is so fun, and so dangerous. I’m hoping cream cheese frosting
is healthier than buttermilk frosting. The one issue that never seems to be resolved is the overwhelming amount of frosting that is left once you have frosted the cupcakes.
I think Jake and I halved the ratio of cupcake:frosting for the chocolate chip cookie dough
cupcakes
, and only three cupcakes were left unfrosted. Note to self: halve frosting recipe
always.

Look at that pretty cupcake! It’s all about using the knife tip to make those cool-lookin
layery lines.
Just like this!
Have I mentioned how much I love rubber scrapers? I’ve gotten whole cookies and cupcakes
from using rubber scrapers. Just. Saying.
Enjoy the following photos from the miniature shoot proceeding the baking.
Carmen’s recipe notes: first off, you can always squeeze more cupcakes out of these recipes than they say. Second, I used yogurt and twoish teaspoons of lemon juice instead of buttermilk (not in the pantry) and they came out fine – dense, but not dry. Lastly, do what you will with the frosting recipe. However, I do recommend halving it if you don’t need a sweetener for your next 15 bowls of oatmeal.
Ina Garten’s Coconut Cupcakes
(3/4 of this recipe) Makes 24 cupcakes
Ingredients
3/4 pound (3 sticks) unsalted butter, room temperature
2 cups sugar
5 extra-large eggs at room temperature
1 1/2 teaspoons pure vanilla extract
1 1/2 teaspoons pure almond extract
3 cups flour
1 teaspoon baking powder
1/2 teaspoon baking soda
1/2 teaspoon kosher salt
1 cup buttermilk
14 ounces sweetened, shredded coconut
For the frosting:
1 pound cream cheese at room temperature
3/4 pound (3 sticks) unsalted butter, room temperature
1 teaspoon pure vanilla extract
1/2 teaspoon pure almond extract
Directions
Preheat the oven to 325 degrees F.

In the bowl of an electric mixer fitted with the paddle attachment, cream the butter and sugar on high speed until light and fluffy, about 5 minutes. With the mixer on low speed, add the eggs, 1 at a time, scraping down the bowl after each addition. Add the vanilla and almond extracts and mix well.

In a separate bowl, sift together the flour, baking powder, baking soda, and salt. In 3 parts, alternately add the dry ingredients and the buttermilk to the batter, beginning and ending with the dry. Mix until just combined. Fold in 7 ounces of coconut.

Line a muffin pan with paper liners. Fill each liner to the top with batter. Bake for 25 to 35 minutes, until the tops are brown and a toothpick comes out clean. Allow to cool in the pan for 15 minutes. Remove to a baking rack and cool completely.

Meanwhile, make the frosting. In the bowl of an electric mixer fitted with the paddle attachment, on low speed, cream together the cream cheese, butter, and vanilla and almond extracts. Add the confectioners’ sugar and mix until smooth.

Frost the cupcakes and sprinkle with the remaining coconut.

Recipe can be found here

A Summer in San Francisco

     To continue my end-of-blogging tendencies, I have run out of time to share all my gastronomic adventures with y’all in a chronologically appropriate time. So it is now the time to conglomerate the  highlights of the rest of my endeavors in San Francisco, the night before my flight back to the East Coast, when I should instead be making lunch/dinner/meal for the stingy domestic flight that won’t provide me with one for free. Featured here is the best chocolate chip cookie I purchased in the city, the Ferry Plaza Farmer’s Market, Tartine Bakery (big deal), and Chile Pies and Ice Cream, north of the Panhandle.

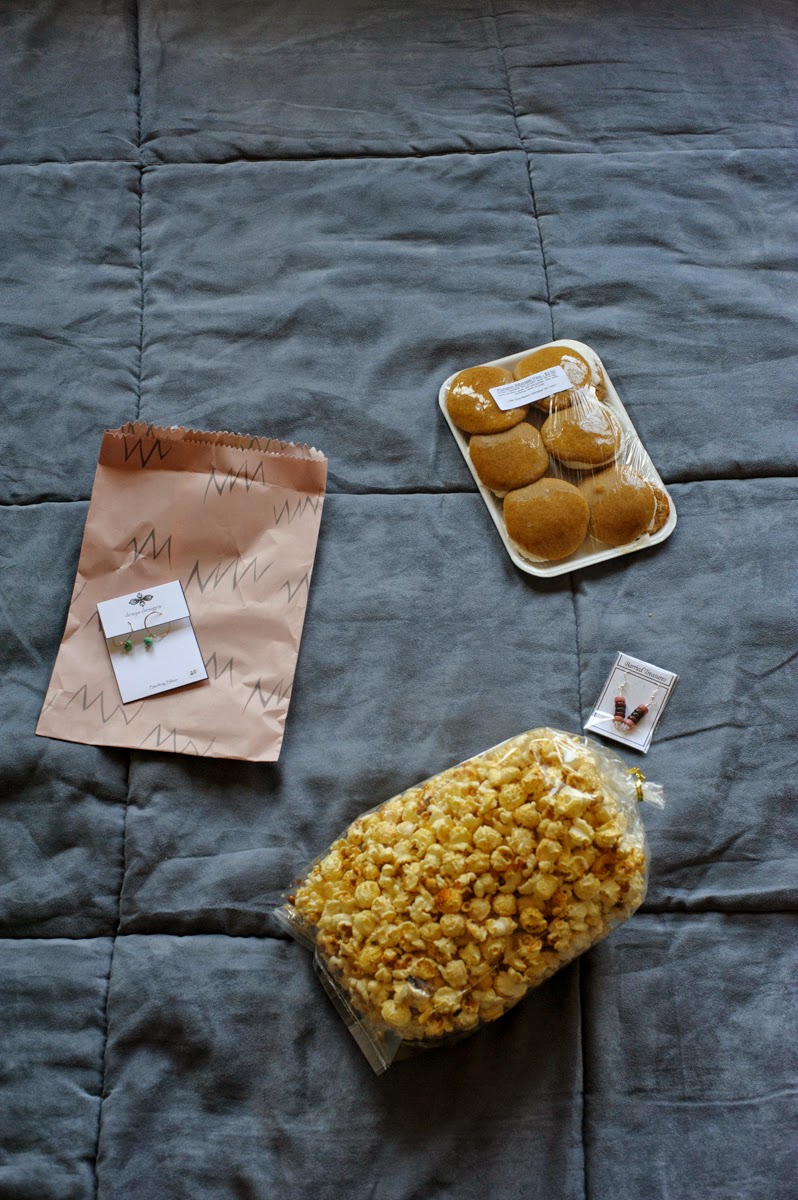
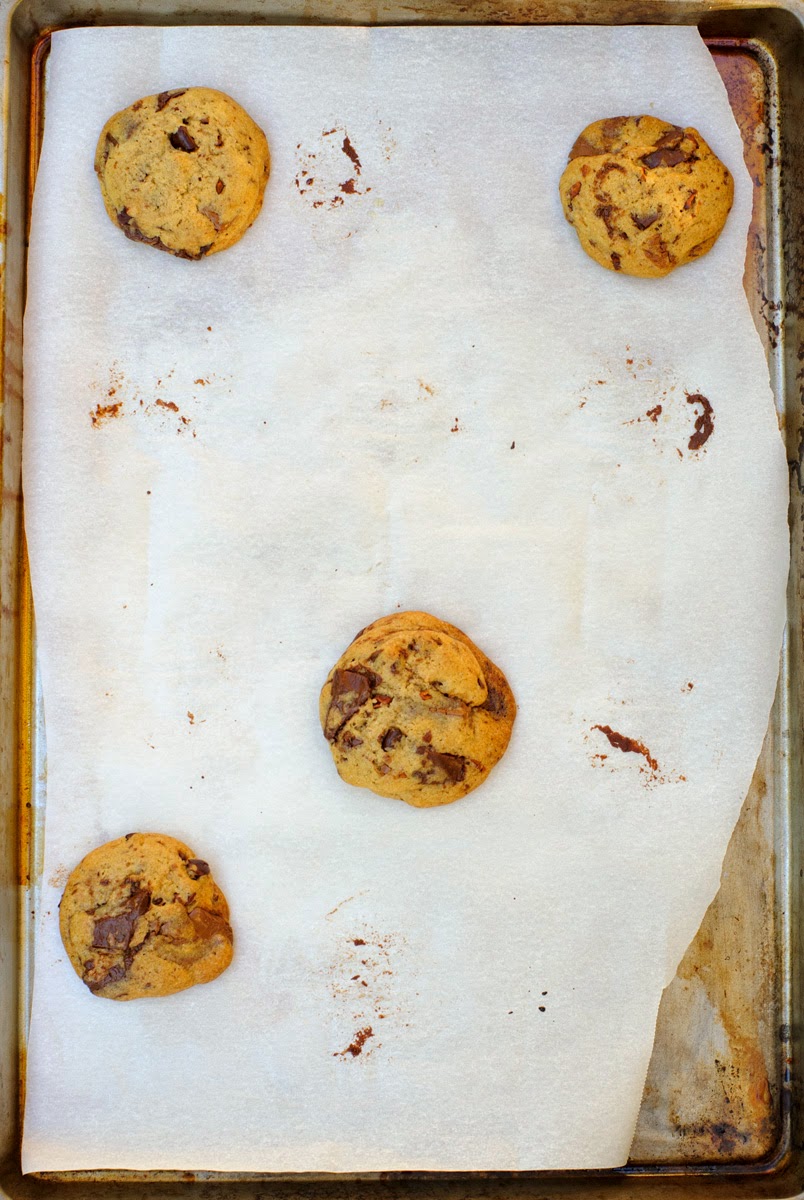
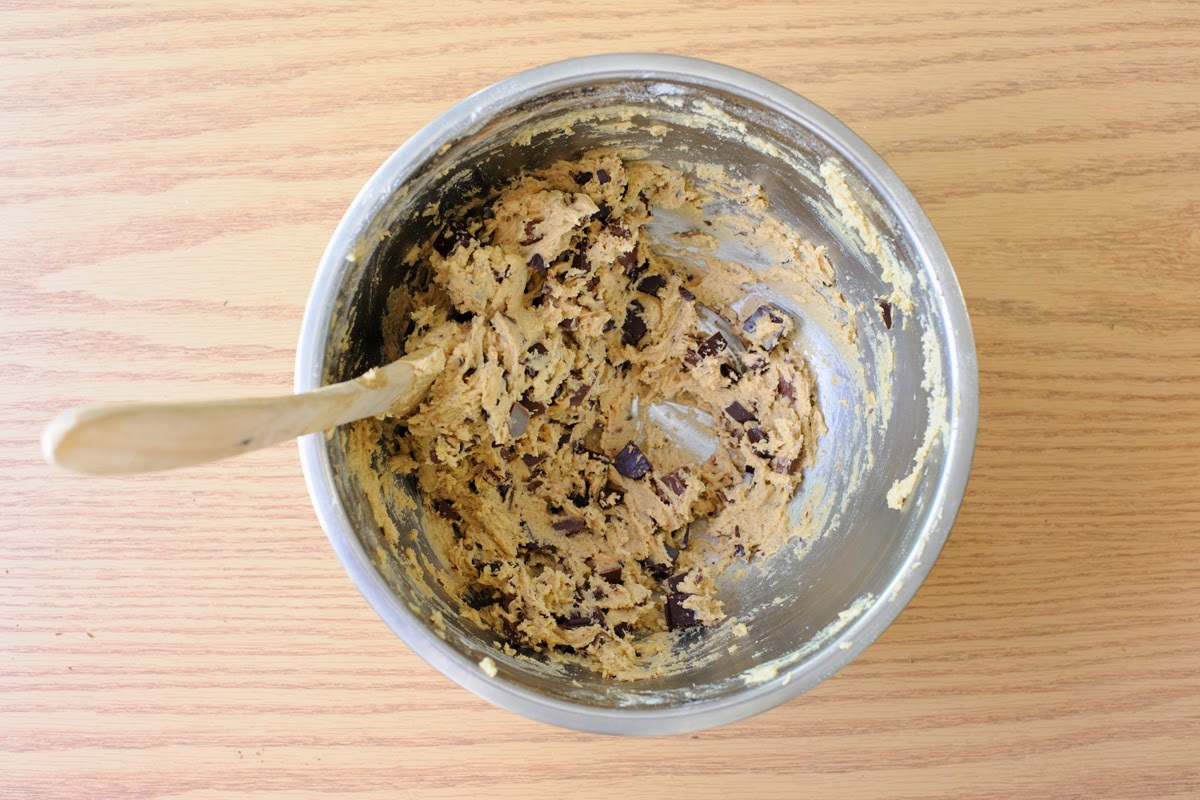
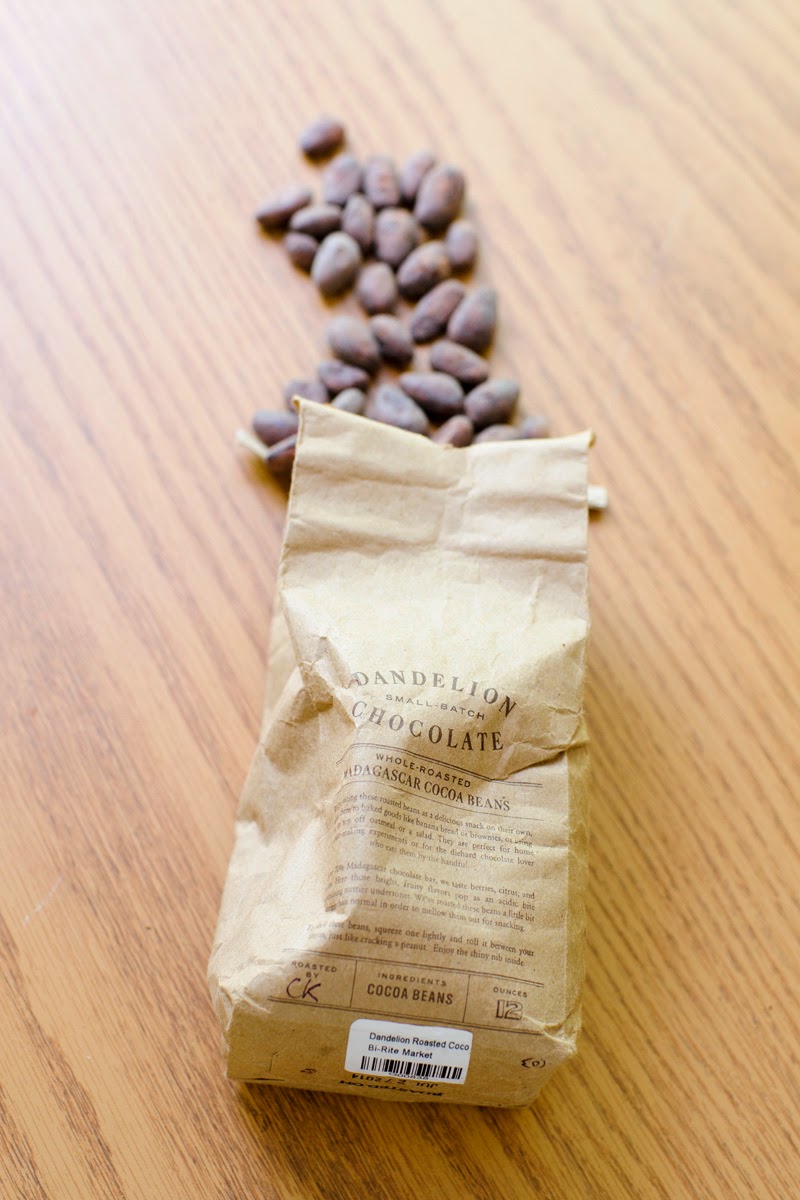
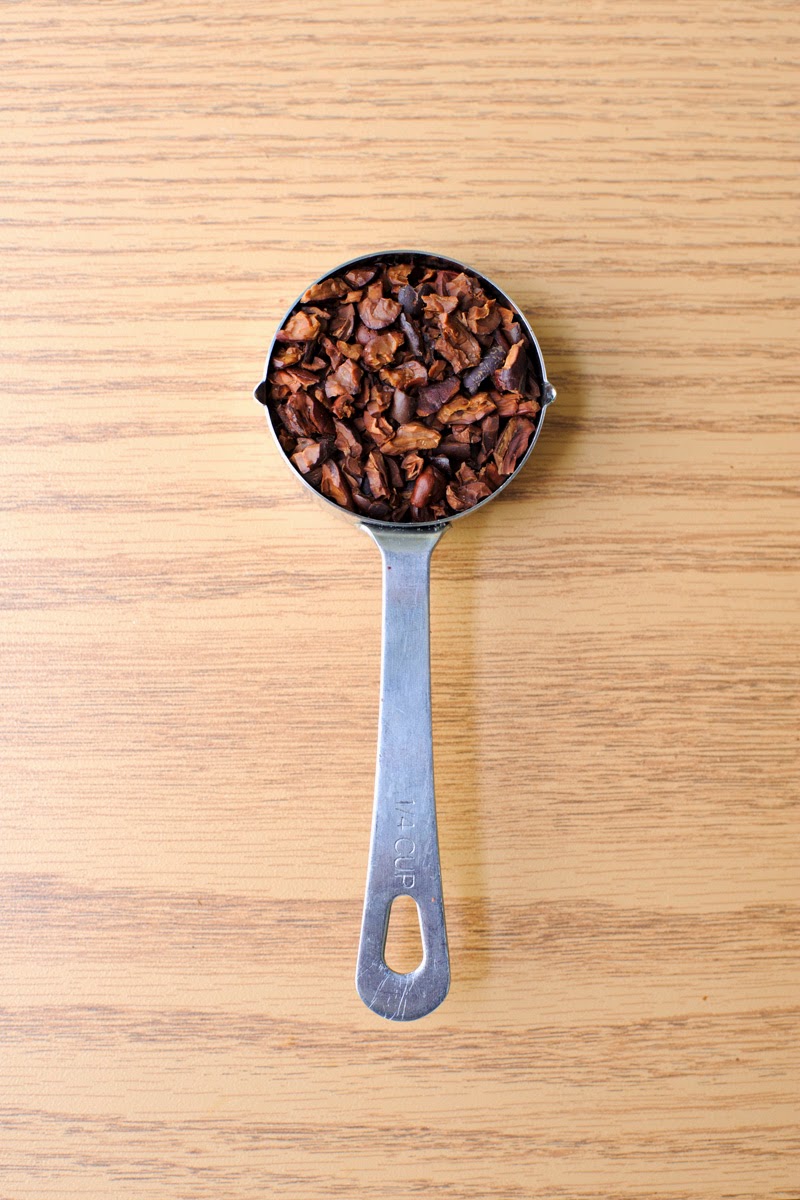
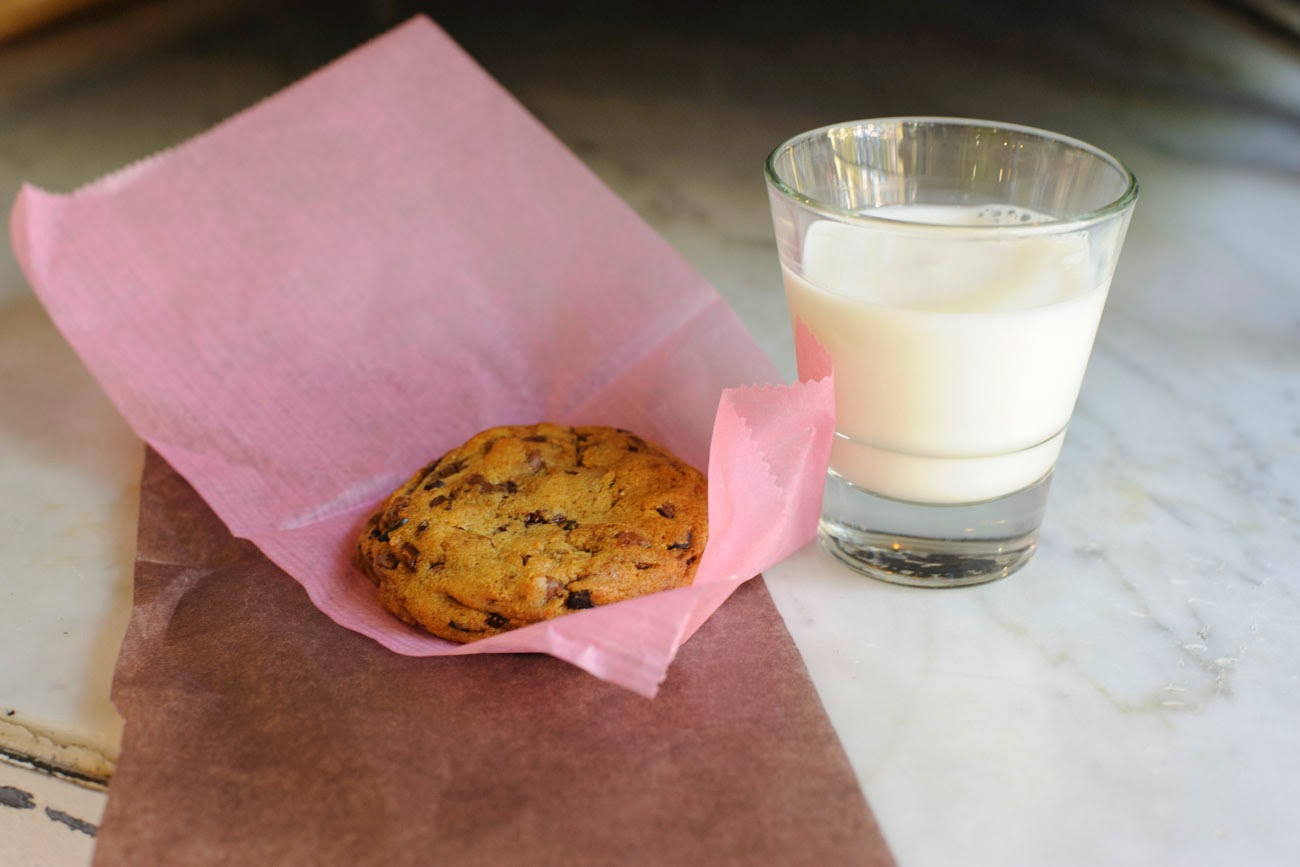
     So another As Seen on “Unique Sweets” player here is Goody Goodie Cream and Sugar. This place is tucked away very nicely in what I guess is technically Mission. Nothing much is in the area, except some excellent chocolate chip cookies. I met the woman behind the baked goodness, Remi Hayashi. She was very kind and filled me in on her secret when I asked her what was crunching in the goody goodie cookie, with four different kinds of chocolate: cocoa nibs. Nuts, right? No, not nuts at all. This is all chocolate and almost no batter (once you bite into it). I would say a definite 2:1 chocolate to dough ratio here, no lie. And what’s better than a free milk shot to go with your cookie? Not much.

     They’re also just very attractive cookies. Perfectly round and colored on top. Also nice and thick.

 There she is, doing her cookie thing.

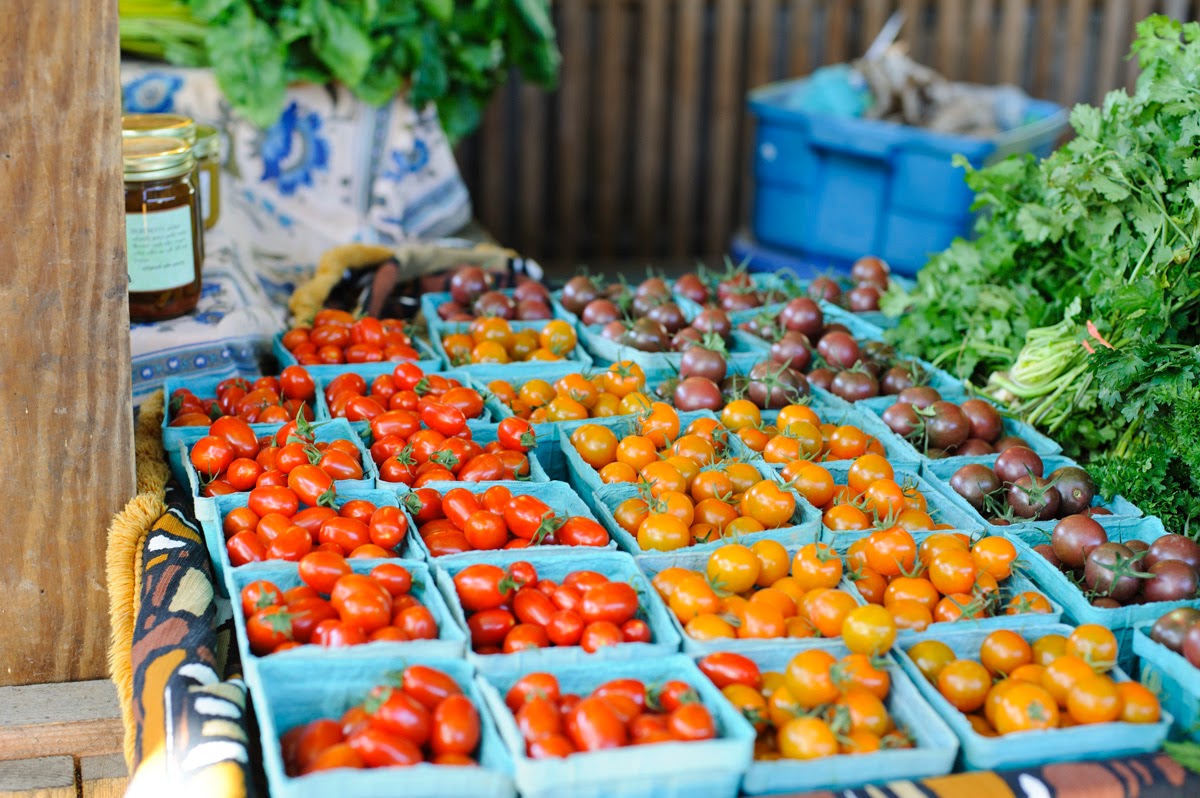
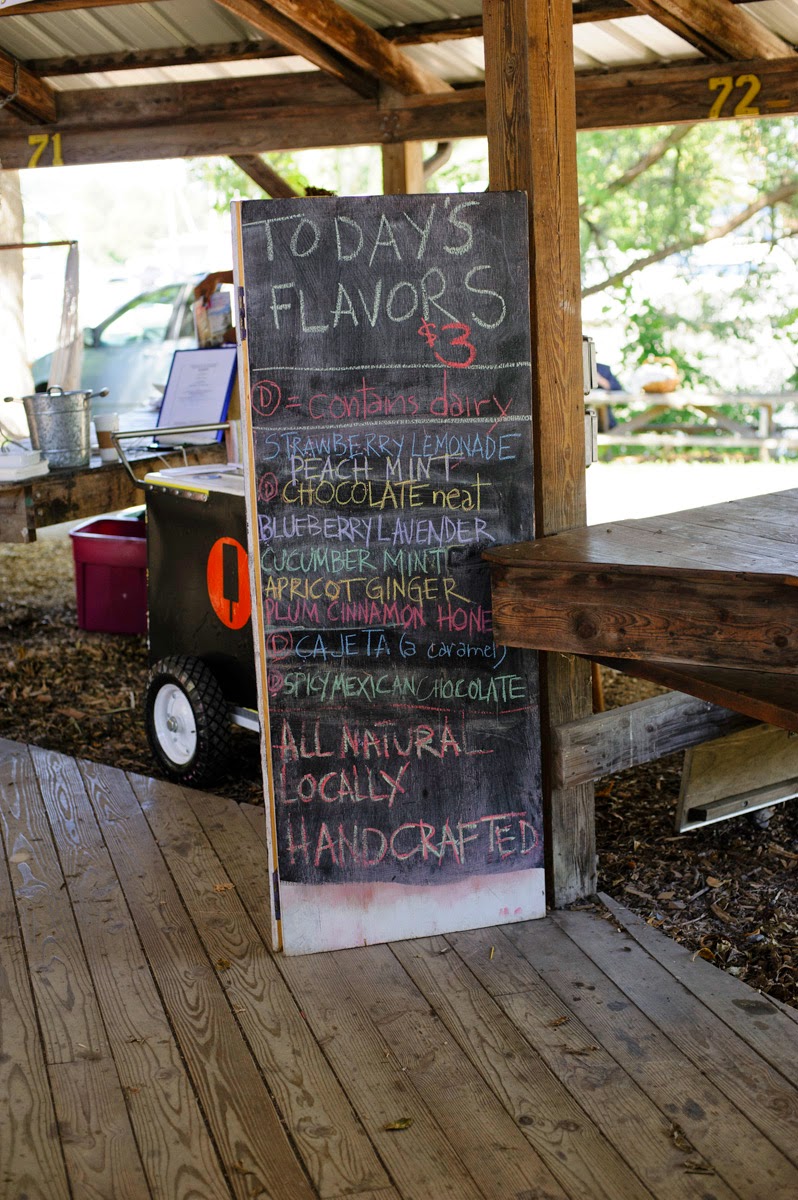
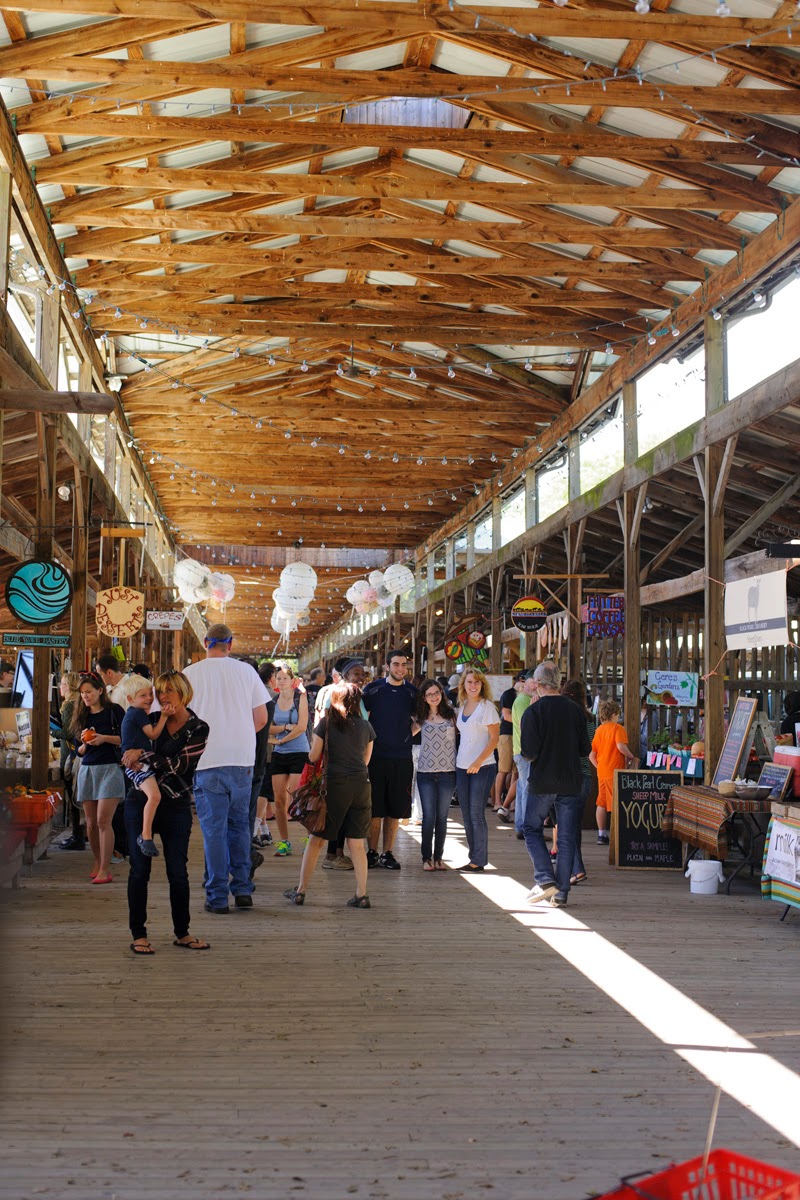
     This farmer’s market though…the biggest in the city, is up and running Tuesday, Thursday and Saturday. Saturday is from 8-2pm, and as you can imagine, the chef/restaurant owners don’t fancy wading through the crowd for the leftovers at noon, so the die hards get there right at 8 am for the best pickings and fewest people. One Saturday morning I got up at 7 just to get to the farmer’s market when it wasn’t crowded. I don’t do too well with crowds and grocery shopping: ask my classmates and they’ll tell you I wait until 10 pm to go to Wegmans. Well I got to the farmer’s market and while it was foggy, it was just so pleasant. Also beautiful (note tomato arrangement above). So many stone fruit samples. How else do you pick where to get your $3.50/lb nectarines?

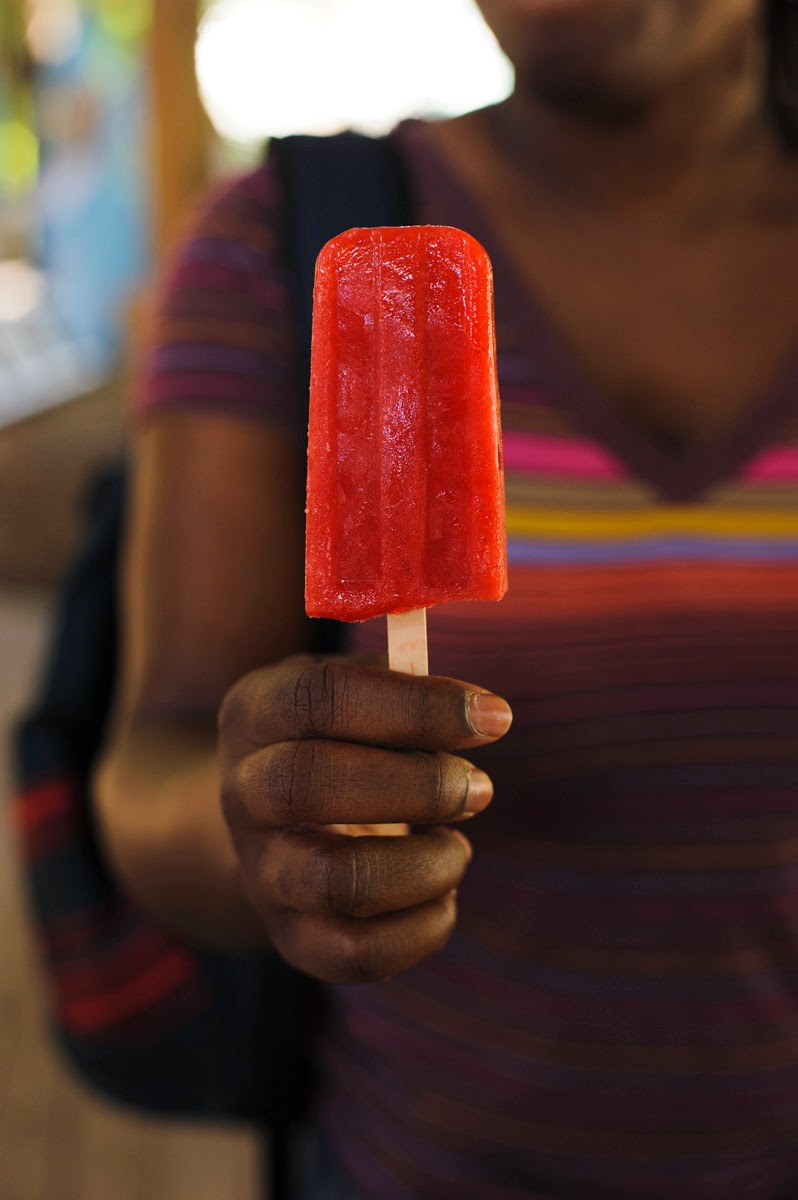
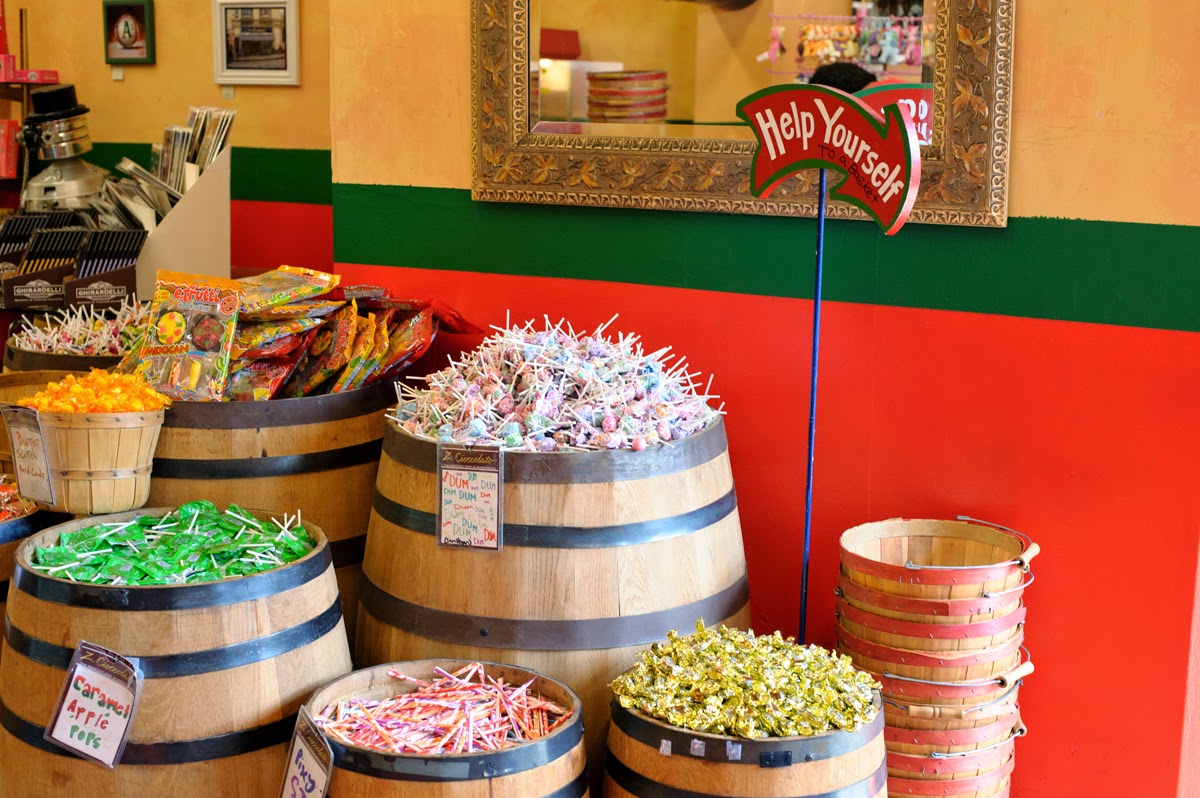
Come hungry and get ready for a sugar crash later.

     Pluot: yes, plum-apricot.
Big bowl of greens.
Big popular bakery and a guy with cool glasses.
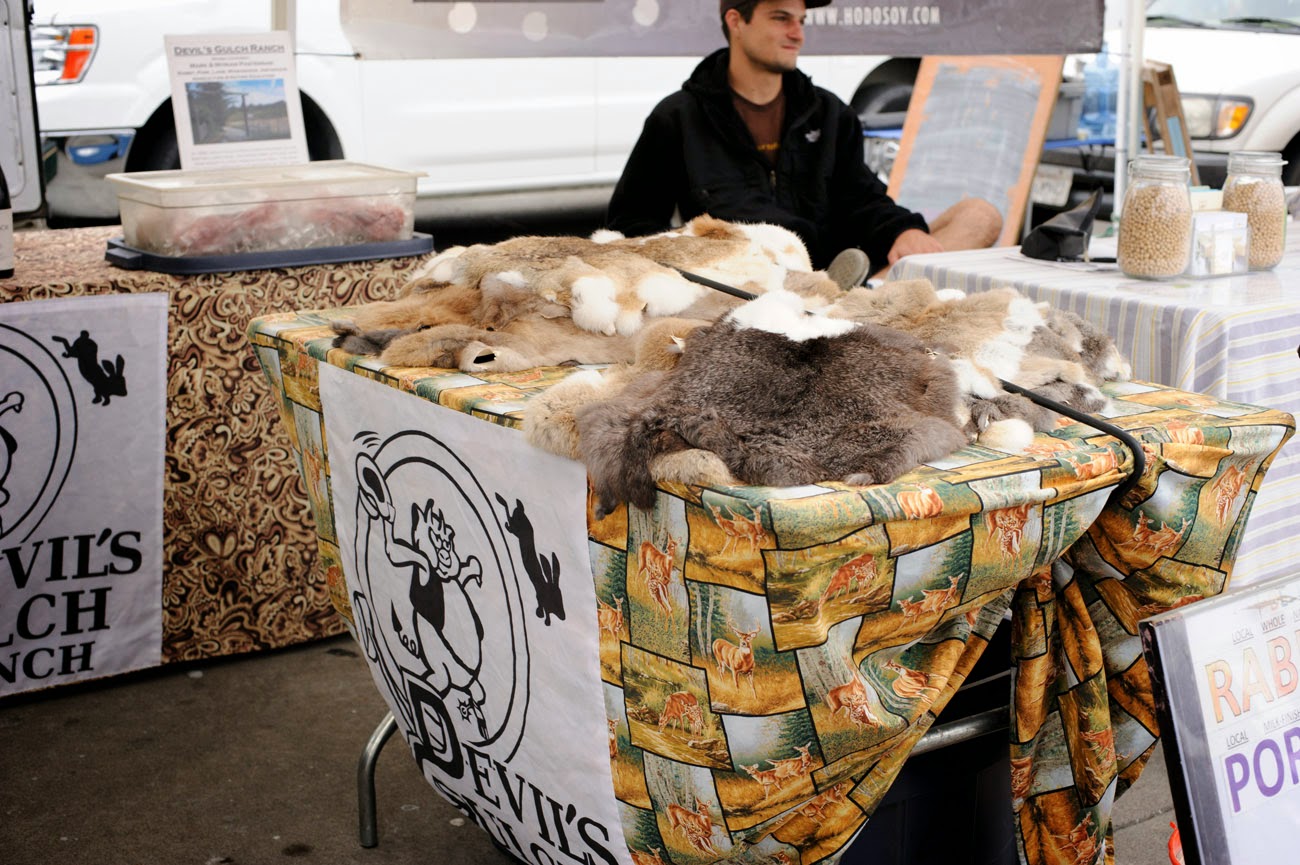
 So, animal fur. I guess it counts as being sustainable if you’re killing the
animals for their meat anyway, right?

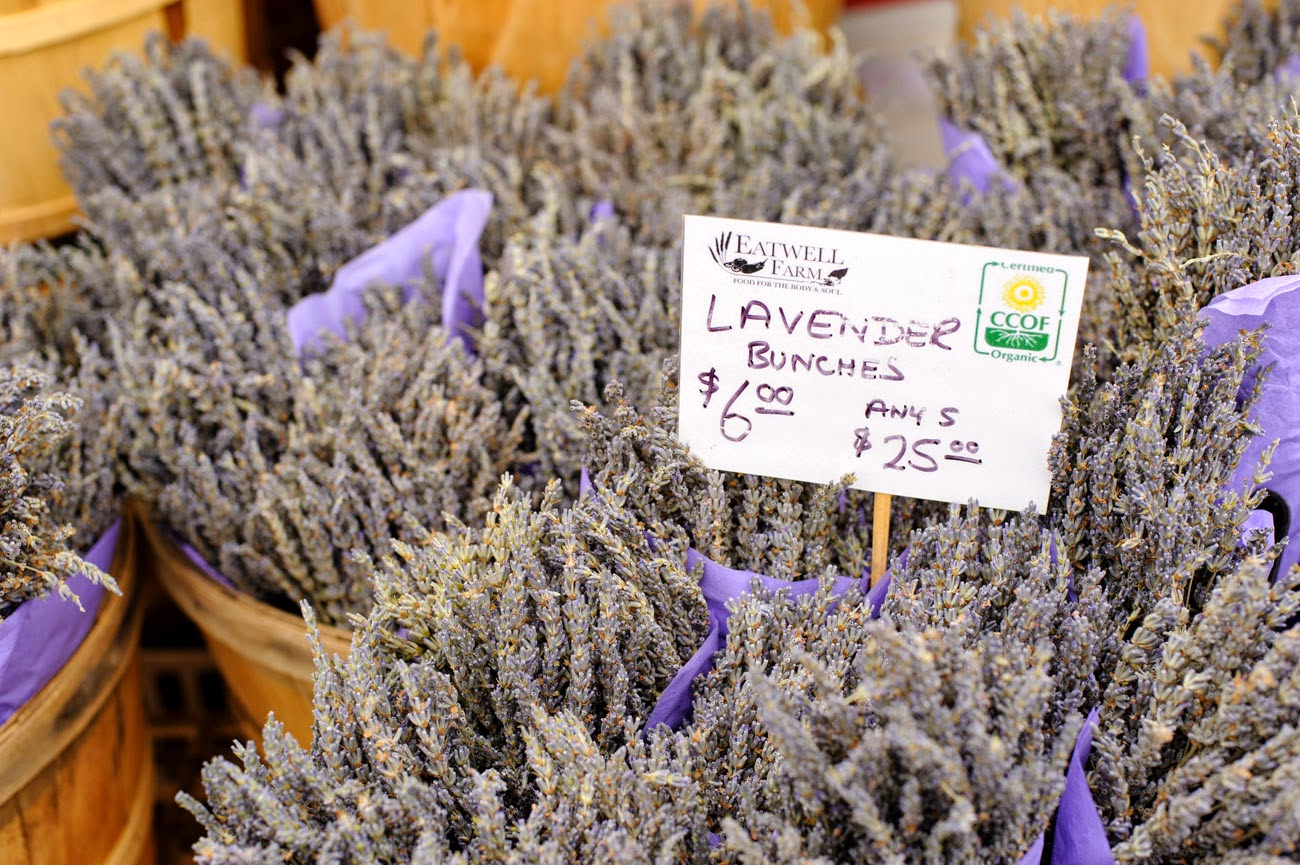
It’s not just in the South of France (though it’s probably best there tbh).
     Oh, we can’t forget Umami Burger. Also known as $12 for a lot of truffle oil and “flavor”. There was nothing wrong with the burger per se, but I didn’t feel like the price was worth it. I have since tried a $3 In ‘N Out Burger, though, and was a good old fast food fix.
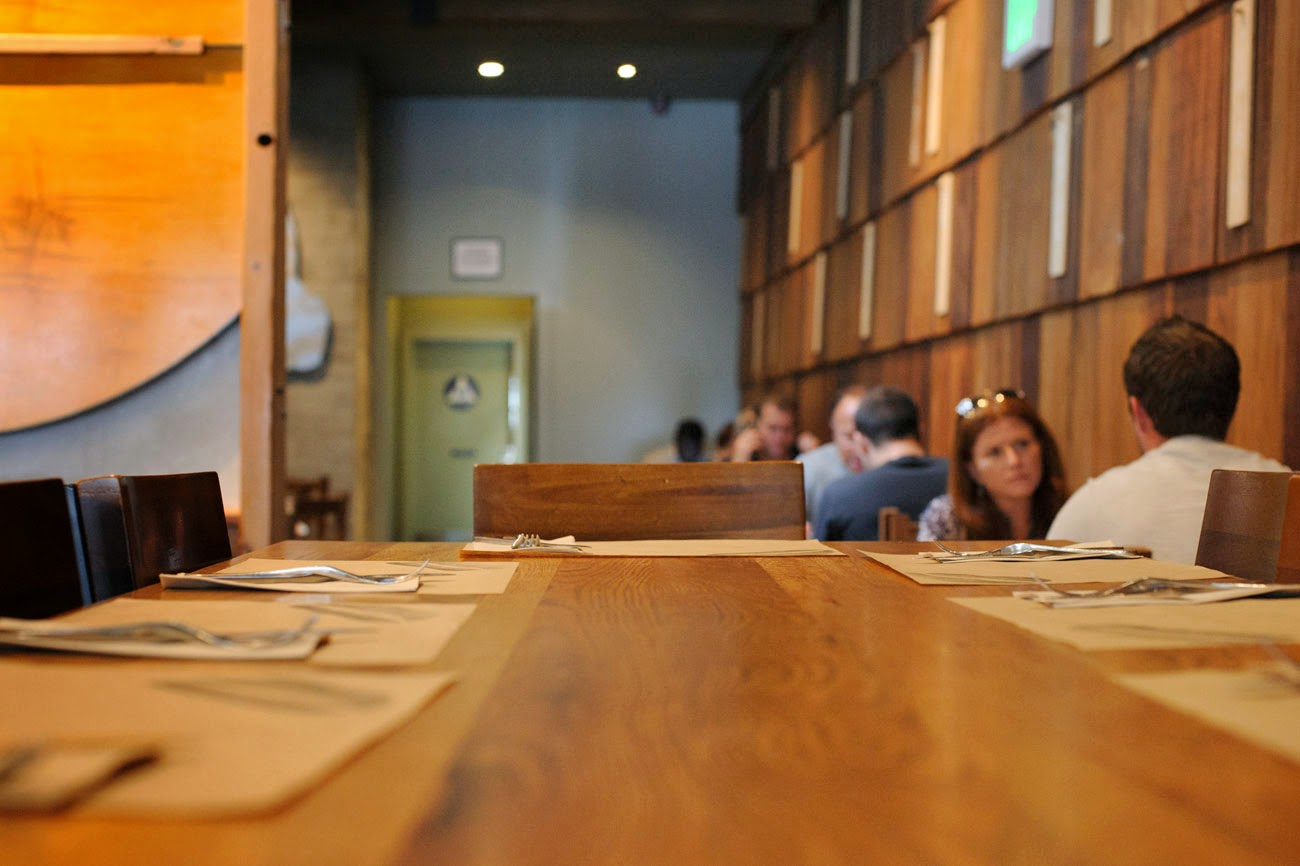
 Trying to go all Japanese. Not a bad looking place.
Community tabling it.

Check it: the original Umami Burger, with Parmesan crisp (baked Parmesan
chip), tiny shiitake mushroom, roasted tomato, caramelized onions and
house-made ketchup.

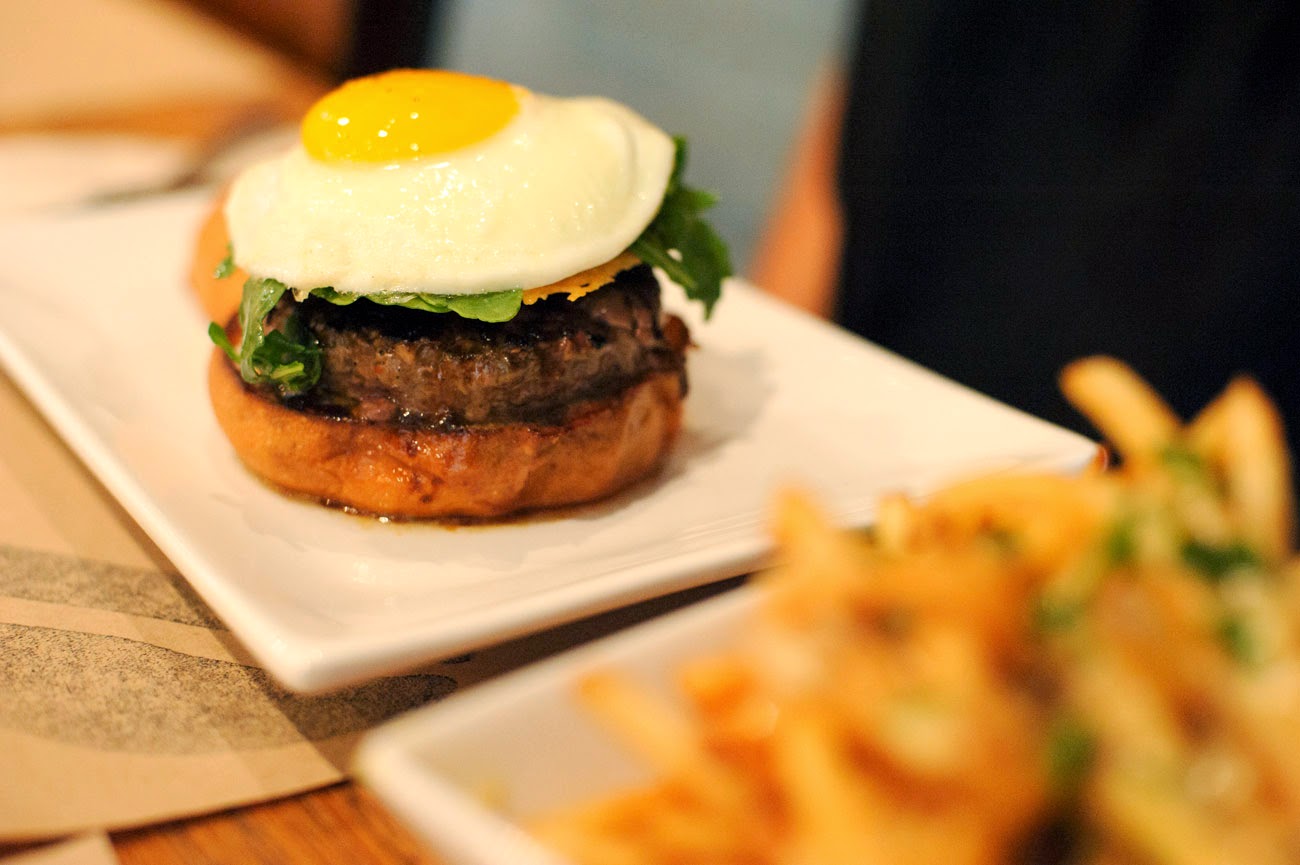
Megan got the Truffle Especiale with Parmesan frico, truffled arugula,
truffle butter, and a fried egg. #mushrooms #trendy

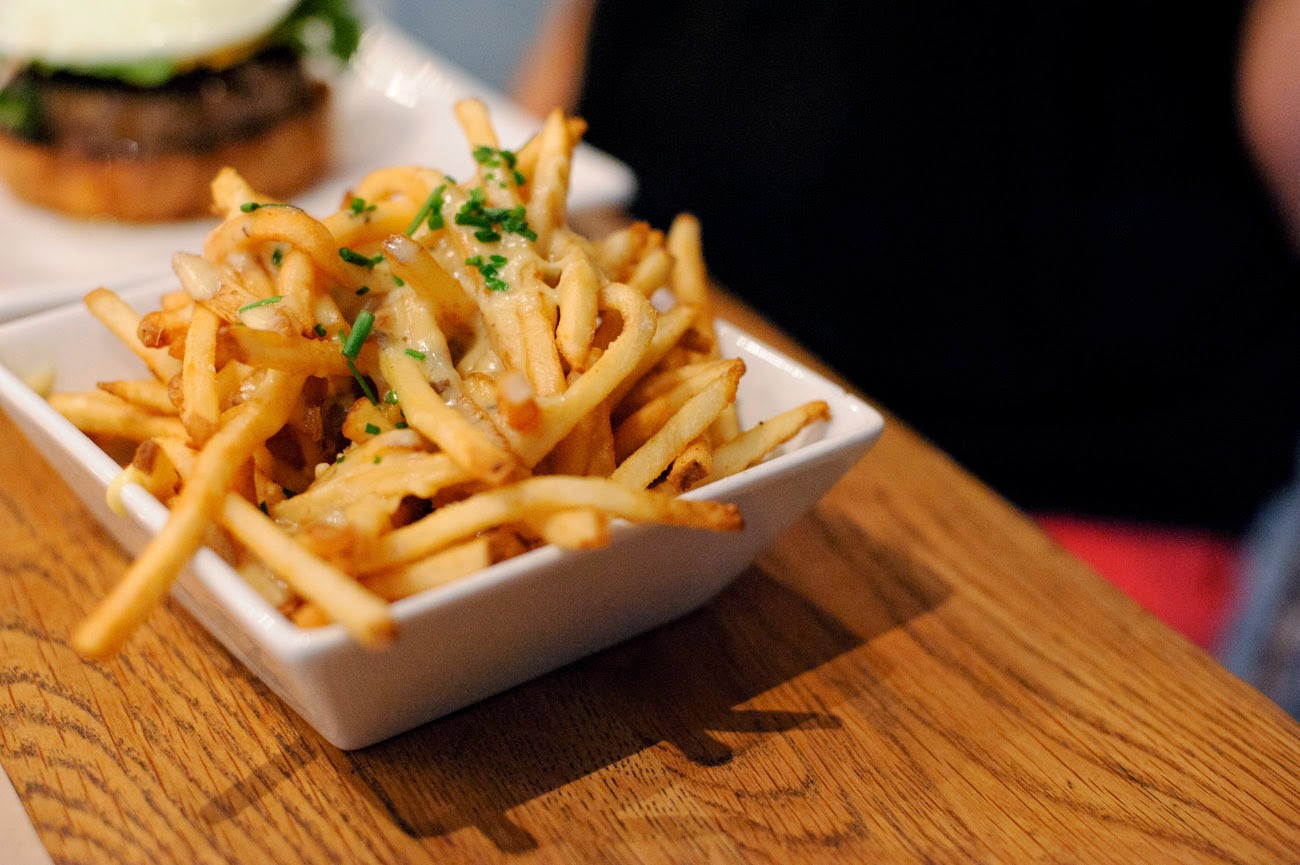
With a side of truffle cheese fondue fries. Topped with “truffle salt”. Sometimes
you just gotta lol. The fries were for sure tasty though I’ll give Umami that.

     I don’t know how to describe the importance of Tartine Bakery to San Francisco, except to say that it’s very important. Everyone knows it, everyone has been there, and everyone probably has their preferred menu item. I have never passed the corner café without seeing a line of this length out the door. I do know that no-lines happen on occasion, though. One Saturday morning I found myself in the Mission and thought it only appropriate to try something.

     It’s a very small place, so don’t expect to get a table without waiting. But you go in – or rather line up, get in, order, and find somewhere to stay if you want. I think there may be some wait staff thing going on if you order lunch. Here are some literal sneak peek photos I took in stealth mode/from the hip (I’m getting better maybe?).

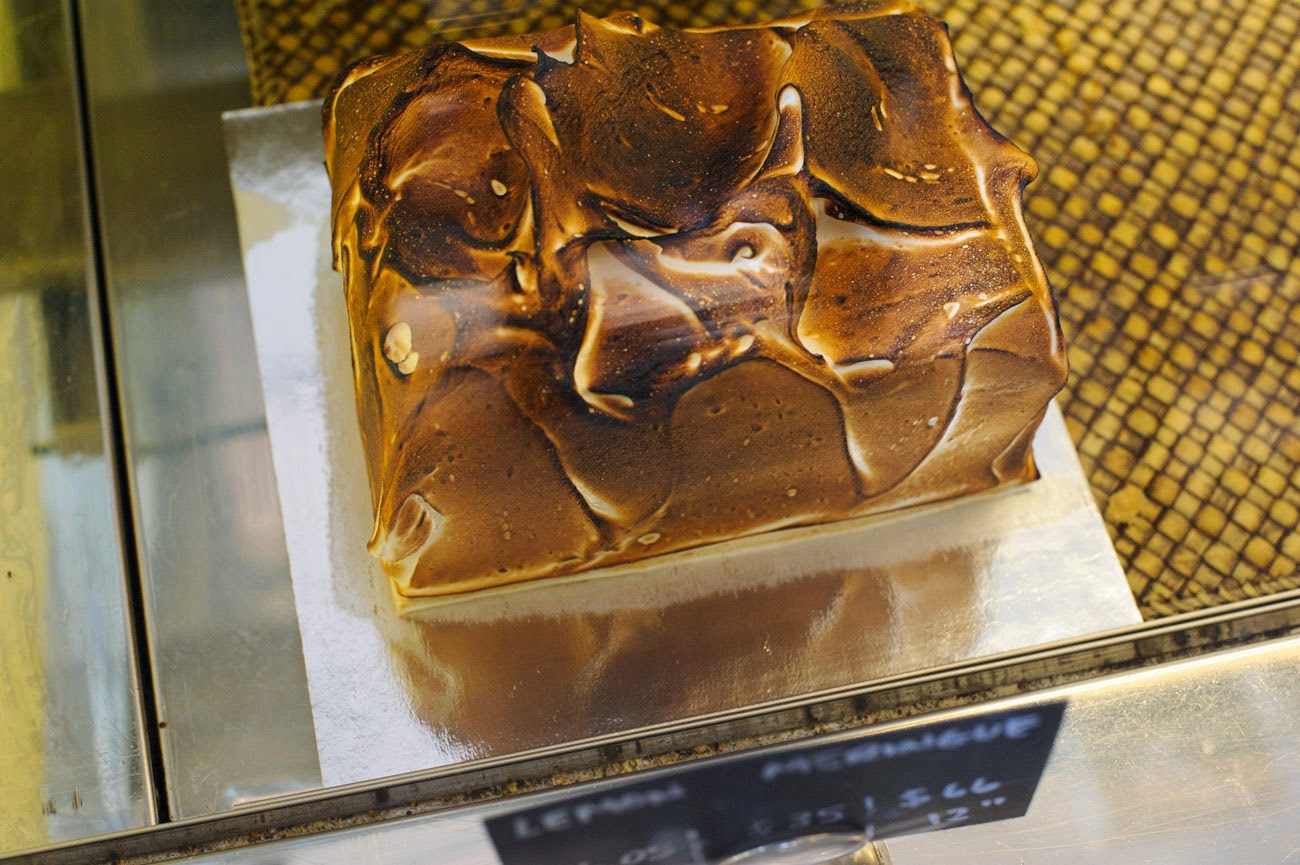
 They do all sorts of things here. I think that’s the lemon meringue cake
getting worked on back there.

Here is the finished product.

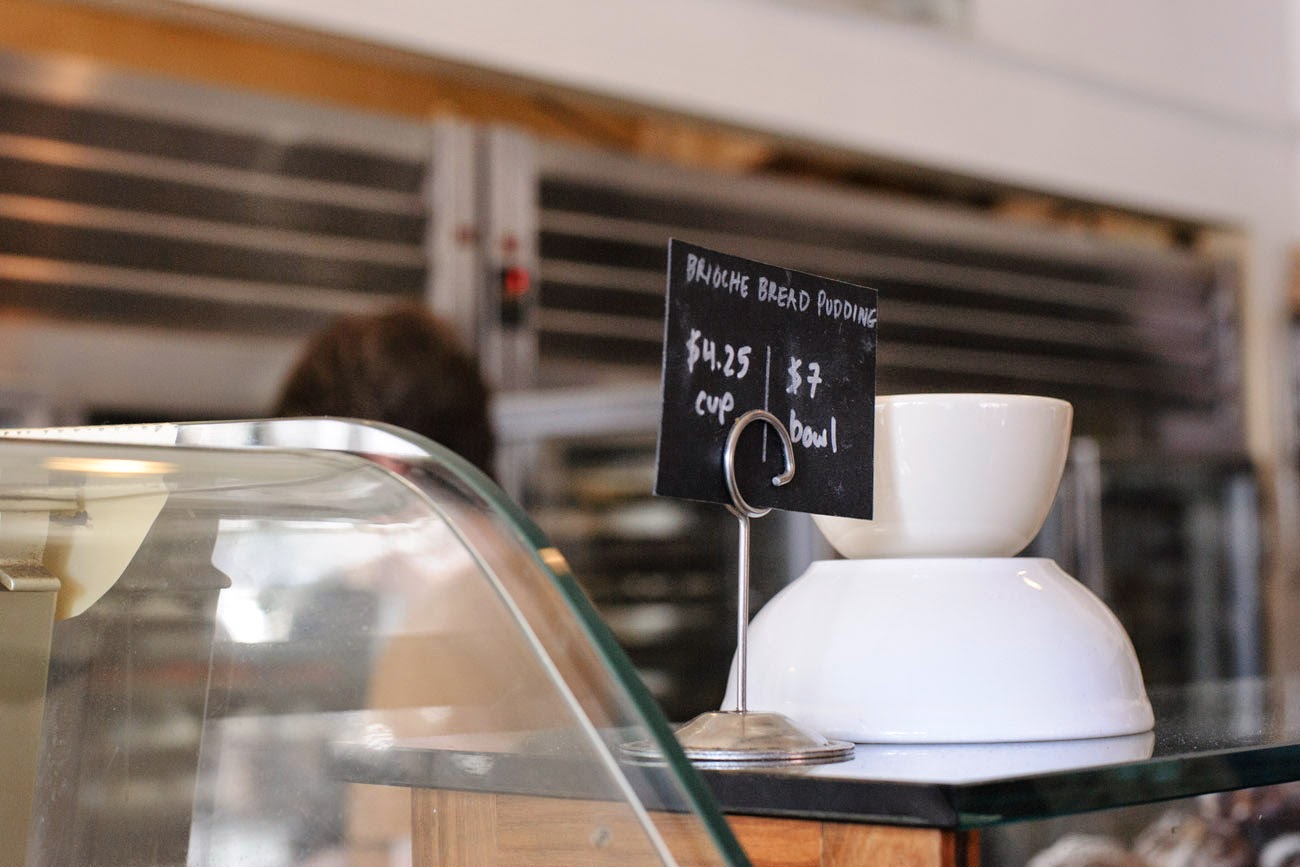
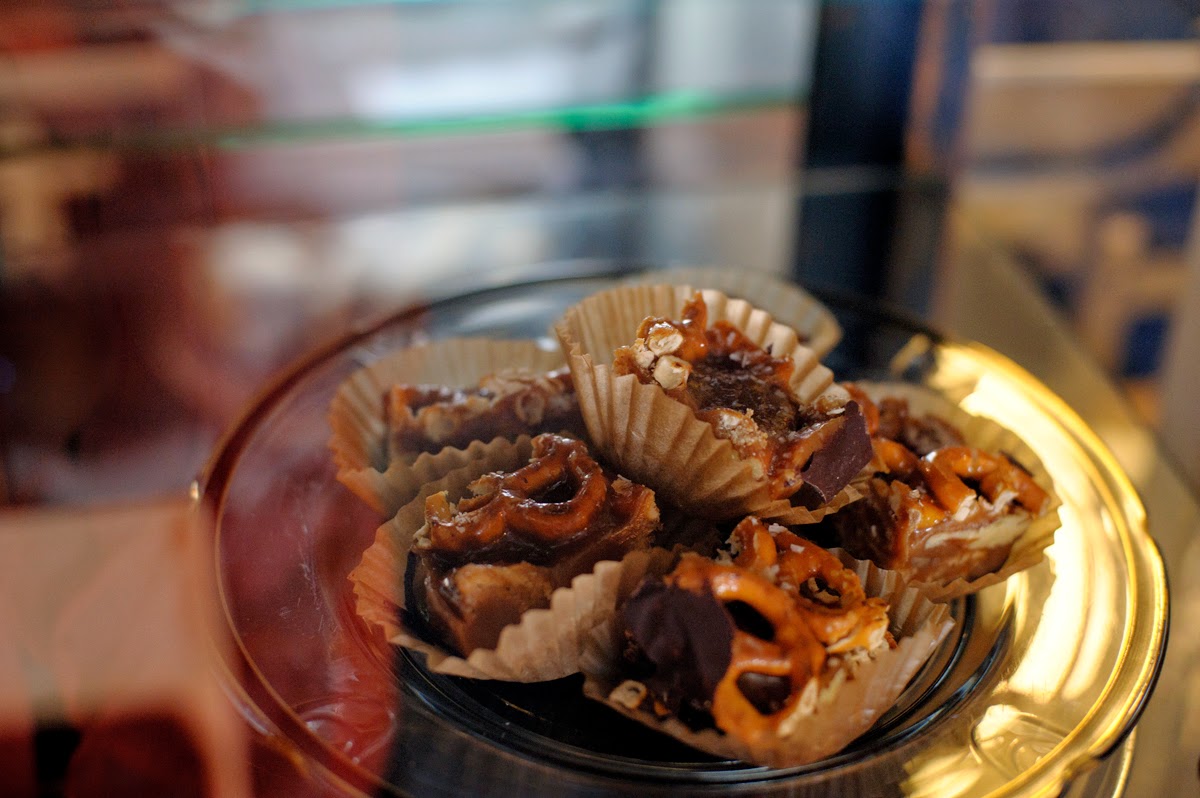
They’re famous for their bread pudding.

No wonder.
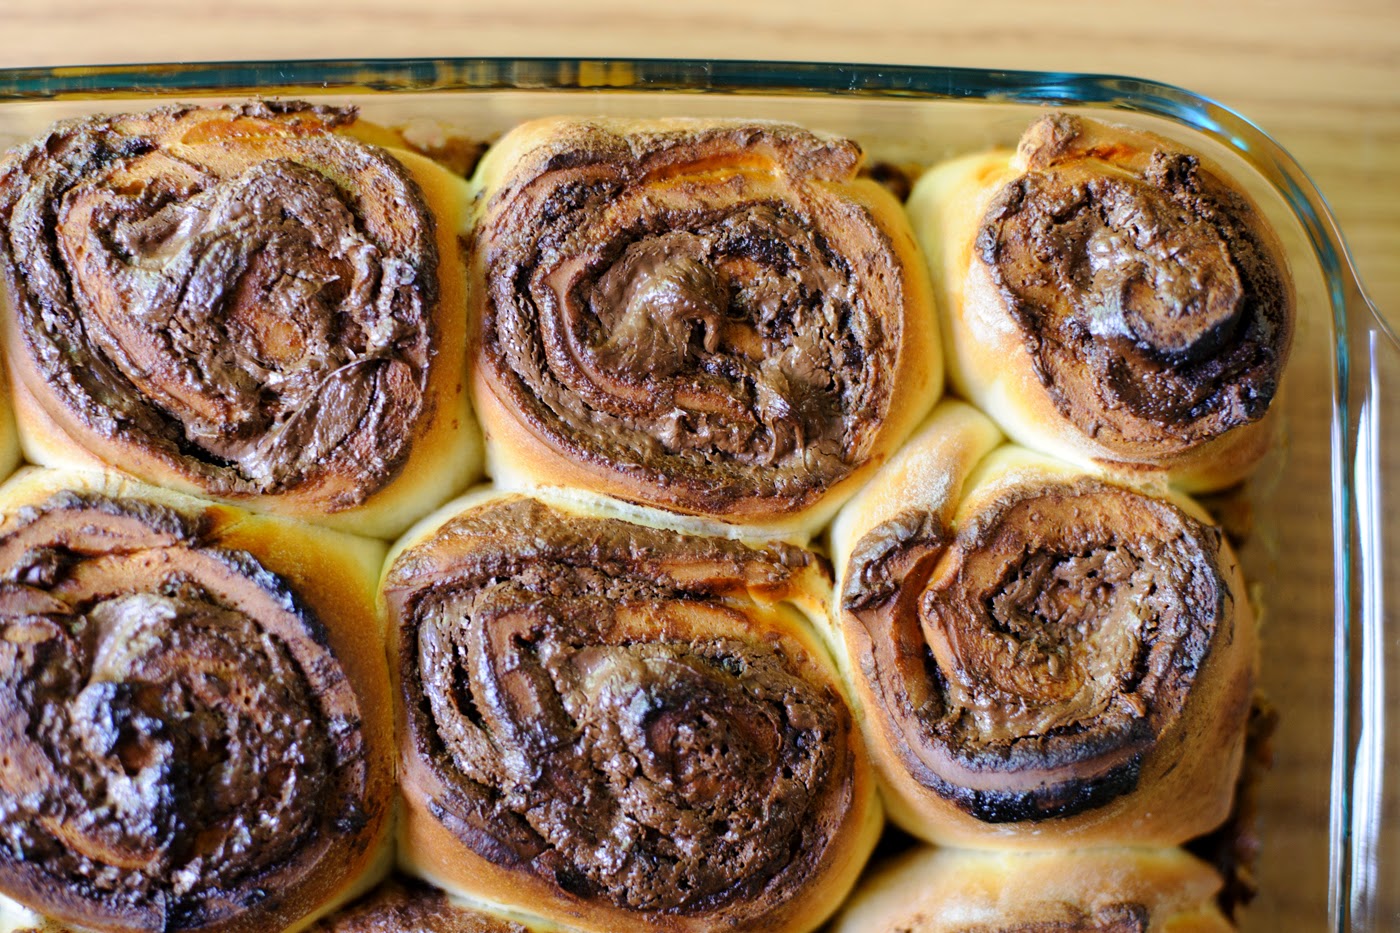
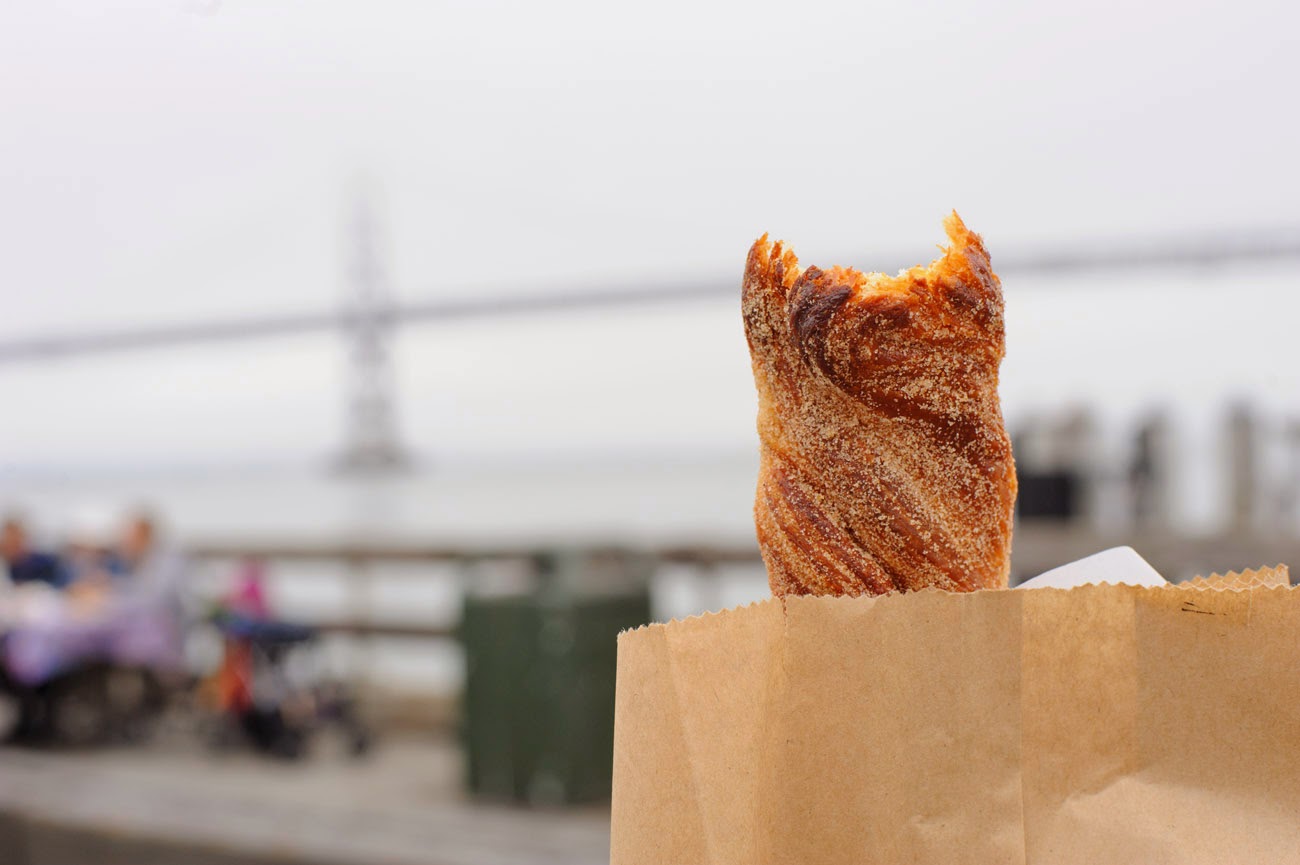
But they’re also famous for their morning buns. Remember C&W’s morning bun? The prices of the two differ by 20 cents, but the experience is galaxies apart. What came to mind when I was thinking of how to describe C&W’s bun was too harsh to post. But you must understand: I almost cried eating this morning bun. I almost bought another. Warm, citrusy, gooey, sugary meltedness on the top, barely done in the middle, incredible. Like no cinnamon roll I will ever have. If you go to San Francisco for one thing, make it this morning bun. I was so extremely content when I left. Thank you, Tartine Bakery.

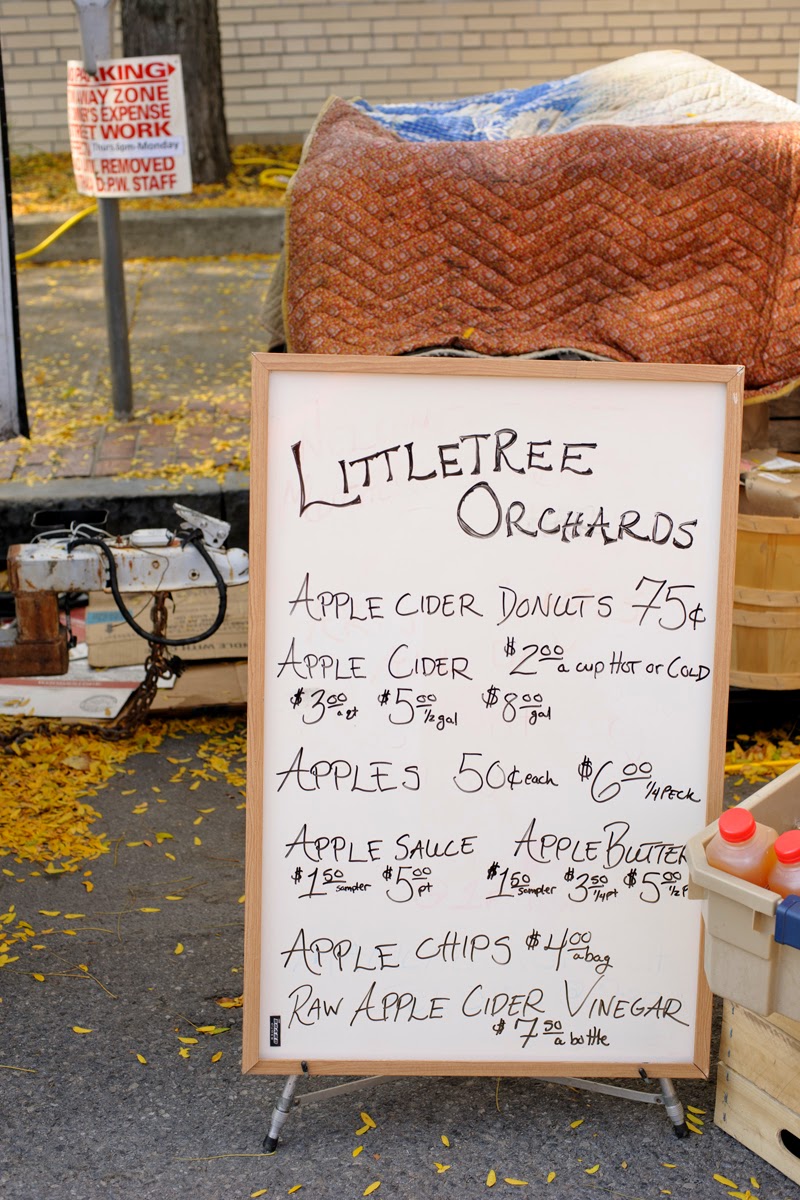
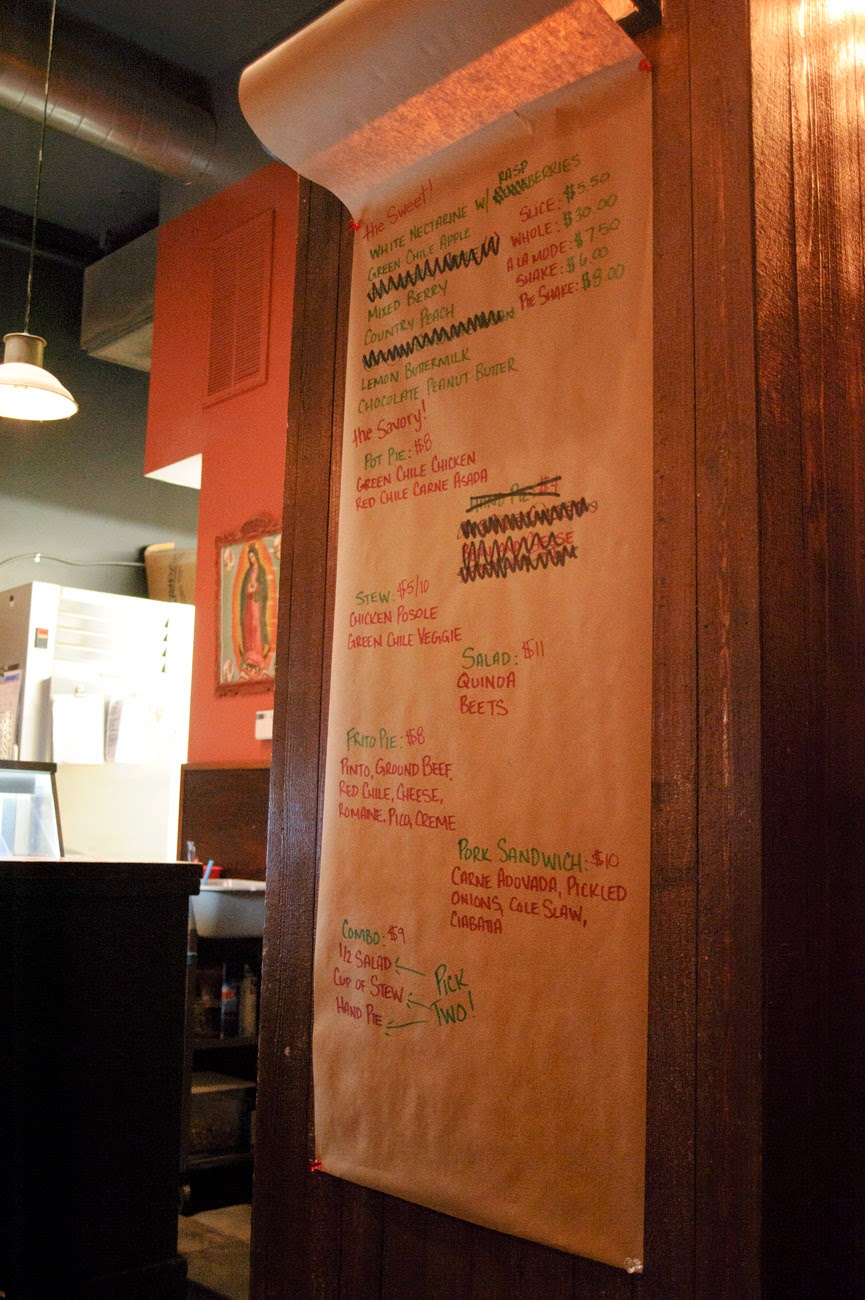
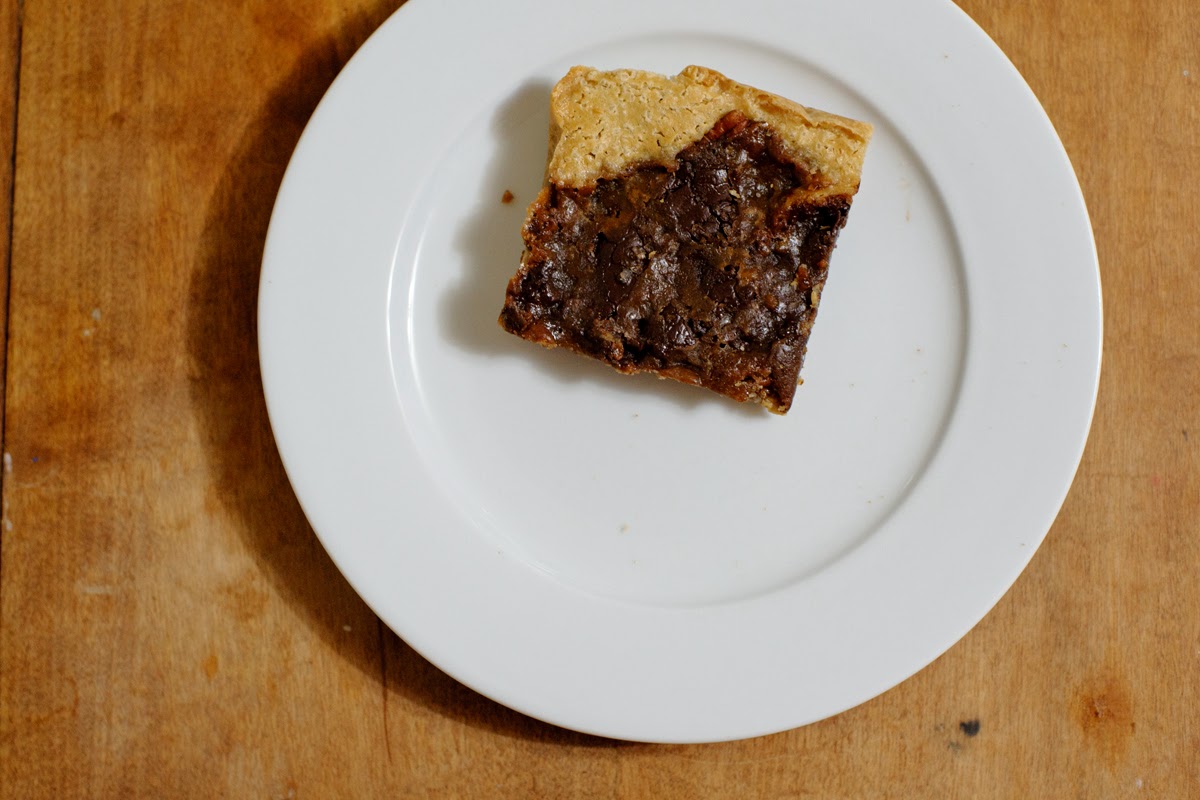
     Chile Pies and Ice Cream are known for putting chiles in their apple pie with a cheddar crust or some such combo. I say why ruin a perfectly good pie, as does my intern buddy Erin, but I guess I can’t knock it yet since I went with the seasonal white nectarine with raspberries, paired with lemon cookie ice cream from SF’s Three Twins Ice Cream. I think one of those twins went to Cornell! This place is part of Green Chile Kitchen, a fun looking restaurant right next door to their NoPa location (north of Panhandle…does anyone really use NoPa as a neighborhood name?). It has some sort of old-fashioned, maybe rustic vibe to it. Check out that table top.

With a menu that changes daily, they have this cool roll of paper pinned to the wall.

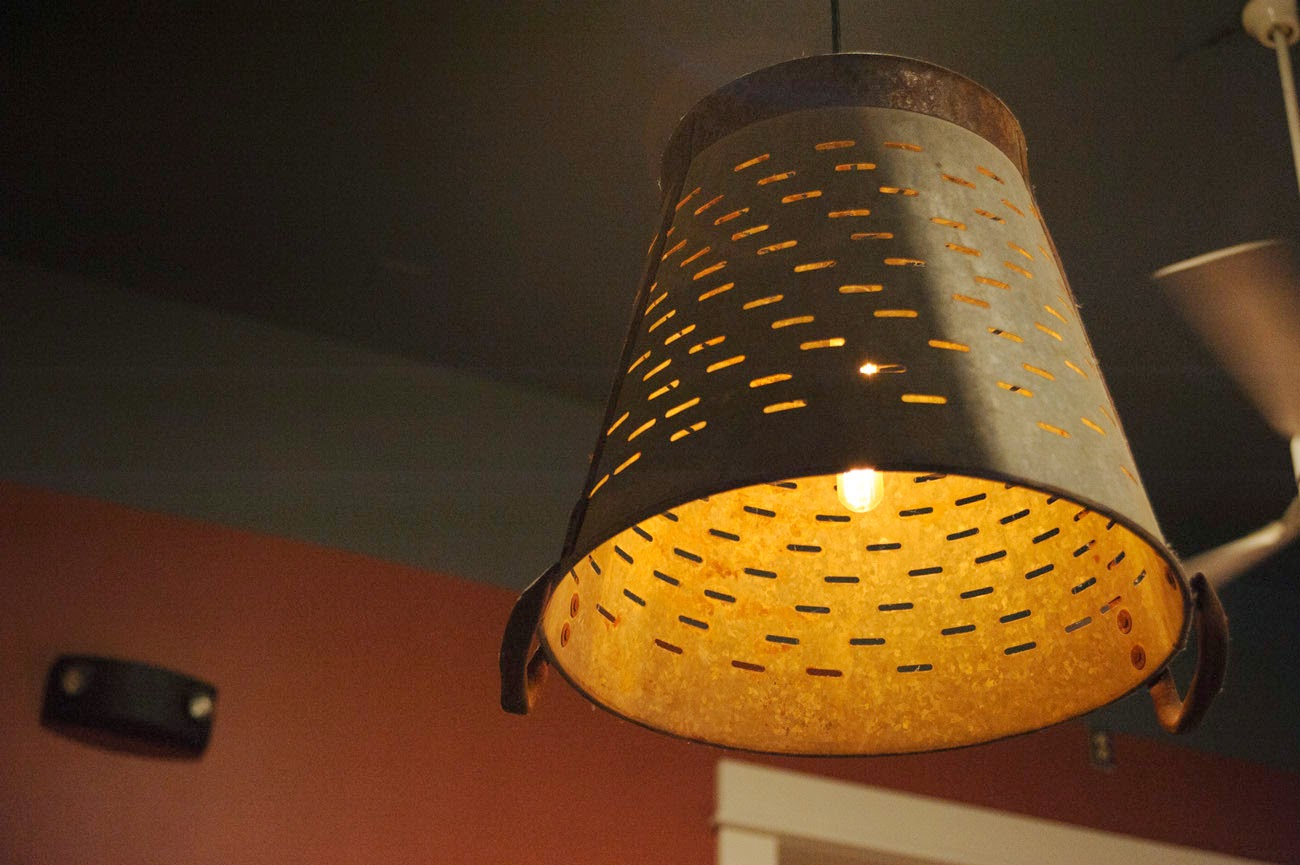
Fun lights, except I couldn’t see all that well.

If you’re staying to eat, they’ll heat up your pie nice and gud. They also make
pie shakes. They will take your pie slice of choice and make it into a shake.
I’m not sure, either. Next time.

Fun lights like I mentioned.

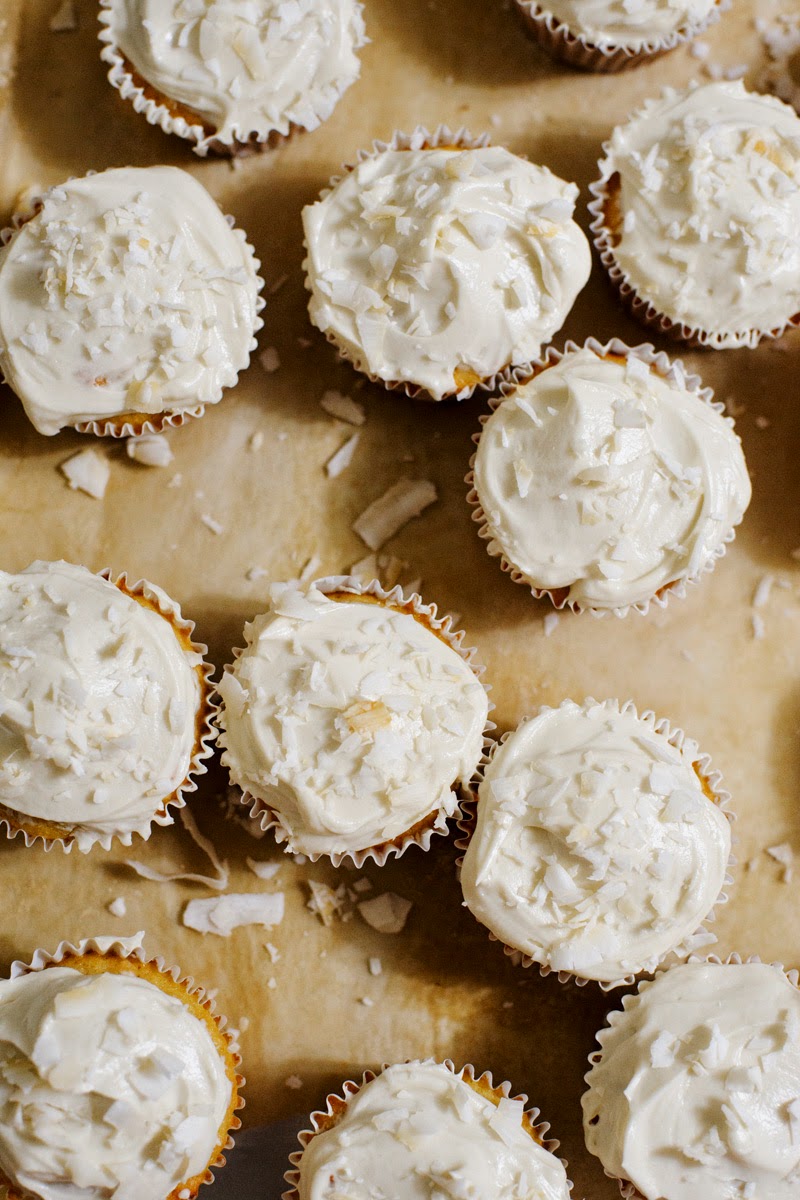
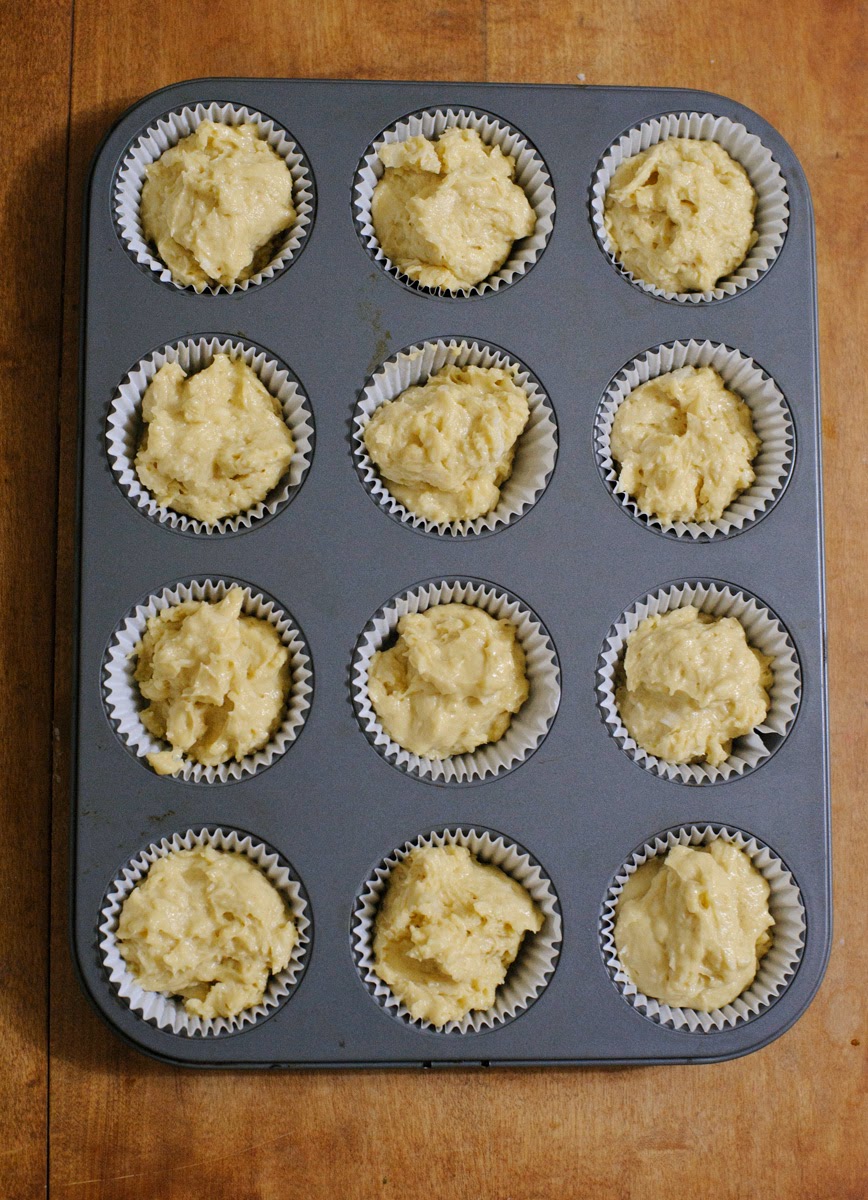
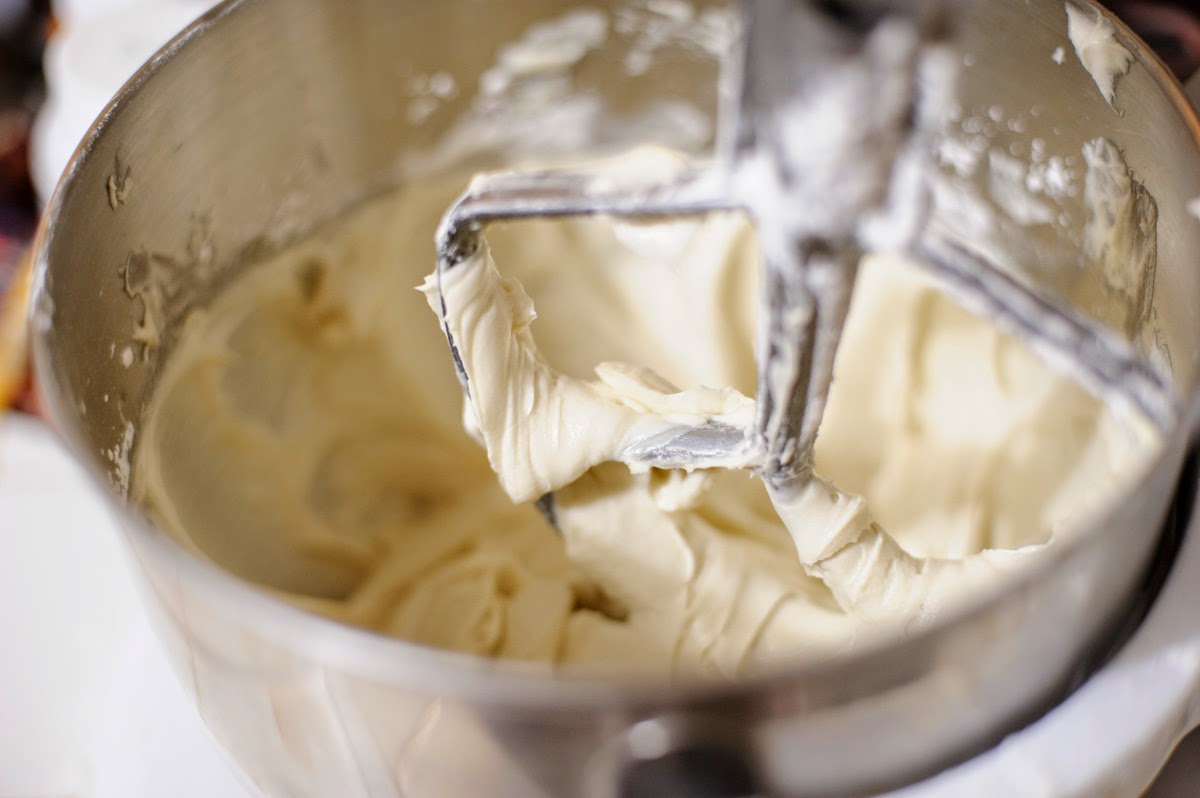
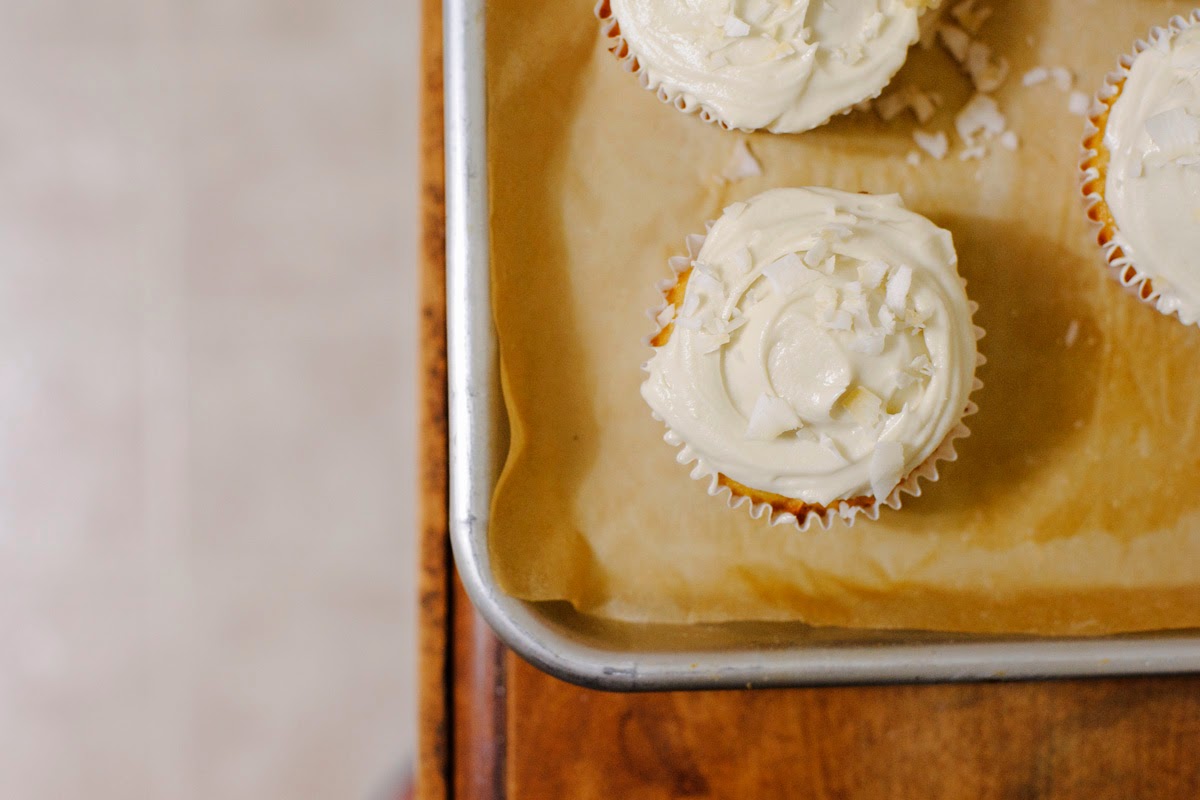
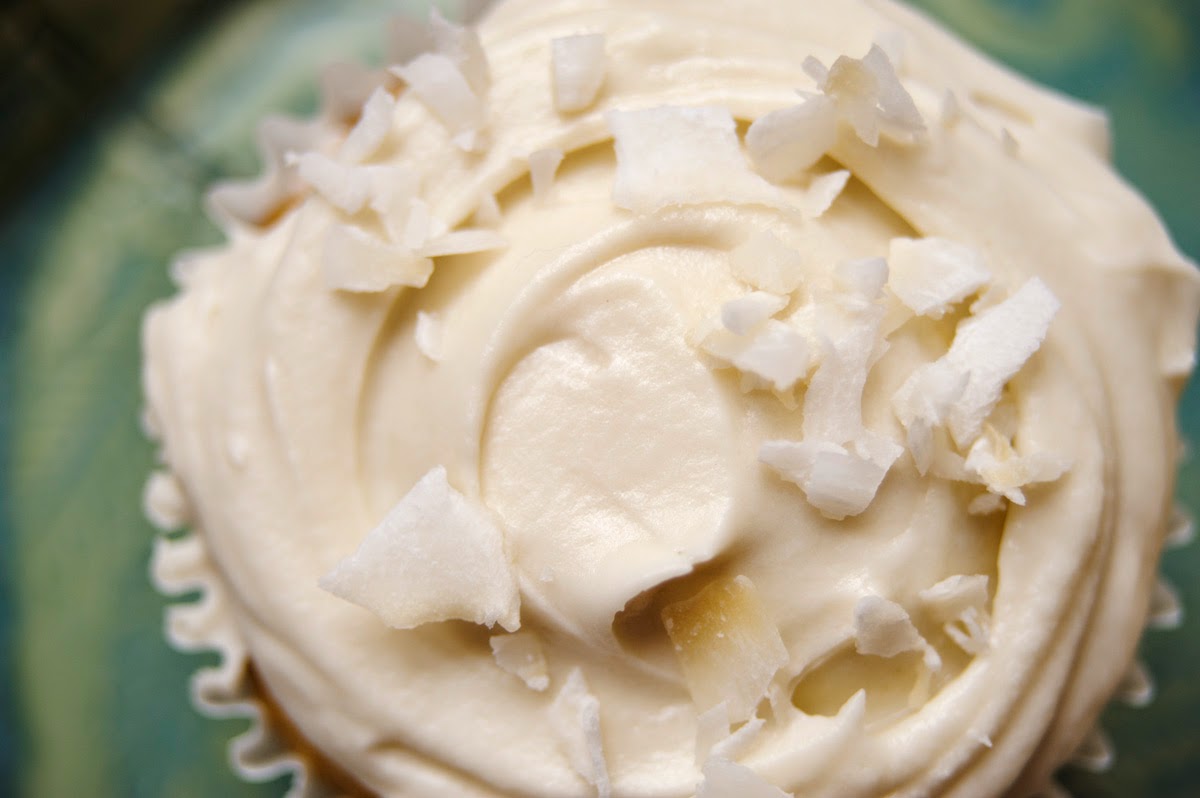
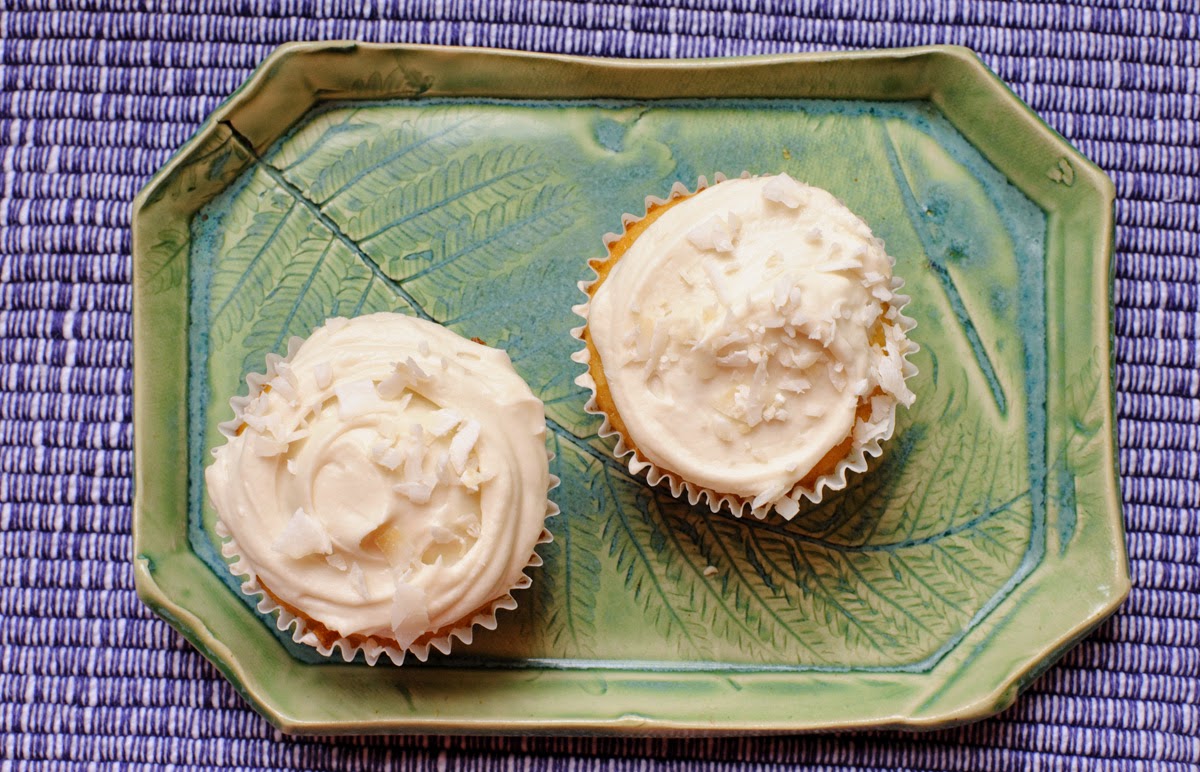
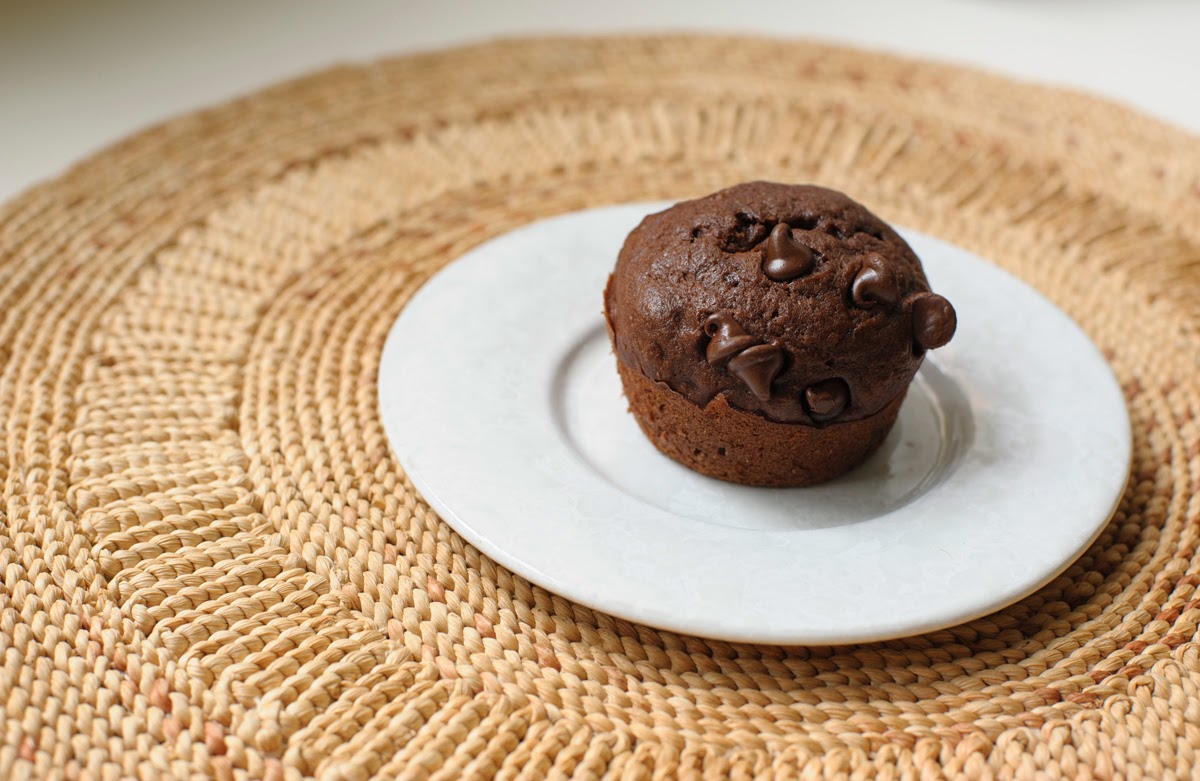
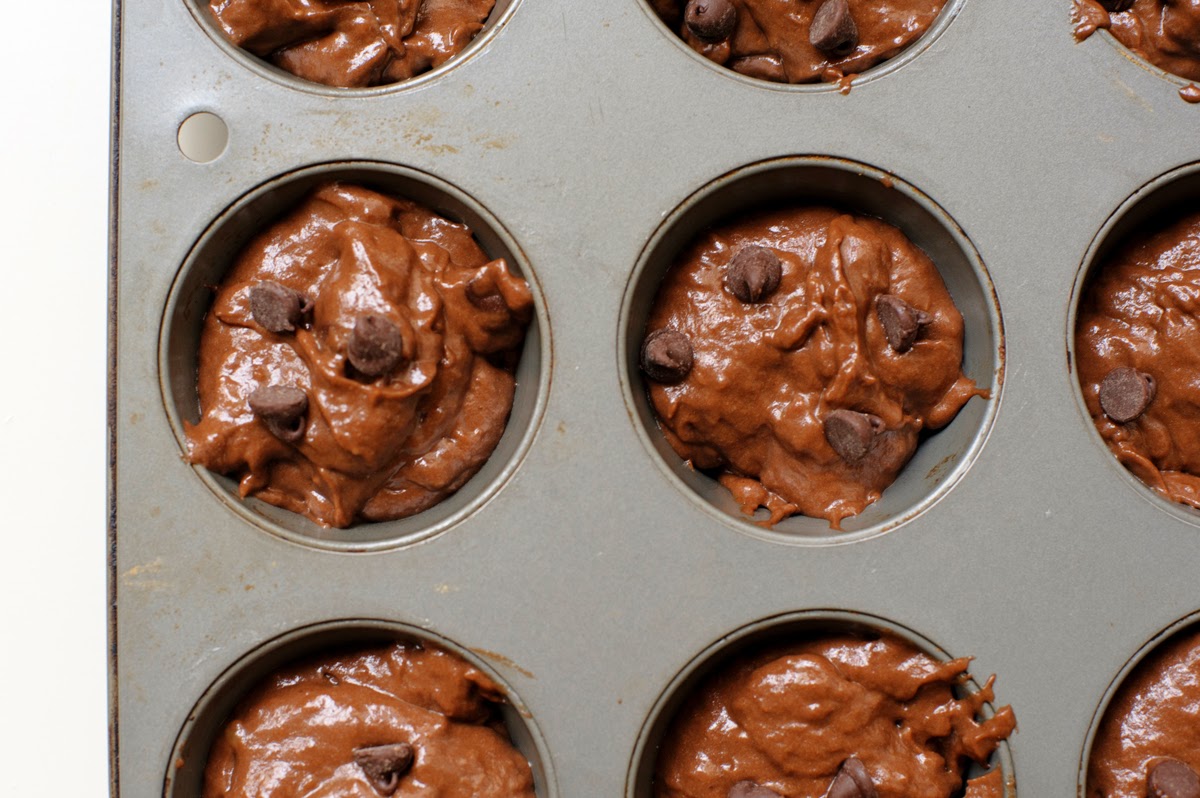
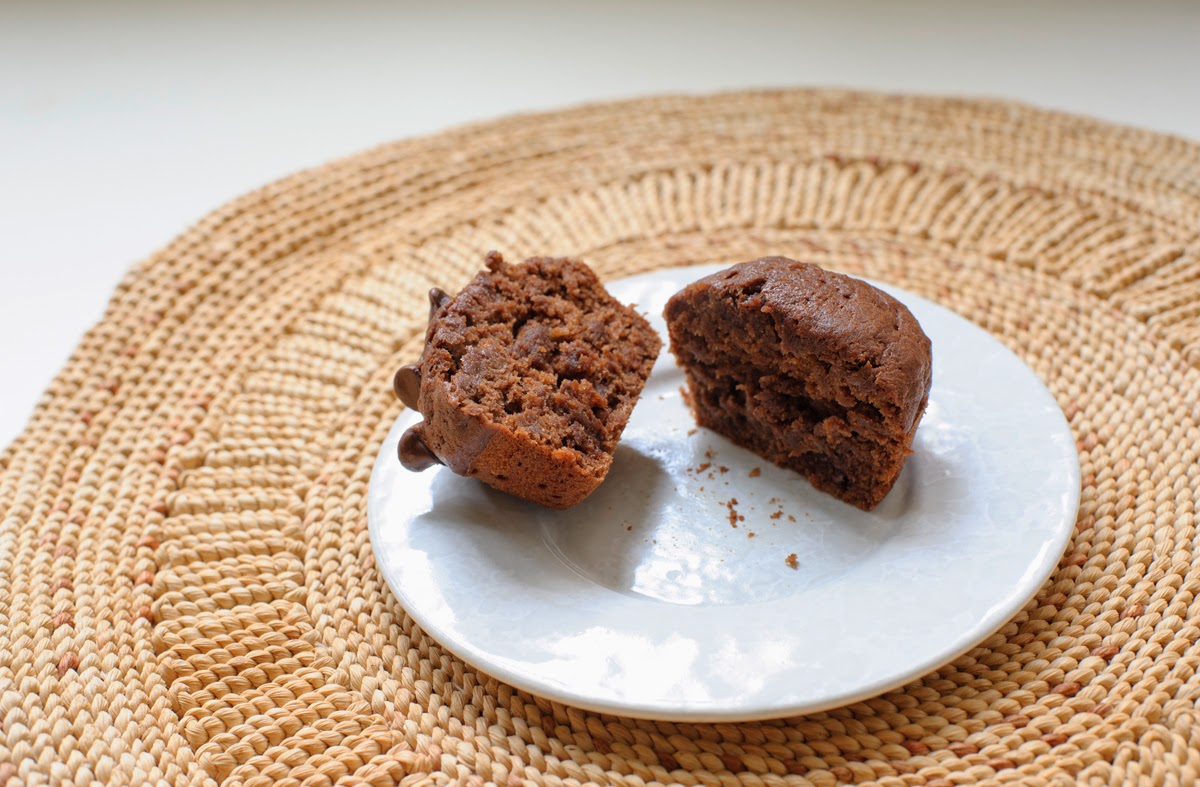
       I’m leaving this city with more questions than answers, but at this point, with one semester to go and future choices to be considering, it’s not a bad thing. This time tomorrow I will be on the hustle side of things for one more round. Stay tuned for ridiculous senior(itis) endeavors, and thanks for reading this far! Keep your rubber scrapers handy for a fun cupcake recipe from weeks ago too…

As Seen on "Unique Sweets": Hooker’s

     If it hasn’t caught on around you yet, let me tell you about the latest sweet treat fad: salt.
It’s not even that it’s new, or that Hooker’s started something completely radical. But I’ve found it everywhere in the city: on top of chocolate chip cookies, in fancy grinders showing off fancier colors (Himalayan pink, anyone?), ice cream, and soap. Kinfolk Magazine has even written a letter (from pepper) to salt, to slow its roll. Here, Hook is using salt to truly enhance the flavors coming out of his confections. And it works.
     Again, I actually walked past this small and adorable place on my way to it. Very hole-in-the-wall, grab-your-coffee-on-the-way-to-work kinda place (they sell SF’s Sight Glass coffee here too).

     Exhibit A: Party Girl Caramel – “she’s a sassy and spicy sweet treat with plenty of fun in every bite…she’s loaded with toasted pecans, coconut, corn cereal, pretzel bits, and sits on a smoked sea-salted dark chocolate base.” So some of the descriptions weird me out a little, but check it out – all that in one caramel. There’s caramel in that, right? Yes…I think so. I went for a “Straight Boyfriend” (make that descriptions and names), pictured below: with peanuts and a graham cracker base, if I remember correctly.

     “We’re about aesthetics.” That’s what Matt told me when we discussed a potential photo project with Hook, the owner and creator of Hooker’s. This is clear. Check out the cocoa nibs on top of that white-chocolate dipped caramel.

     The original gangster, right here. This is where it’s at. If you’re going to buy a $2 caramel, go straight to the source of inspiration/the most caramel you can get in one go. No extras, no fillers. Just caramel and chocolate. And salt.

     I would call Hook’s flavors and combinations…thoughtful. There are a lot of different things going on with his caramels, but not so many things in one caramel that you can’t appreciate the flavor of the caramel itself. But I like me a good classic treat. Especially if I’m a n00b to the game and need to know what I’m getting into.

     The one thing I knew I had to try when I went though was the caramel bar, where they flatten a cookie base onto a baking sheet and throw a bunch of original caramels on it so they melt right onto the cookie. It was just as good as it sounds. If you’re wondering how I think that sounds, SO GOOD.
Definitely at the top of my list. If you’re into San Francisco-priced dessert. $2 for a caramel and $3 for a bar. But hey, it’s a treat-yoself kinda place.

As Seen on "Unique Sweets": Z Cioccolato

     According to tvfoodmaps.com, there are actually THIRTEEN locations visited by Unique Sweets in San Francisco. This does not include the two locations that have since closed. I knew it had to be more than six…exciting that Brenda’s French Soul Food is also one of these locations, that, again, I already wrote about. Seems like I’ve made some good progress here.

     I could smell this place before I laid eyes on it. I’m serious! Sickly sweetness leading me to their door.

     Here’s a place you don’t want to go when you’re fasting. When I told the girl behind the counter that I couldn’t sample anything after grilling her with descriptions of half the flavors, she gave me a confused “ohhhkay…” response. SMH – don’t worry about it…

      You step into Z Cioccolato and become overwhelmed with the color and abundance of salt water taffy, and much more candy. But they don’t exactly stop at the candy. Z Cioccolato doubles as a toy store, with obscurely large googly eyes and classic tin lunch boxes.

     Barrels of salt water taffy take up the whole second half of the store. I don’t know many people who are into this stuff, but if you are, this is the place to find your strange and unique varieties.

     Did I mention Ghirardelli is from San Francisco?

     These guys have some odd flavors going for them, but I guess that’s how they made it to Unique Sweets. I kept it simple with White Tiger.

     White chocolate with a strip of milk chocolate in the middle, and sea salt caramel drizzled over the top.
     Yes, I did say simple. I didn’t say reasonable.

The trip reminded me where the limit of my sweet tooth will take me (I know I know, I do have limits, be they far). Glad I made it, though.

What’s in the Pantry: Bananas

     Have bananas, will bake. After some consideration, I decided to make a dent in the pile of ripening bananas in the kitchen with some chocolate banana muffins because breakfast is important, and who doesn’t love some banana bread?

     I only ended up using three bananas. Which in retrospect is a lot, but it did not seem like it at the time. Hooray for fancy banana smashing devices.

     Filling muffin tins is a task. I might have added some extra chocolate chips to the tops. Pretty food is good food.

     Moist and happy. Thank you Joy of Cooking Vol. 2 for the banana bread recipe for inspiration P:

Chocolate Banana Muffins
Edited From Joy of Cooking Vol. 2 banana bread recipe
Makes 17 muffins. Sorry about it.

Ingredients
1/3 cup butter
1/3 cup sugar
1/3 cup brown sugar
Zest of half a lemon
2 eggs
1 1/2 cup pulp of ripe bananas (2-3 large bananas)
1 3/4 cups flour
2 teaspoons baking powder
1/2 teaspoon salt
1/3 cup unsweetened cocoa powder (disregard the last thing I said about this stuff)
1/2 cup (or more) chocolate chips

Combine butter, sugar and lemon zest until creamy. Beat in eggs and banana pulp. Sift dry ingredients together and gradually add to batter. Add chocolate chips. Place batter in 1.5 greased muffin pans, and bake at 350 degrees for 20 minutes.

PSA

     This is a public service announcement. For all you innovative thinkers and die-hard believers, go do you. Don’t be afraid of what The Man has to say about your ridiculous ideas and true efforts to create. For all you naysayers and Debbie Downers, eat some cake. Give love a chance. Hug a dog. Don’t take life so seriously. Be happy. But most importantly relevantly, don’t knock it till you try it.

     Sometimes you want chocolate chip cookies and you have no brown sugar. But you do have a large tub of molasses. Wam bam shazam half a cup of normal people sugar and a teaspoon of molasses later, crisis averted.

     I have nothing more to say for myself. Except for I’m not the first to think of this, so…don’t blame me. And to go do something crazy and ridiculous and love it. Yeah. That’s about it.

Let’s take a closer look at that. In case you missed it. That’s popcorn in a batter of chocolate chip cookies.
Have a great, productive day. And Eid Mubarak!

Popcorned Chocolate Chip Cookies
Makes about 15 cookies
1/2 cup butter
1/2 cup packed brown sugar
1 tsp vanilla
1 egg
1 1/4 cups flour
1 tsp baking soda
1/4 tsp salt
1/2 cup chocolate chips
As much popcorn as you like
-These would also benefit from some coarse sea salt for sprinkling
Combine butter and brown sugar until creamy. Add vanilla and egg. Combine dry ingredients and add to butter etc. Stir in chocolate chips. Carefully fold in popped popcorn kernels. Cook in oven at 350 degrees F for 8-10 minutes. Let cool before eating.
Recipe note: these are one of maybe no other cookies that I have discovered to be better a day old, so try and save some for tomorrow. I’m not entirely sure why, but I’ll bet it helps that everything is cooled cool enough to experience all tehe flavors and texture together. Yum.