Top 5 of 2015

As we ring in another new year, I thought to look back on the passing year with a post of my favorite recipes of 2015, that I know I’ll be coming back to.

Enjoy, and Happy New Year! See you all in 2016 😀


0256b-dsc_1592

Lemon Zucchini Bread – delicious and easy quick bread with lemony zing


DSC_1672

Pop Quiz – all you need to know about popcorn and making it from scratch


a13a0-dsc_2048

Flourless Peanut Butter Cookies – a hit with your non-dairy, gluten-free, and omnivore friends alike


9c66a-dsc_2282

White (Chocolate) Drizzled Lavender Shortbread – attractive and attainable party goals


DSC_3174

Dad’s Mango Bread – a new family recipe that’s always a good idea


Galettes are Goood

Don’t be daunted by the beautiful galette – oh, you’re not? Great news. They’re quite easy (easier than pie, in fact) and fun to put together. I’ve been wanting to try one for a while now, and I finally got to with my mom when I went home last weekend. No recipe here, just procedure. You most likely have a preferred pie crust recipe in your arsenal. If not, you could easily find one.
  
The filling comes first. You can make sweet galettes OR savory. This is me, though, so I went with my preferred stone fruit: nectarines. So juicy and sweet. I cut three medium nectarines and placed the slices in a bowl. Sprinkled some sugar and flour. Here’s where you can add spices or herbs of your choice, but I kept it simple.

  
My mom made this crust. No white flour? No problem. Whole wheat is hearty and now your galette is even more healthy than it was before, which is fairly healthy if you do it right (in my opinion of course)…

Now comes the fun part. Lay out the dough onto a baking sheet. It doesn’t have to be a perfect circle, but the rounder the better. Dump your filling in the center, and adjust according to your preference of galette thickness and width. I eyeballed the nectarines and it worked out pretty well. Reasonable height (an inch?) with just enough crust left for folding in. Don’t get too bogged down by how it looks while folding. Some galettes are fully covered, and others are barely covered at all. The pastry won’t be moving much in the oven, so don’t go crazy with coverage of you don’t want to.

 
Throw in the oven at 425° for 35-40 minutes. If the crust is soggy at first, it will solidify up after it has cooled.

Baking without a solid recipe or strict plan is exhilarating. We should all try it more often. Happy improving!

Almost Homemade Ice Cream Sandwiches

sandwichmelt     Sometimes you just gotta have ice cream in between two cookies. But you don’t want to bake cookies, and you sure as heck don’t want to make ice cream. Do you have ice cream at home? Cookies? Good to go. This is for when your random cravings kick in and you’re pretending to be crafty.

DSC_3240      So you gotta figure out what you want in your sandwiches. Maybe you don’t even want ice cream. Aren’t frozen bananas a thing? Bananas and Nutella are definitely a thing. We had some lemon wafers in the house, and cookie dough gelato. Let’s go!

DSC_3243     Messy but exciting! You may want to pop these in the freezer for a few minutes before you consume. These guys are mini, but if you’re not into bite-size, you should definitely go for bigger cookies (I probably would have used bigger cookies but we didn’t have any).

DSC_3248Nutella, peanut butter, speculoos, add what you want.

DSC_3258Packed up and ready to gooo

DSC_3275

Here’s a “recipe” for some Almost Homemade Ice Cream Sandwiches

Cookies of your choice
Ice Cream of your choice
Other Filling (bananas, nutella, peanut butter etc).

Place your ice cream on one cookie, make sure it’s nice and frozen so it holds well. Add a good amount and mold circularly to match the cookie’s edge. If you want to add anything else, put it on top of the ice cream. Find a second cookie to smush down onto it and put in a freezer safe container. Do this with as many cookies as you want, and freeze for at least 20 minutes. Take out and enjoy!

Dad’s Mango Bread

mangobreadgifMango bread…does that sound strange and exotic to you? I was pondering it while sharing mine with friends and I heard them say it. For my own family, mango bread was a standard, normal thing to have in the house, though I do realize that this may not be the case in most American households. For a time we always had a loaf on hand, and three in the freezer. My dad would make big batches of the stuff to make breakfast during the week a little better. I never made it myself, but got to experience the different adjustments with every few rounds of baking. In honor of Father’s Day, and mostly because I was reminded of this bread when prompted at work to share our fathers’ recipes, I decided to have a go myself. Disclaimer: neither name spelling nor ingredients are 100% accurate in that article. In any case, it was a great opportunity for me to buy some mangoes and fire up the oven for a better-than-banana quick bread of champions.

rubber-scraper-movement-mango-bread

Fresh mangoes are the best mangoes! Also ripe, but sometimes you just can’t wait.

rubber-scraper-movement-mango-bread

You’ll need some for puréeing and some for chunking.

rubber-scraper-movement-mango-bread

Immersion blenders are fun, but occasionally messy. If you have the right bowl, you’ll be in good shape.

rubber-scraper-movement-mango-bread

Not-so-secret ingredient:coconut

rubber-scraper-movement-mango-bread

An important step here is combining the baking soda with the mango purée. Read below for more info…

rubber-scraper-movement-mango-bread

Dad’s Mango Bread
Makes one large loaf

1 large mango, puréed (about 1 1/4 cup purée)
3/4 teaspoon baking soda
2 teaspoons water1 cup sugar
2 eggs
1/4 cup olive oil
1/2 sweetened shredded coconut
2 1/2 cups flour
1 1/2 teaspoons baking powder
1/2 cup chopped mango
1/2 cup yogurt
Place the mango purée in a large bowl. Separately, combine the baking soda and water, then mix into the mango purée. Let sit for 5 minutes*. In the meantime, combine the sugar, eggs, oil, and coconut in a new bowl until well incorporated. Mix this into the mango purée. Stir in the flour and baking powder, one third at a time. Add in the chopped mango and yogurt last, then place in a bread pan lined with parchment paper. Bake in the oven at 350° for 60-70 minutes, until the top is plenty browned and looks like it might burn (ie – more brown than mine, so the top doesn’t collapse). Take out and let cool. Best served slightly warm!

*u wot? You want me to add the baking soda to the mango? This is so that the mango acidity slows its roll so your bread doesn’t come out too strong or sour, but instead mellow and rich 😀

rubber-scraper-movement-mango-bread

rubber-scraper-movement-mango-bread

Enjoy, and happy Father’s Day!

Flourless Peanut Butter Cookies


     Let’s get right to it: these things are gluten-free AND vegan! But these cookies aren’t GF and V to be accommodating; they’re really just good cookies disguised as healthy. Who said you need anything more than peanut butter and sugar in a good cookie, anyway?


      I was watching Unique Sweets (explanation of the show here) and they were showing the process for a bakery’s flourless peanut butter cookies, so naturally I tried to make some myself. They came out pretty great.


     There are only four things in these cookies, if you count water: peanut butter, powdered sugar, and a flax egg, made from flaxseed meal and water. Make sure you sift the sugar so you don’t have to deal with squashing tiny lumps later.


Flourless Peanut Butter Cookies
Makes 12 3-inch cookies

1 cup peanut butter
1 cup confectioner’s sugar, sifted
1 flax egg (1 tablespoon + 3 tablespoons water)
Optional: coarse sea salt for sprinkling

Combine the peanut butter and sugar in a bowl. Add the flax egg and mix until smooth. To make the dough easier to handle, you can chill it in the fridge for 30 minutes. Scoop out dough to form balls of desired size and flatten with hands. Use a large fork to make cool patterns, so people know they’re peanut butter cookies. Bake at 350° for 9 minutes, or until edges look crispy.

     Evidently, you don’t have a real peanut butter cookie in your hands unless it has those fork marks. And if there’s a cookie with fork marks in your hands, it must be a peanut butter cookie.
     Potential variations include covering the dough in granulated sugar before baking, and using brown sugar in the dough. Hooray for peanut butter!


Easy Apple-Cran Crisp

     It is now clear to me that Fall is here to stay. Prepare for scarves, hoodies, and beanies on campus/elsewhere. I wanted to quickly share a really easy recipe for those still with some apples hanging around the kitchen from that one time you went apple picking. We have to make room in the fridge for pumpkin everything anyway. While you wait for an updated cookie recipe, here’s some soft-yet-crunchy apple-cranberry crisp! Really, the hardest part is cutting the apples.

Apple Cranberry Crisp, from Better Homes and Gardens
Here’s to recipes turning out the same as their picture!


Ingredients

5 cups thinly-sliced peeled apples
1 cup cranberries(frozen or fresh)
2 tablespoons granulated sugar
1/2 cup quick-cooking rolled oats
1/3 cup packed brown sugar
3 tablespoons all-purpose flour
1/2 teaspoon ground cinnamon
2 tablespoons butter

Directions

  1. In a large mixing bowl combine apples, cranberries, and granulated sugar. Transfer to a 2-quart square baking dish or a 9-inch pie plate.
  2. In a small bowl combine oats, brown sugar, flour, and cinnamon. Cut in butter until crumbly. Sprinkle oat mixture evenly over apple mixture.
  3. Bake in a 375 degree F oven for 30 to 35 minutes or until apples are tender. Serve warm with a dollop of ice cream or whipped cream. Makes 6 servings.

     In other news, the (no longer) new school year has brought a new food blog! I’ve come together with other college bakers/cooks to bring you varying recipes and kitchen adventures. We call it College Bakers’ Collective, and you can find it right here. It’s been really cool getting to see what other college kids, who are just as busy as the next kid, are up to in their kitchens. Come say hi; if you’re waiting for something new from me, there’s a good chance something has already been posted @ CBC. Stay warm, kids!

The Best Chocolate Chip Cookie, pt. I

     My culinary quest for the best chocolate chip cookie recipe started long ago, when my chocolate chip cookies started coming out differently. So I sought after the reasons that different things were happening. I started softening butter instead of microwaving it, intentionally melting butter, substituting baking soda for baking powder, and many other things. Since eating my way around San Francisco, the quest has got real: More to experiment with, more frequent testing, more tweaking. Thanks to Goody Goodie and Megan, I am now experimenting with cocoa nibs! What an excellent idea. Cocoa nibs and two other general concepts, all relating the the chocolate of the cookie, will be presented hither. Prepare for casual serious food talk.

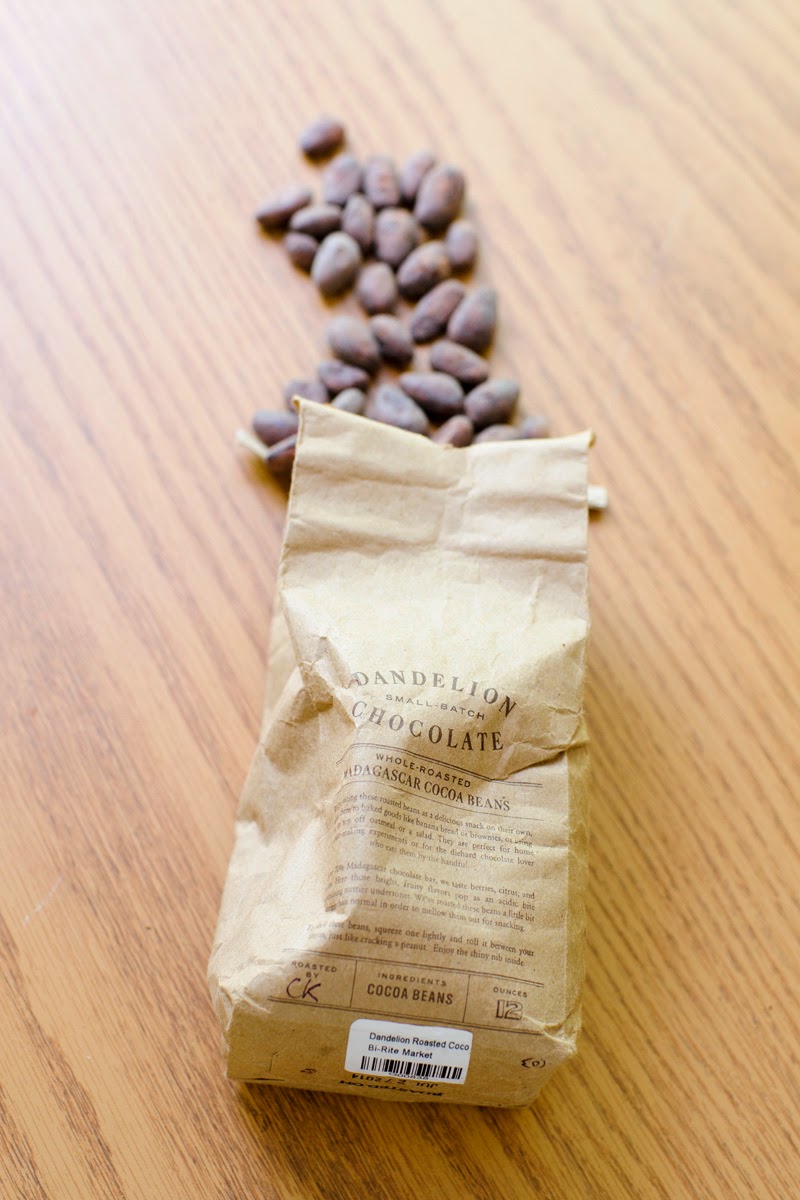
     So cocoa nibs are chocolate before the chocolate gets processed with cocoa butter, milk and sugar into a bar. At nib form, the chocolate process has reached fermentation and drying. You can get them in their husks, which are technically edible but not tasty, or you can get them already shelled. To be honest, I wouldn’t say the nib itself is all that tasty itself either, but it sure does a great thing for cookies. The nibs are nutty, fruity, and quite bitter. You may not decide to pop a whole nib in your mouth like a cashew or raisin. BUT, the floral taste that sticks around in your mouth (not as well after further processing), does a big thing to a cookie. Too big, however, if you decide to omit any other chocolate-ness. Even so, both the flavor and texture are improved with the cocoa nibs. The crunch definitely confuses people when they can’t see or taste a walnut, and it makes things a little more exciting for your mouth.

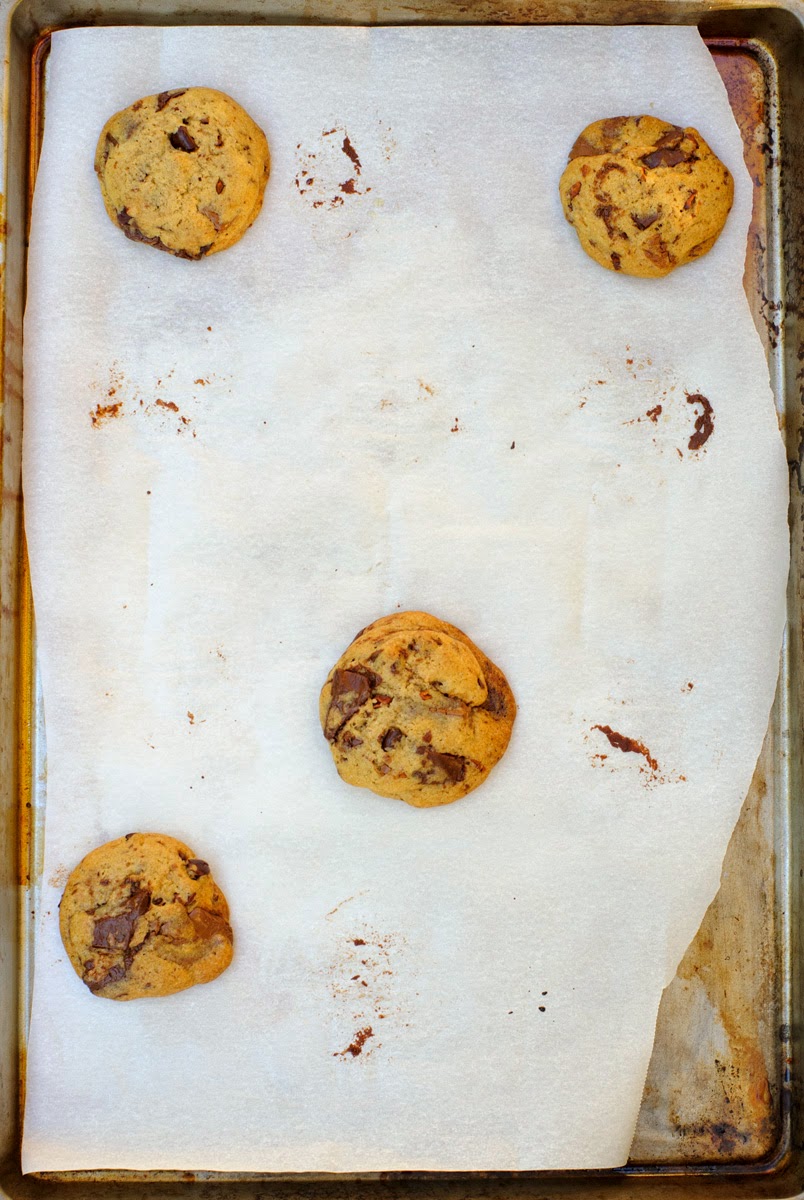
      I’ve also sworn off and abandoned chocolate chips. Strange, seeing as I’m trying to make cookies of the chocolate chip variety. So when I say chocolate chips, think more chips in the sense of fragments, bits, chipped. I’ve found chocolate chunks to be so much more appealing. I think it’s a combination of size and psychology. Chocolate chunks are usually big, so you’re sure to get a mouthful of melty chocolate always. You may be wondering if the chunks above are indeed bigger than chocolate chips, and the answer is generally yes – but variety is also good: Some small, some big.
     I also suddenly think chocolate chips are child’s play: How many single chocolate chips have you purchased with chocolate chips and not chunks? Not many, in San Francisco at least. They remind me of 5th grade life skills class in the kitchen at ELMS. But we’re in the big leagues, which calls for big chocolate. Plus, I feel way more credentialed when I’m crushing bars of chocolate. “There are chocolate bars in the cookies”. Don’t tell me that doesn’t sound special.

     Did anyone ask himself/herself why we’re always using semi-sweet chocolate instead of milk chocolate in their cookies? Probably not, since the answer sounds something like “too sweet/mild”. Well, to that I say, everything in moderation. Why not throw all different percentages of chocolate in a batter? This idea I also took from Goody Goodie. If you have milk and dark chocolate in a cookie, you’re pretty much pleasing all chocolate lovers! More for your mouth to do. So now you’ve got cocoa nibs, dark chocolate, and milk chocolate in your cookie. Isn’t that a ton of chocolate?

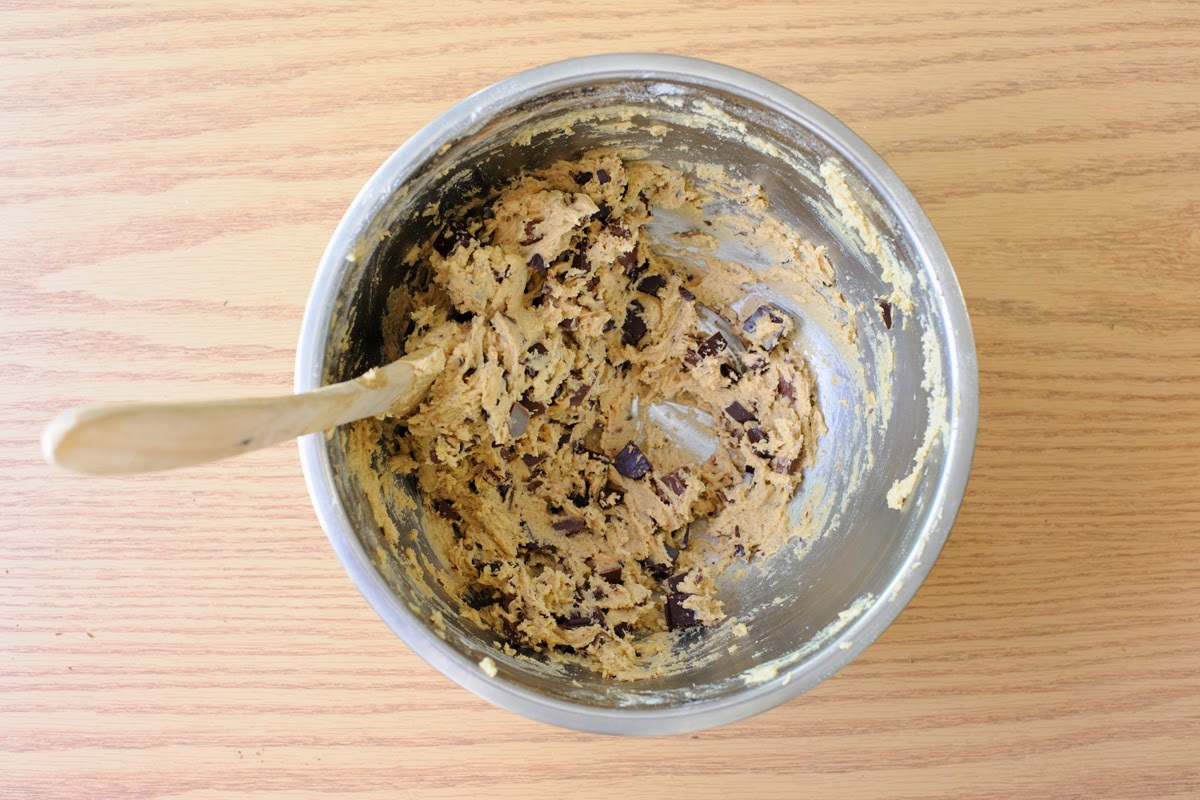
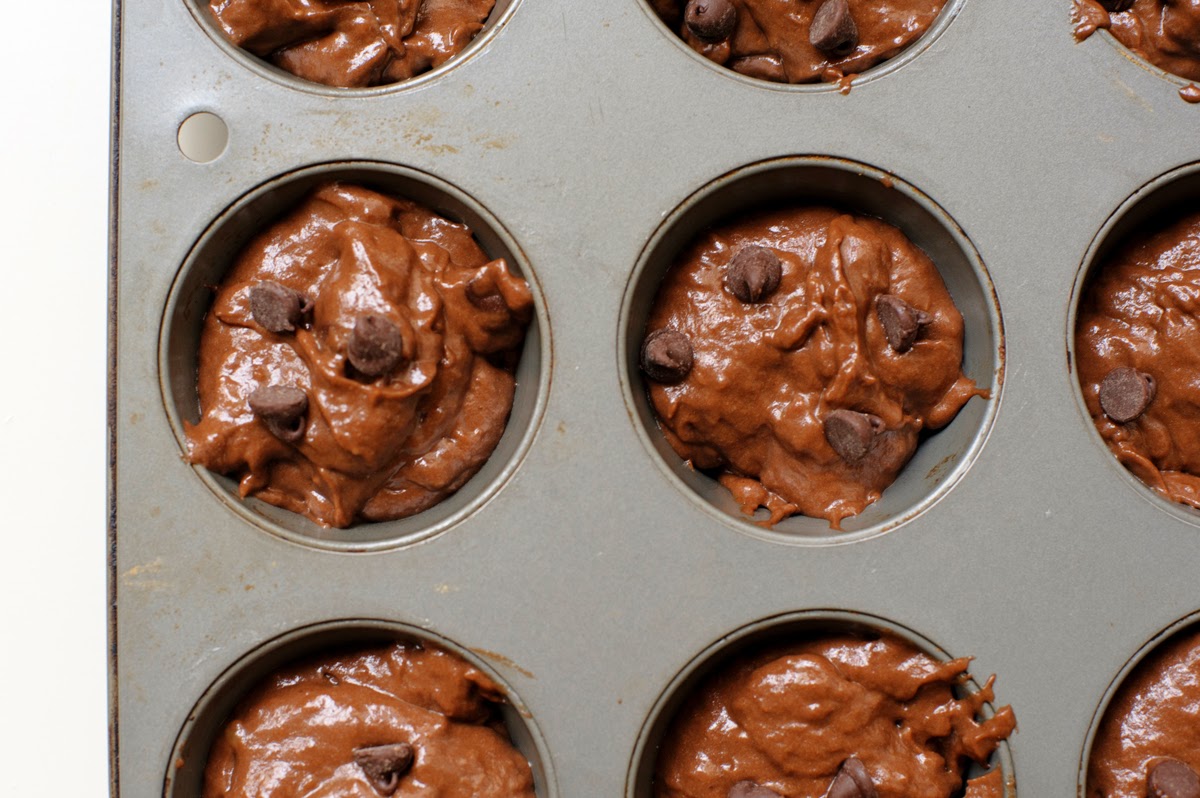
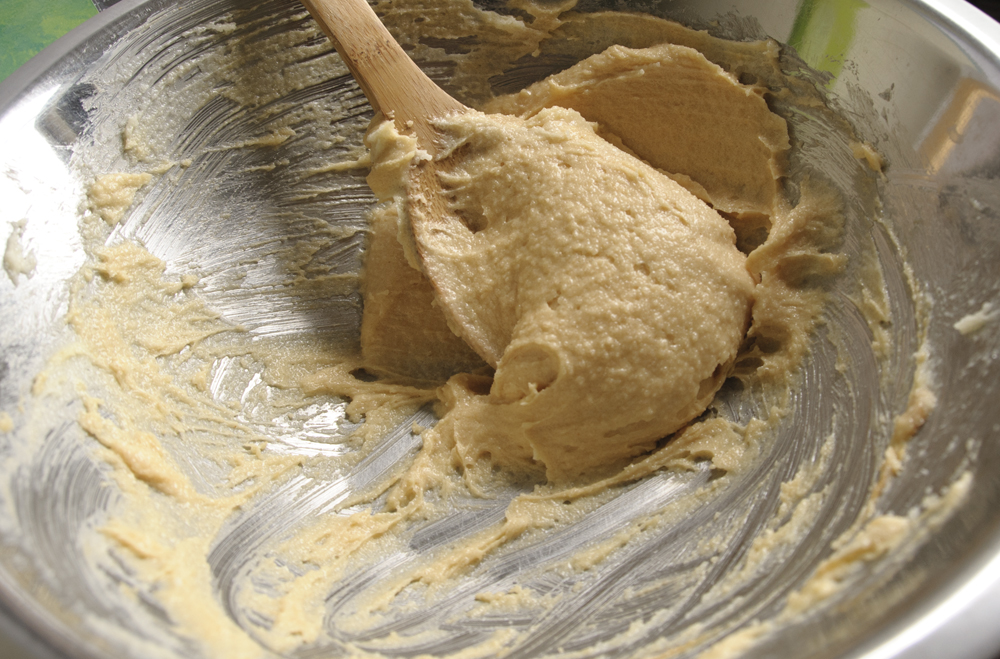
      YES!! Yes it is a ton of chocolate, and that’s definitely the (last) idea here. This picture is actually a representation of what cookie batter would usually look like, so if your batter looks like this, add more chocolate! You should be questioning the integrity of the final cookie with the amount of batter that seems to be missing. But trust me – there’s enough of everything. If you do nothing else from this post, add twice as much chocolate into your cookie batter and watch the magic unfold…melt.

So to summarize, improve your chocolate “chip” cookies with
1. Cocoa nibs (found at your local co-op, or, uh, on the interwebs? Still investigating Wegs)
2. Chocolate chunks
3. Milk chocolate
4. MUCH chocolate. Wow-worthy.

     Thank you Megan for the cocoa beans (nibs inside) from Dandelion Chocolate, also in fact featured on Unique Sweets.

(Click on photos for a better look)

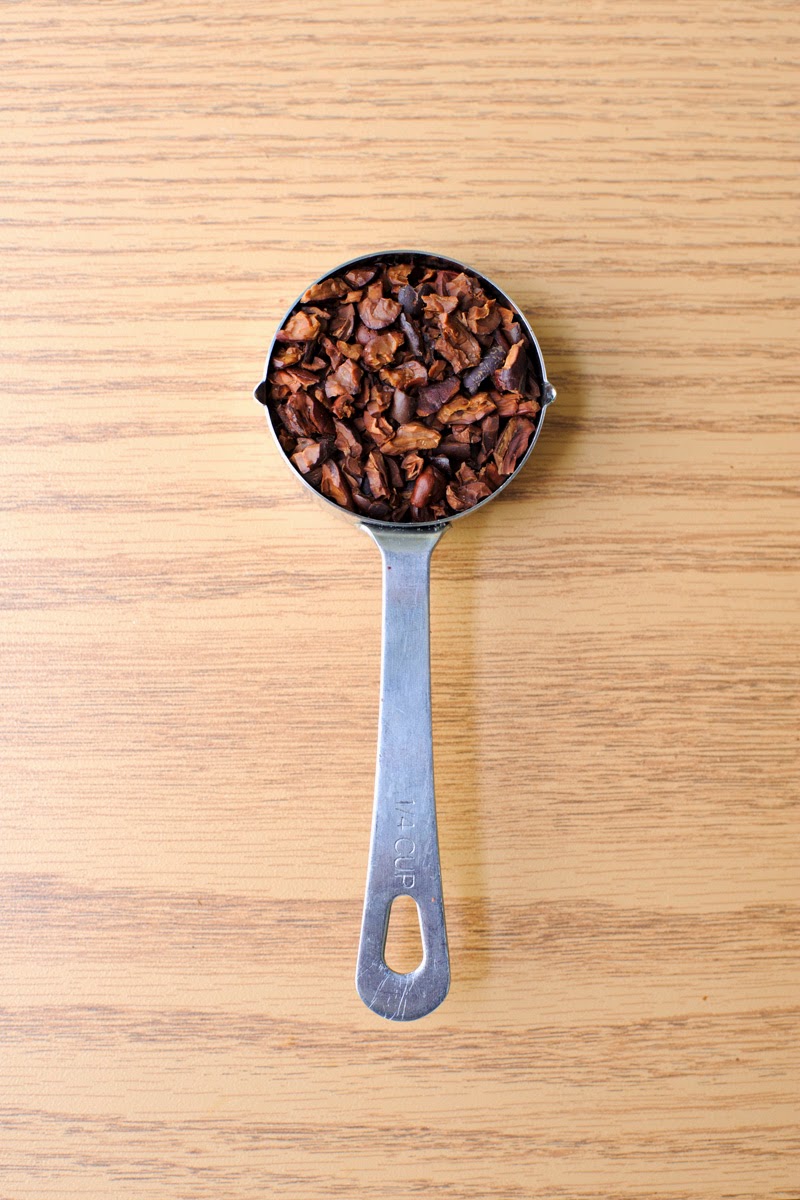
     Nibs, shelled and broken up. They kind of look like brains from the fold-like cracks that make the nibs come apart easily. I would, however, recommend chopping a little after that to make the bits even smaller. Some of my bites were a little too nibby.

     These make up for less than half the total chocolate going into the cookies. But they pack a big punch.

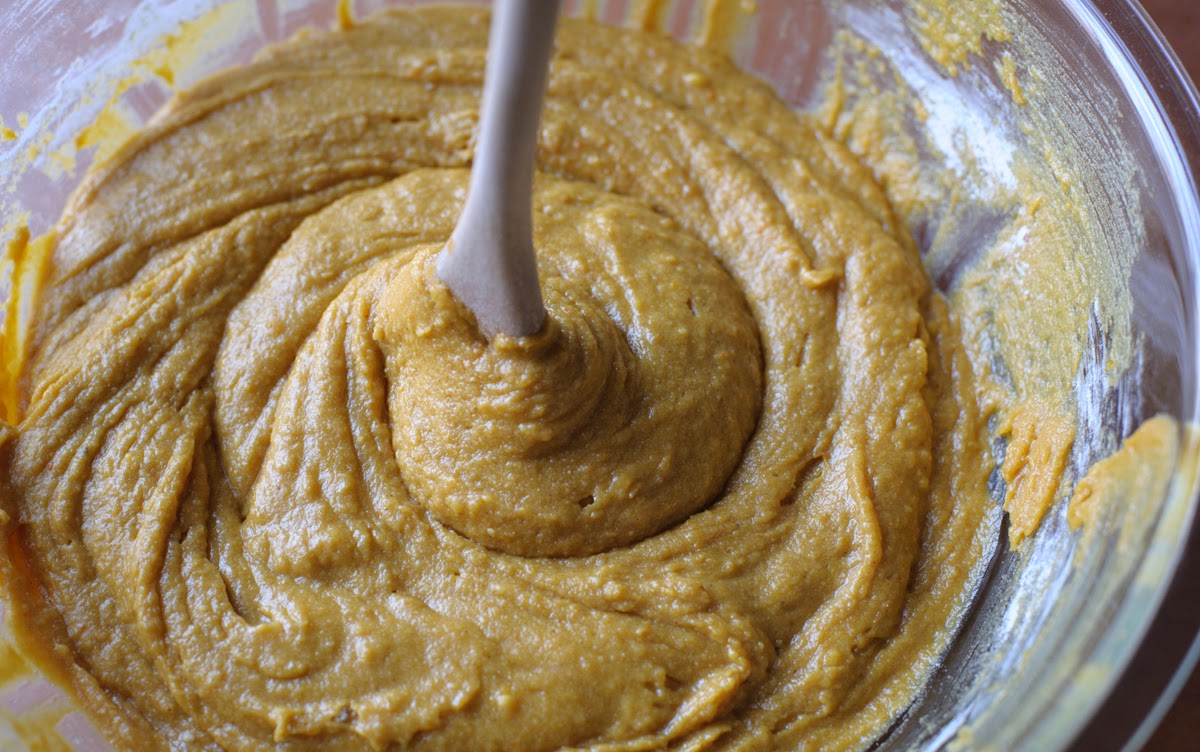
…not to mention the pretty colors! That batter though.
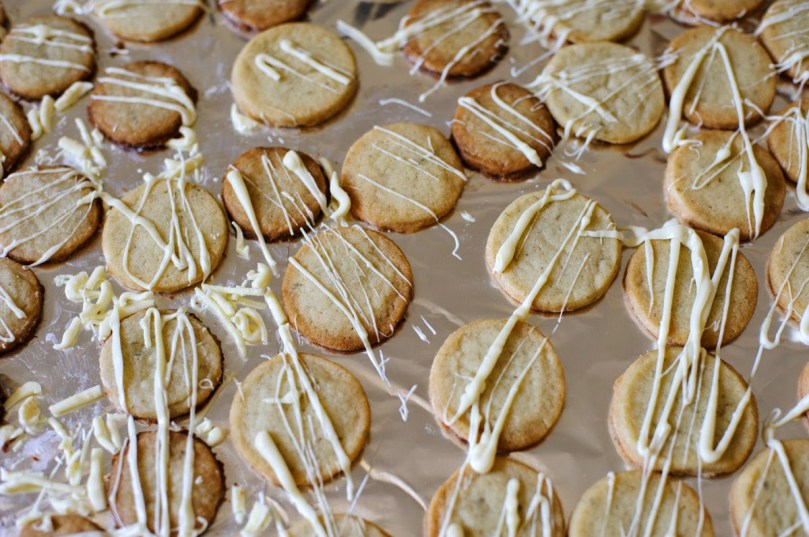
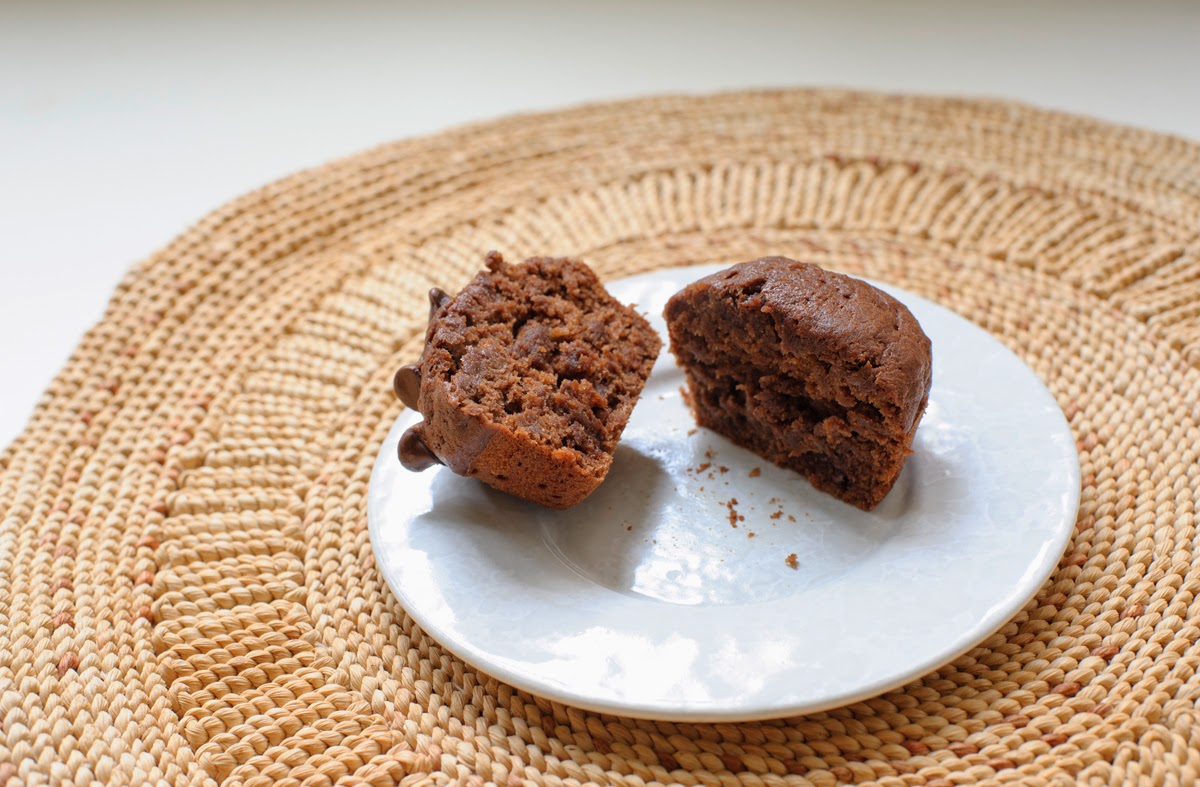
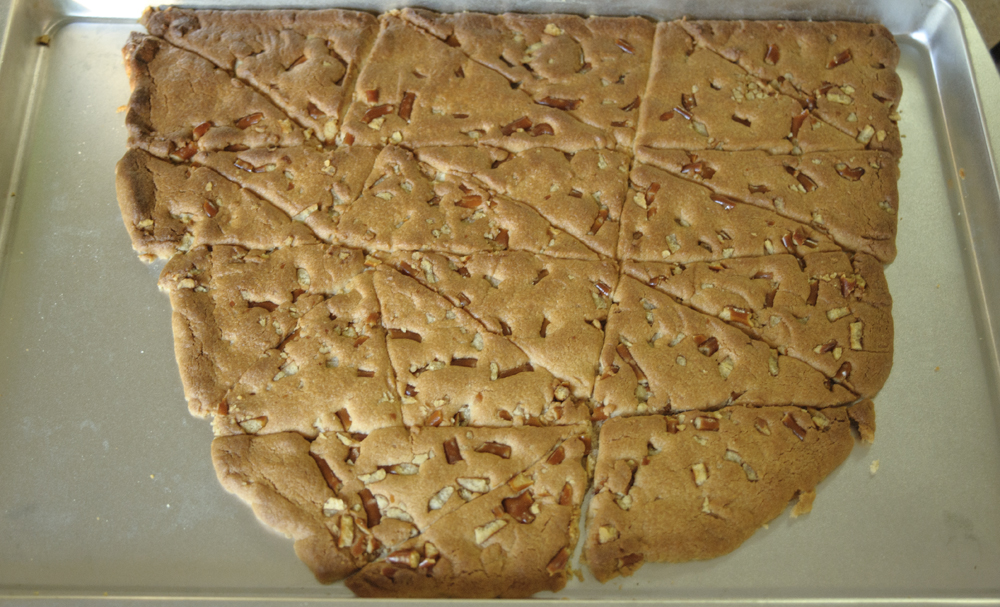
Cutting up chocolate also makes for cool-looking brown flakes in the cookies.
Next experiments are including but not limited to the shape of dough before hitting the oven, oven temperatures, butter beating techniques, chilling variations, and finding out what parchment paper actually does.
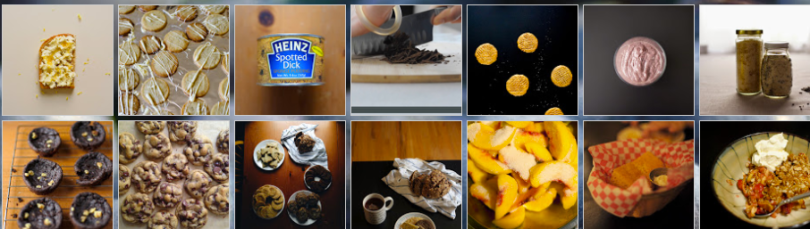
Chocolate Chunk Cookies (by me!)
Makes 45 small cookies
Ingredients
1 cup unsalted butter
1/2 cup brown sugar
1/2 natural/evaporated cane sugar
~Cream these ingredients together until smooth.
 
2 eggs, at room temperature
1 tsp vanilla extract
~Cream with butter and sugar
2 cups flour
1 tsp baking soda
1/2 tsp salt

~Sift these together in a separate bowl, then gradually add by hand to butter, sugar, eggs, and vanilla.

16 oz semi-sweet chocolate chunks
3 oz milk chocolate chunks
1/2 cup chopped cocoa nibs
~Fold this into dough. Don’t panic.

Let chill in the fridge for a few hours, or in the freezer for fewer. Drop tablespoonfulls of dough onto a baking sheet with parchment paper, if you don’t want to wash your sheet later. Place in the oven at 325 degrees for about 12 minutes, or until the middle doesn’t look like a puddle of melted batter. Cool slightly before eating.

How’s that recipe layout? Seems a little more efficient…feel free to comment if you think otherwise. Look out for updated recipes soonish! Happy tweaking!

What’s in the Pantry: Bananas

     Have bananas, will bake. After some consideration, I decided to make a dent in the pile of ripening bananas in the kitchen with some chocolate banana muffins because breakfast is important, and who doesn’t love some banana bread?

     I only ended up using three bananas. Which in retrospect is a lot, but it did not seem like it at the time. Hooray for fancy banana smashing devices.

     Filling muffin tins is a task. I might have added some extra chocolate chips to the tops. Pretty food is good food.

     Moist and happy. Thank you Joy of Cooking Vol. 2 for the banana bread recipe for inspiration P:

Chocolate Banana Muffins
Edited From Joy of Cooking Vol. 2 banana bread recipe
Makes 17 muffins. Sorry about it.

Ingredients
1/3 cup butter
1/3 cup sugar
1/3 cup brown sugar
Zest of half a lemon
2 eggs
1 1/2 cup pulp of ripe bananas (2-3 large bananas)
1 3/4 cups flour
2 teaspoons baking powder
1/2 teaspoon salt
1/3 cup unsweetened cocoa powder (disregard the last thing I said about this stuff)
1/2 cup (or more) chocolate chips

Combine butter, sugar and lemon zest until creamy. Beat in eggs and banana pulp. Sift dry ingredients together and gradually add to batter. Add chocolate chips. Place batter in 1.5 greased muffin pans, and bake at 350 degrees for 20 minutes.

Pumpkin Cake

Check out this pumpkin cake I made in the middle of January! Worth the off-season timing.
Eggs, sugar butter
Add the pumpkin
Dry ingredients…
Voila!

Martha Stewart’s Pumpkin Spice Cake (With Honey Cream Cheese Frosting)

Ingredients

  • For the Cake

    • 1/2 cup (1 stick) unsalted butter, melted, plus more for pan
    • 2 1/2 cups all-purpose flour, (spooned and leveled)
    • 2 teaspoons baking soda
    • 1/2 teaspoon salt
    • 1 tablespoon pumpkin-pie spice (or 1 1/2 teaspoons cinnamon, 3/4 teaspoon ginger, 1/2 teaspoon nutmeg, and 1/8 teaspoon each allspice and cloves)
    • 2 large eggs
    • 1 1/2 cups sugar
    • 1 can (15 ounces) solid-pack pumpkin puree
  • For the Honey Frosting

    • 1/2 cup (1 stick) unsalted butter, very soft
    • 1 bar (8 ounces) regular (or reduced-fat) cream cheese, very soft
    • 1/4 cup honey

Directions

  1. Preheat oven to 350 degrees. Butter a 9-inch square baking pan.
  2. In a medium bowl, whisk flour, baking soda, salt, and pumpkin-pie spice. In a large bowl, whisk eggs, sugar, butter, and pumpkin puree until combined. Add dry ingredients to pumpkin mixture, and mix gently until smooth.
  3. Turn batter into prepared pan, and smooth top. Bake until a toothpick inserted in center of cake comes out with just a few moist crumbs attached, 45 to 50 minutes. Cool cake 10 minutes in pan, then turn out of pan, and cool completely, right side up, on a rack.
  4. Make Honey Frosting: In a medium bowl, whisk butter, cream cheese, and honey until smooth.
  5. Spread top of cooled cake with honey frosting. Cut cake into squares to serve.

Cook’s Note

You can also use a 9-by-5-inch loaf pan: Increase baking time by 25 to 30 minutes (tent loaf with foil if it browns too quickly).

Found here

The New Adventures of Old Shortbread & the Arrival of Adulthood…


…but mostly upperclassman-dom and off-campus living. Welcome to my new living abode, and more importantly, my new kitchen. It’s quite small; I feel a bit like Smitten Kitchen, minus a few years and a book tour. This little thing is shared among 4 girls. The home of new creations, old family recipes, and college-edition Chopped competitions…we’ll see about that one.
I’ve already made some meat stew for my rice, for the first time all myself. It…tastes great! But I’m gonna have to refine the texture a bit, making fewer chunks and thicker soups. So once I’ve made it to my satisfaction you can expect a post on that, hopefully soon.
But, of course, in the first week of my habitation in an APARTMENT OOOO, I’ve baked cookies. And I…wait for it…created another recipe!…though it’s hard to screw up shortbread. Crunchy, buttery, flaky! What could be better? I know! Add peanut butter, naturally. I got really excited when I tried Wegmans’ organic peanut butter because it was just as peanut buttery as inorganic peanut butter. If you’ve ever tried organic peanut butter expecting the same texture as Skippy’s, you likely experienced a rude shock when you had trouble unclenching your teeth. In short, organic peanut butter is thick as fudge and the point of any of this is that I added peanut butter to your basic shortbread recipe and it was great. The end.
Due to short-notice/impromptu dinner guests, I was stuck to figure out what to make with what was in the kitchen already. This is what went through my head and hands for 20 minutes upon entering the kitchen:

  1. It’s me we’re talking about, if I present a baked good, people will neither be surprised nor complain
  2. No chocolate chips again, no problem. Time for that handy dandy peanut butter!
  3. Ok, sugar and butter in bowl…why do I have a feeling there’s no baking powder…
  4. …there’s no baking powder. Okay, okay…cookies without baking powder?
  5. Shortbread. Done. Wait that’s boring. Peanut butter.
  6. Honey.
  7. Bag of pretzels on fridge…yeah let’s use that.
  8. Should make double this….nah.

They were a massive hit (as if the combo of shortbread and peanut butter weren’t completely revolutionary!). In the meantime, I’ll be needing some baking powder. Look forward to more baking and cooking adventures of Carmen and circle apartment xxxxx. Here are some mean peanut butter pretzel shortbread cookies while we wait.

Peanut Butter Pretzel Shortbread
Makes about 45 cookies

1 cup butter
1 cup sugar
4 tablespoons peanut butter
2 tablespoons honey
2 teaspoons vanilla
2 cups flour
5 large twist pretzels, or 10 mini twist pretzels

Preheat oven to 350 and grease two baking sheets
Cream the butter and sugar. Add the peanut butter, honey, and vanilla. Gradually mix in the flour.
Refrigerate the dough for at least one hour.
Flatten the dough onto baking sheets. Crush pretzels and press into dough. Cut dough into pieces with a knife. Or, roll out onto flat surface and cut out shapes with cookie cutter(s), then press in pretzel pieces.
Bake for 10 minutes, or until top of dough browns.

I had the foresight to write out a recipe that was already doubled;
don’t worry about small masses of dough like this one!
I’m getting excited about the windows in this apartment and their positioning
relative to the sun. #photonerdprobs #cantdealwithartificiallight
This is a cookie dough you I need extra self-discipline to not eat
because there’s no egg


So I may have burnt them a bit…keep an eye on them because I’m not 100%
on the 10 minutes…someone try them and let me know (this was 15).
A nice golden hour comes through our dining room every night.
Very okay with this (may need to work on this lighting for food, however)