Butter: On Browning

For the second installment of “Butter”, we’re going to chat about brown butter. I’m obsessed with the stuff, and usually try to sneak it into any recipe that requires butter. But what’s the hype? Why does it smell so good? Why is it so hard to do? Read on to demystify the secrets of this mystifying ingredient.

The Science
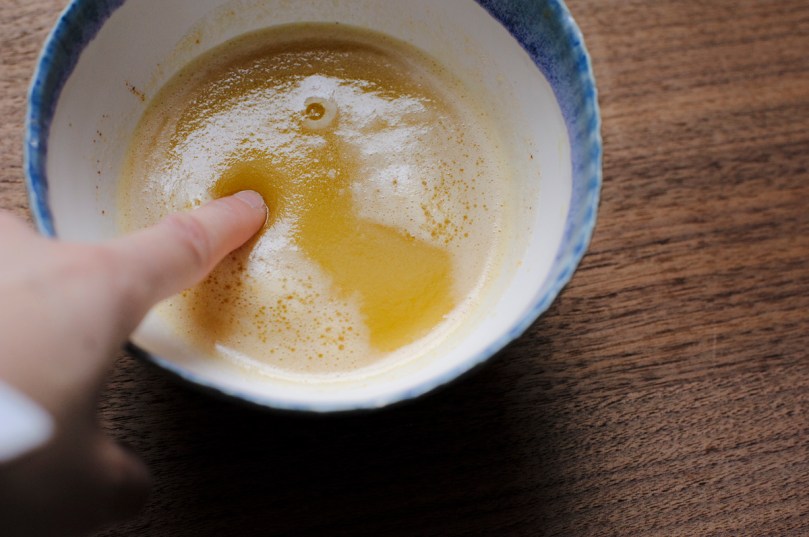
So what does “brown butter” mean? The part of the butter that’s browning is the milk solids, once they’ve separated from the butterfat in the beginning of heating process. You know when you melt butter in the microwave and white seafoam-type stuff floats around the bowl? That’s the milk solids. When you heat butter past this point on the stove, the milk solids sink to the bottom and start to toast up and brown. This is the milk solids caramelizing, creating an amazing smell in your kitchen that most describe as “nutty”, while I personally prefer butterscotchy. It’s just so warm and enveloping, sometimes I feel like I shouldn’t go any further with the recipe; I can stop right there. During this process of browning, the water in the butter also evaporates, creating the bubbling and spitting that you’ll experience. Once the milk bits have browned, you have brown butter.

rubber-scraper-mvt_brown-butter_carmen-ladipo1Hot off the stove, the perfect amber color.

The Trick
Browning butter is not that hard. I repeat: browning butter is not that hard! And I’ll tell you why. There are different degrees of brown butter. You’ll notice when the milk solids start to get darker, and you’ll wonder “Is this it? Do I have brown butter?” Well, you sure could have it. Brown butter does not discriminate. You can have light brown butter, you can have dark brown butter, and anything in between. I think scientifically speaking we can say that if you’re smelling good things, you have brown butter. But 7 seconds later, the solids will be even browner. Are you getting nervous? “Oh no, is this what the internet warned me about? Will I have burnt butter in a matter of moments?” If your solids are not black, you’re safe. My point here is that there is a reasonably sized window for removing the butter from the heat that will give you brown butter before it burns. It all depends on how brown and aromatic you want to get. As long as you’re paying attention, you’re in good shape. After some practice, you will feel more comfortable leaving the butter on the heat for longer until it’s just about to burn. That’s my personal b.b. preference, but it will also depend on why you’re browning the butter in the first place.

rubber-scraper-mvt_brown-butter_carmen-ladipo2
2 hours later….back to room temperature and golden yellow.

The Usage
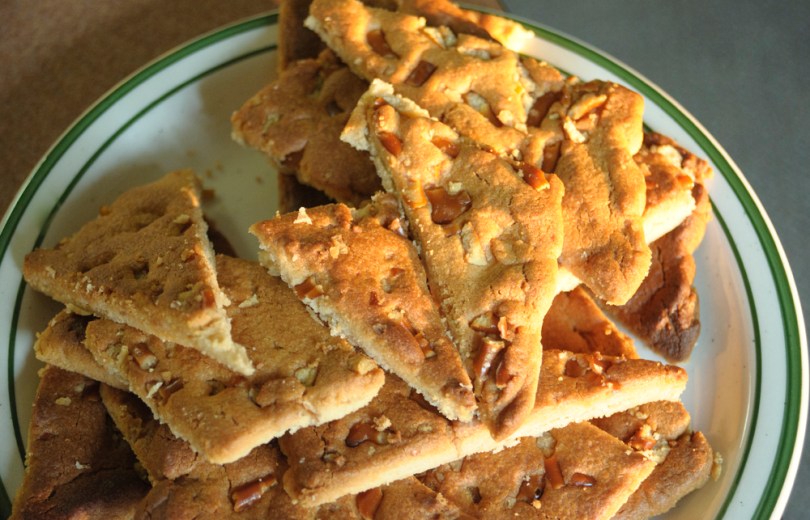
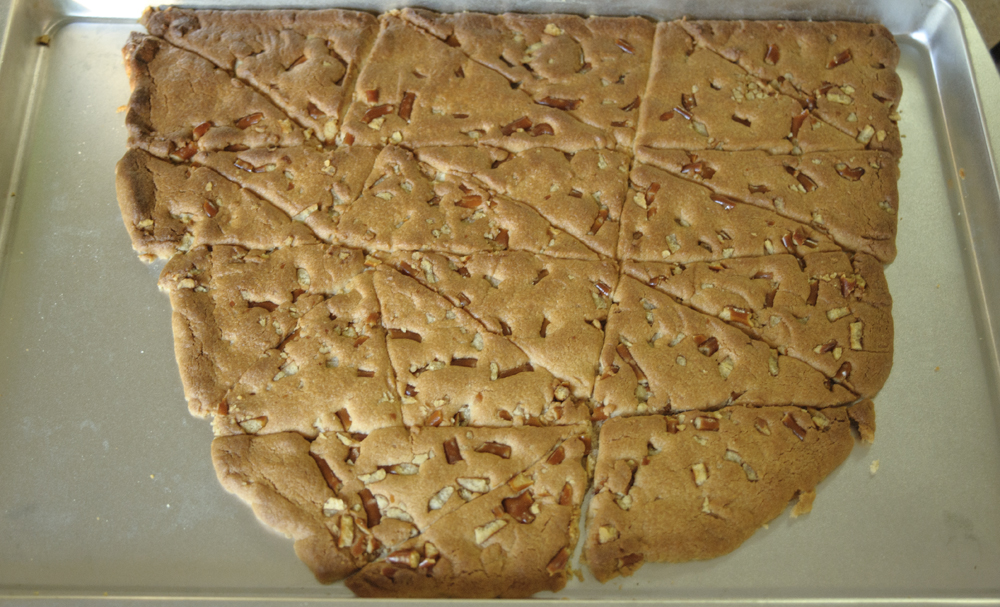
You can use brown butter in any place that you would use normal butter. For me this means browning butter for my baked goods. For others, it may mean as a sauce for fish or pasta, or simply on toast. I prefer the brownest of butters for baking because that butterscotchy flavor will come out the best. When cooking anything with brown butter, be sure to get all of the bits in play with a rubber scraper (obv.) so the flavor is at its maximum. If you answer “yes” to wanting a warm, umami-enhancing flavor added to your dish, using brown butter is a good choice.

rubber-scraper-mvt_brown-butter_carmen-ladipo3
See that’s it’s not completely solid.

The Recipe
The following procedure is how I brown butter, and it works like a charm every time.

Prepare a heat-resistant bowl near your stove or in the sink to pour the butter into once it has browned. Put your butter in a large skillet and place on medium heat. When the butter has melted, turn the heat down and stir constantly with a spatula (this keeps the milk solids from sticking to the skillet and makes for easy cleanup later). After the butter has finished spitting, pay close attention to the milk solids at the bottom of the skillet. Use the spatula to help clear the bubbles from the surface to see better. Once the solids have browned to your liking, take the skillet off the heat and carefully pour the butter into the prepared bowl. If you have a heat resistant rubber scraper, use it to scrape the sides and bottom of the skillet to catch all the butter. Use immediately for hot dishes or let cool for baking.

rubber-scraper-mvt_brown-butter_carmen-ladipo4
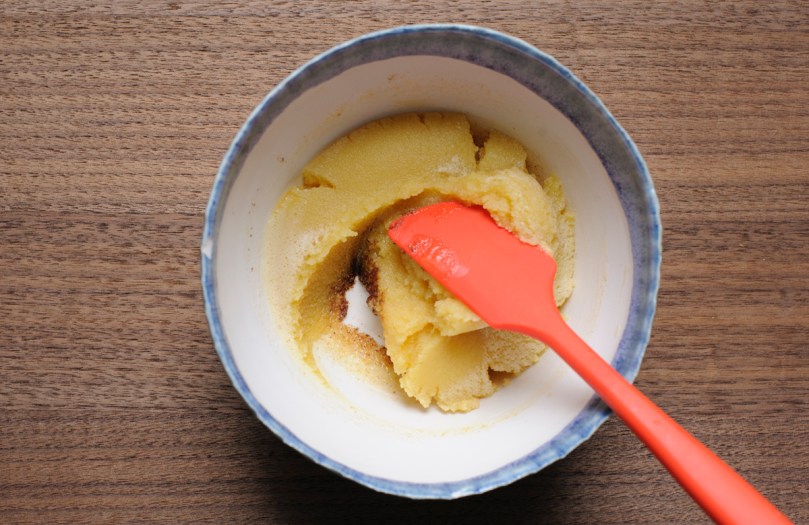
The dark and browned milk fats at the bottom are the most important part!

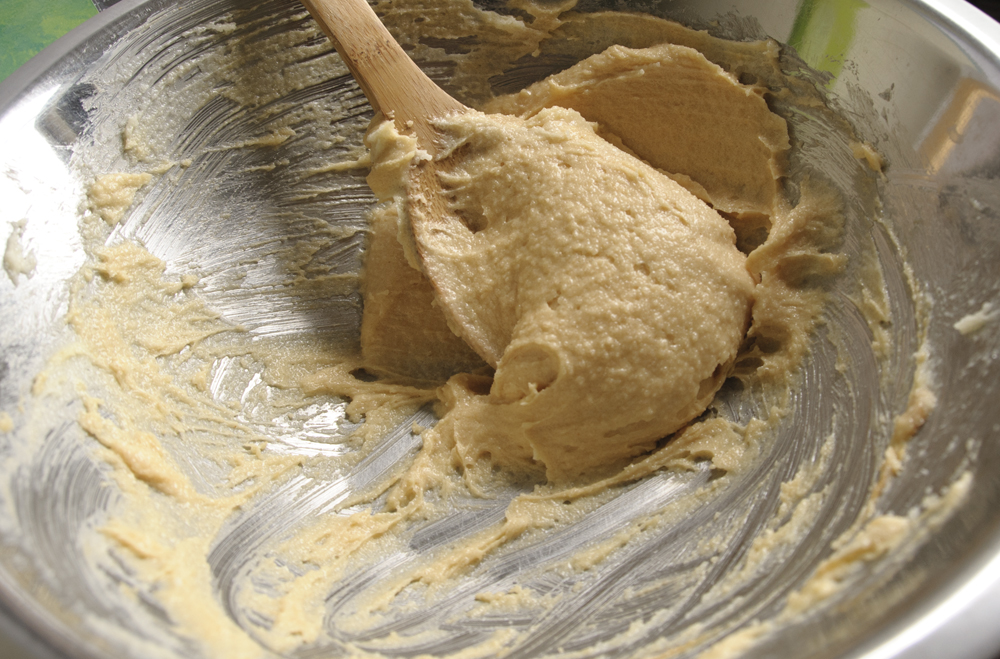
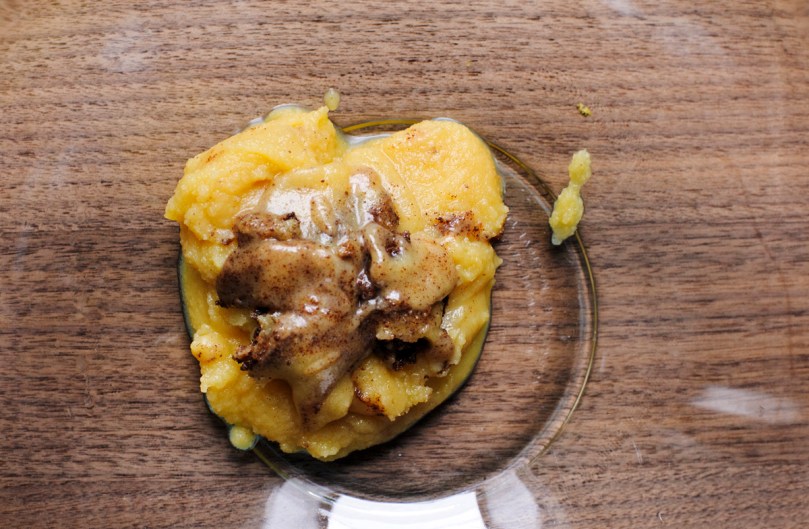
Sometimes I have enough time to wait for the brown butter to solidify to room temperature before I start to make a dough, and other times I’ll throw it in the fridge for a few minutes to cool it off enough to keep the eggs in the dough from cooking. It’s usually a little easier to work the dough when the butter has cooled, but either option will give you delicious results.

rubber-scraper-mvt_brown-butter_carmen-ladipo5
Dumped into a large mixing bowl. If you could smell this lump of fat…

Go forth and brown! What other butter questions are you dying to have answered? Leave them in the comments below ⬇

The New Adventures of Old Shortbread & the Arrival of Adulthood…


…but mostly upperclassman-dom and off-campus living. Welcome to my new living abode, and more importantly, my new kitchen. It’s quite small; I feel a bit like Smitten Kitchen, minus a few years and a book tour. This little thing is shared among 4 girls. The home of new creations, old family recipes, and college-edition Chopped competitions…we’ll see about that one.
I’ve already made some meat stew for my rice, for the first time all myself. It…tastes great! But I’m gonna have to refine the texture a bit, making fewer chunks and thicker soups. So once I’ve made it to my satisfaction you can expect a post on that, hopefully soon.
But, of course, in the first week of my habitation in an APARTMENT OOOO, I’ve baked cookies. And I…wait for it…created another recipe!…though it’s hard to screw up shortbread. Crunchy, buttery, flaky! What could be better? I know! Add peanut butter, naturally. I got really excited when I tried Wegmans’ organic peanut butter because it was just as peanut buttery as inorganic peanut butter. If you’ve ever tried organic peanut butter expecting the same texture as Skippy’s, you likely experienced a rude shock when you had trouble unclenching your teeth. In short, organic peanut butter is thick as fudge and the point of any of this is that I added peanut butter to your basic shortbread recipe and it was great. The end.
Due to short-notice/impromptu dinner guests, I was stuck to figure out what to make with what was in the kitchen already. This is what went through my head and hands for 20 minutes upon entering the kitchen:

  1. It’s me we’re talking about, if I present a baked good, people will neither be surprised nor complain
  2. No chocolate chips again, no problem. Time for that handy dandy peanut butter!
  3. Ok, sugar and butter in bowl…why do I have a feeling there’s no baking powder…
  4. …there’s no baking powder. Okay, okay…cookies without baking powder?
  5. Shortbread. Done. Wait that’s boring. Peanut butter.
  6. Honey.
  7. Bag of pretzels on fridge…yeah let’s use that.
  8. Should make double this….nah.

They were a massive hit (as if the combo of shortbread and peanut butter weren’t completely revolutionary!). In the meantime, I’ll be needing some baking powder. Look forward to more baking and cooking adventures of Carmen and circle apartment xxxxx. Here are some mean peanut butter pretzel shortbread cookies while we wait.

Peanut Butter Pretzel Shortbread
Makes about 45 cookies

1 cup butter
1 cup sugar
4 tablespoons peanut butter
2 tablespoons honey
2 teaspoons vanilla
2 cups flour
5 large twist pretzels, or 10 mini twist pretzels

Preheat oven to 350 and grease two baking sheets
Cream the butter and sugar. Add the peanut butter, honey, and vanilla. Gradually mix in the flour.
Refrigerate the dough for at least one hour.
Flatten the dough onto baking sheets. Crush pretzels and press into dough. Cut dough into pieces with a knife. Or, roll out onto flat surface and cut out shapes with cookie cutter(s), then press in pretzel pieces.
Bake for 10 minutes, or until top of dough browns.

I had the foresight to write out a recipe that was already doubled;
don’t worry about small masses of dough like this one!
I’m getting excited about the windows in this apartment and their positioning
relative to the sun. #photonerdprobs #cantdealwithartificiallight
This is a cookie dough you I need extra self-discipline to not eat
because there’s no egg


So I may have burnt them a bit…keep an eye on them because I’m not 100%
on the 10 minutes…someone try them and let me know (this was 15).
A nice golden hour comes through our dining room every night.
Very okay with this (may need to work on this lighting for food, however)

To Ramen or to Ramen

You’re a poor college student getting ready to replenish your stash of instant ramen cups – don’t do it! Let me suggest a more healthy and more taste-bud-thrilling option. You’ll still get your ramen, but you won’t get the unpronounceable ingredients list in your body. You have a couple options, but one main path to success.
1. Go to a grocery store and get a packet of ramen noodles, not pre-packaged to just nuke&go, but to boil in hot water or a microwave for a while.

Okay okay, not ramen per se, but I’ll tell you a secret – it doesn’t actually matter
2. Steal vegetables from the salad bar in the dining hall Go get vegetables to add to your noodles, in place of the vegetable flavoring powder. Peppers, tomatoes, carrots, onions, broccoli etc will do. Also mushrooms.
3. You can either cook the vegetables in oil until they smell good or leave them to put on top after the noodles are done. If you want to cook them, you can add some oil to whatever you can put on the stove — pot, skillet etc (hopefully you have a pot for the noodles, though)

If this counts as sautéing, then do that.
4. Boil water in a pot and then put the noodles in for 4ish minutes, or as long as the directions say. Yeah, don’t throw out the package.

Good to practice your guesstimating
5. Make sure the noodles as soft as you want them, then drain the water and place in a bowl. Add the vegetables with whatever other fixings you want like soy sauce, that red rooster sauce, salt/pepper etc.
Doesn’t that just look so much healthier?

That’s the basic rundown if you are culinarily challenged. Other variations include making a broth with the miso soup packet things (significantly less unhealthy than styrofoam noodle cups) with the water, cooking the vegetables with the noodles, and making a real broth with meat and everything (lol).
If you’re hard up for real cookware, you can put the noodles in a bowl with water and microwave them until the water is boiling, and add a miso packet to have soup. Anything like this is better than the Maruchan Ramen in the campus convenience store. Sure, it’s “convenient”, but if you take 7 more minutes, you can make a real meal and have some for tomorrow. Read that essay while the noodles cook.
*Special thanks to Tommy for being as good a cook as I am a baker 😛